
 picture 1 |
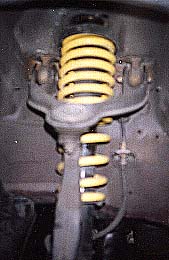
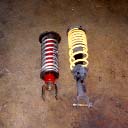
In order to bring this Honda Civic Coupe down to a respectable height we installed a 1 pump, 8 dump setup that will be able to handle front, back, side-to-side, and pancake the car. To begin this installation we first had to remove the stock strut and 2" drop spring (picture 1) that was installed in the car prior to the hydraulic set up. |
| After the front strut and drop spring is removed (picture 2, left) it will be replaced with a 6" cylinder, a 1/4 ton coil and an aluminum bushing (picture 2, right). |
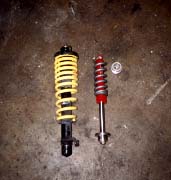 picture 2 |
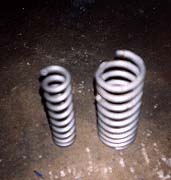 picture 3 |
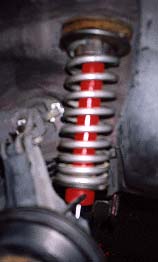
Front (picture 3, left) and back (picture 3, right) 1/4 ton springs that will replace drop springs with hydraulics. |
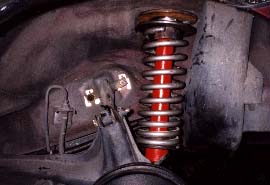
| Front cylinder assembly and 1/4 ton spring mounted in place. (picture 4) A 2"x 2" hole was cut out of the tops of the wheel wells to allow maximum clearance of the A-arms when the car was hammered! |
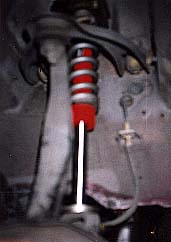 picture 4 |
 picture 5 |
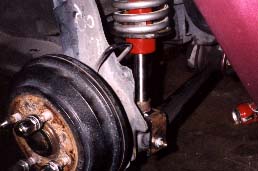
After the rear strut and drop spring is removed (picture 5, right) it will be replaced with a 10" cylinder and a 1/4 ton spring. (picture 5, left). |
| Rear cylinder assembly and 1/4 ton spring mounted in place (picture 6) The finished rear cylinder install is clean and the workmanship is top notch! (pictures 7&8). |
 picture 6 |
 picture 7 |
 picture 8 |
| In the trunk we mounted 4 gel-cell batteries in a custom fabricated rack located in the spare tire well, (picture 9) along with a custom rack designed for the one pump set-up. | 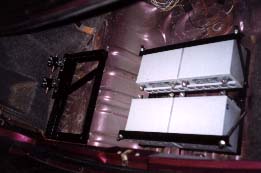 picture 9 |
 picture 10 |
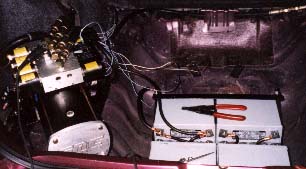
We completed the suspension work by installing a one pump, 8 dump set-up that is capible of front, back, side-to-side, and pancake. (picture 10) |
| All the hoses were attached, batteries and solonoids were connected and the switch box was installed. (picture 11) | 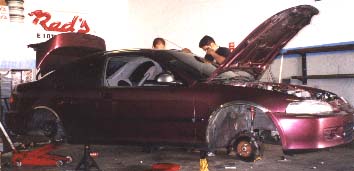 picture 11 |
 picture 12 |
Bolt the wheels back on, test everything to be sure its working correctly and you're ready to cruise! (picture 12) |
� 1997 [email protected]