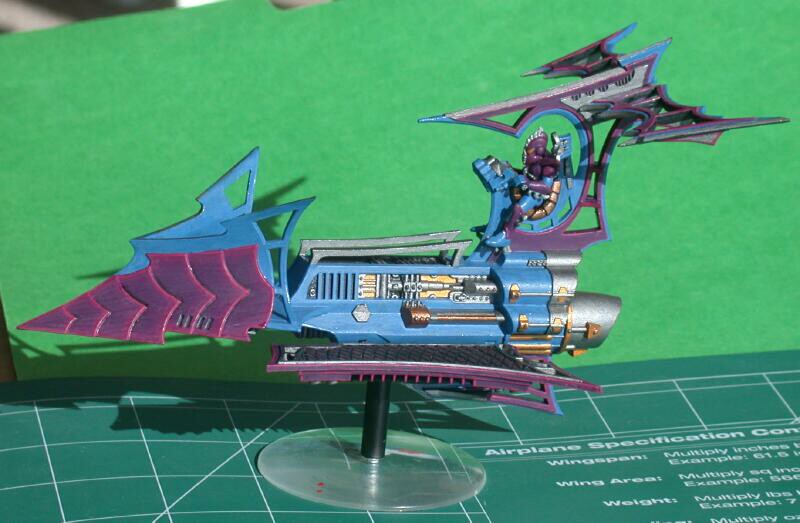
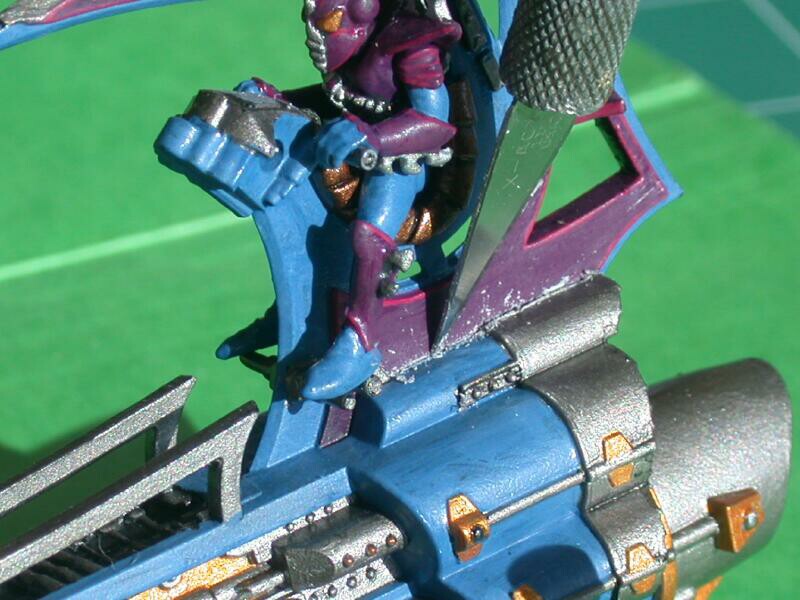
Dark Eldar Raider conversion – making a removable tail section    (Page 1 of 7)  One page HTML version
By Dan Moore            e-mail             Return to my Dark Eldar Home Page

Overview
The following is a procedure for modifying the Dark Eldar raider transport model to give it a removable tail section.  I developed this modification to the model so that it can be packed and transported more easily.  On several occasions in the past I had problems with breakage of the tail during transport because the model is large, bulky, and has numerous projections that catch on things.  The same removable tail modification can be adapted for Dark Eldar Ravager models or any custom model that uses the Raider transport(Asdrubael Vect for instance.)

Things you will need:

Sharp razor knife (Xacto or similar), Razor saw or jewelers saw, Jewelers Files
Rotary tool (Dremel) with abrasive cutting wheel, Polystyrene glue,  5-minute epoxy
1/4-inch (6.4 mm) polystyrene tube with 4+ inch length (I use tube from Evergreen Plastics)
5/16-inch (7.9 mm) polystyrene tube with 3+ inch length, it must slide over 1/4-inch tube (I use tube from Evergreen Plastics)
1/16-inch (1.6 mm) polystyrene sheet (2 inch x 1 inch piece), Raider model – assembled or disassembled

 
This is a the raider that will be converted
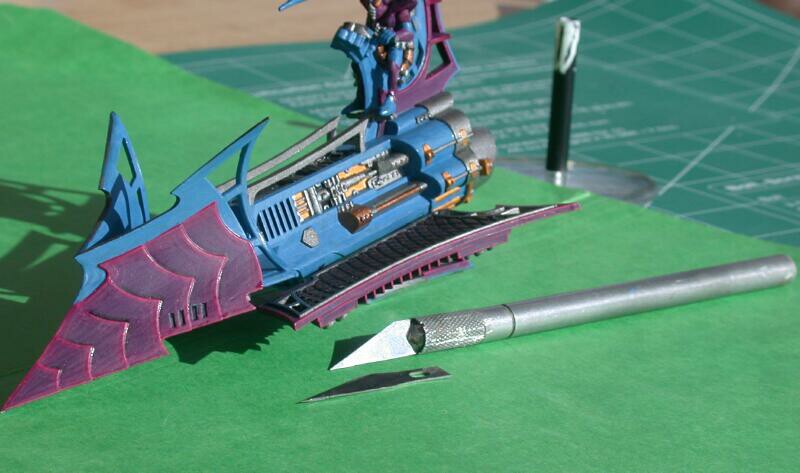
Use a sharp hobby knife, preferably with a new blade
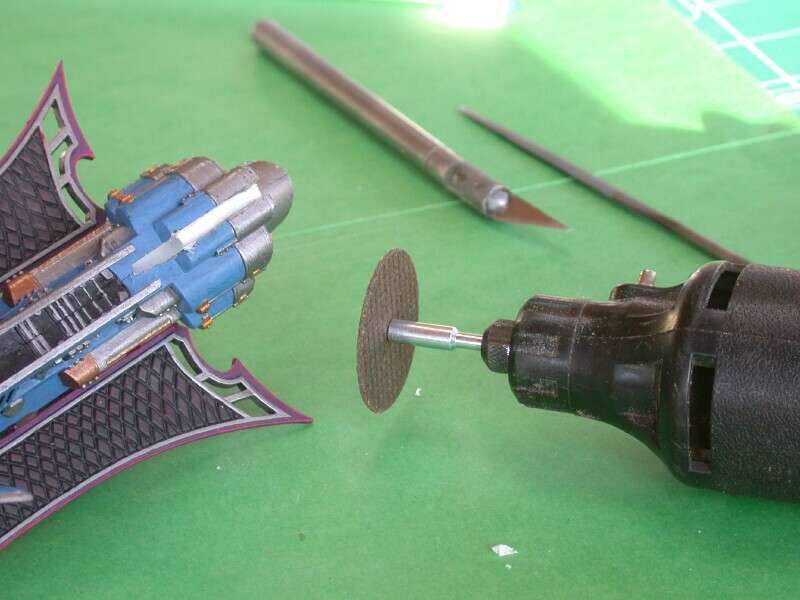
A rotary cutting tool will be useful for cutting slots in the model.
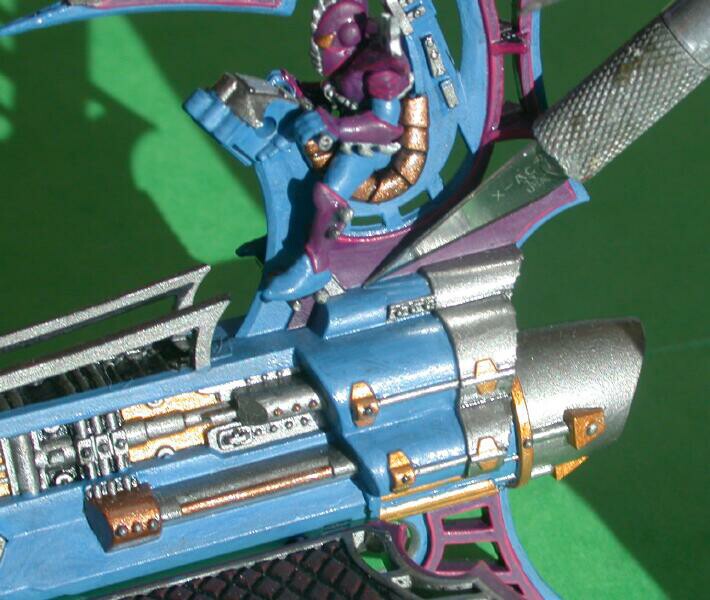
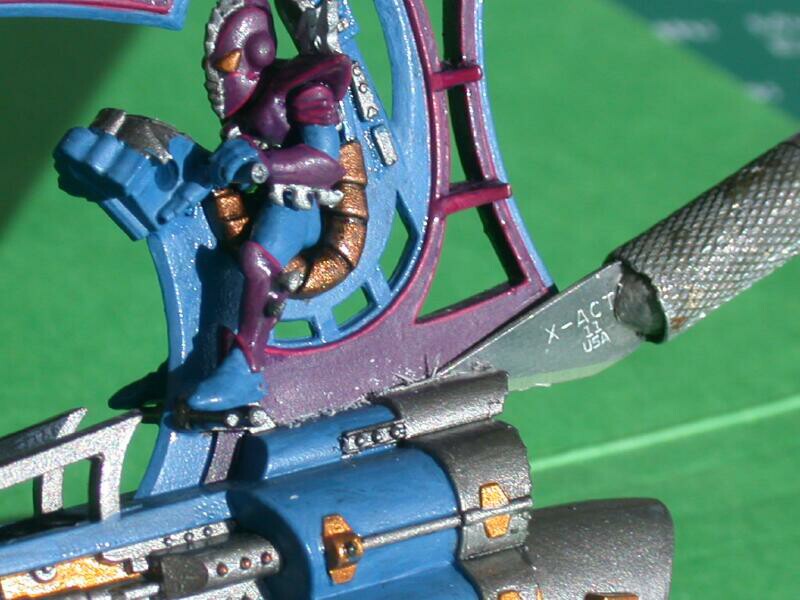
Step 1 – Remove the tail section from the raider model.  
Use a knife or saw to do this.  There are two ways to cut away the tail: you can cut it off flush with the main raider body or preferably cut into the body and remove the tail and small section of the body attached to the tail.   The latter is more difficult with an assembled model.  You will need a sharp knife, and you will need to make progressively deeper scores/cuts in the plastic until you cut through. Normally, you will only need to cut the plastic on the left side of the raider tail because the right side forms part of the joint between the two raider halves.  If you happened to glue the raider together at the tail section then you will need to cut away the tail section on both sides.  The illustrations below show the method for removing the raider tail by cutting into the body of the model.  This is more challenging but it removes the tail and leaves a needed slot in the raider body.
Begin cutting on the left side of the raider at the point just behind the pilot's foot.
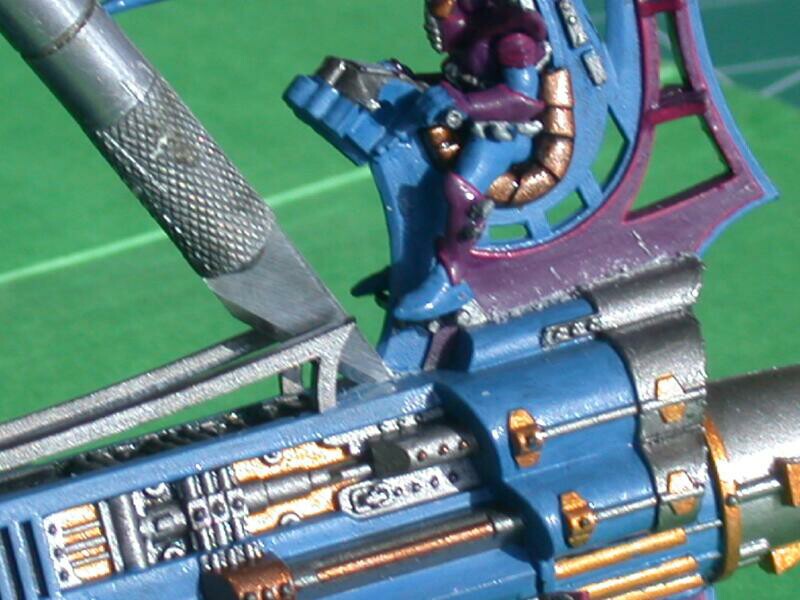
The cut is made along the edge of the tail section to the rear of the model.
Cut through the back of the raider body to the ribbed disk  above the jet nozzle.
Next cut around the leading edge of the tail section in front of the pilot's feet
Next Page
1

Hosted by www.Geocities.ws

1