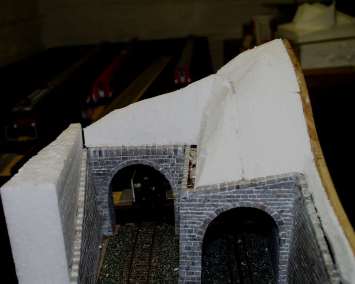
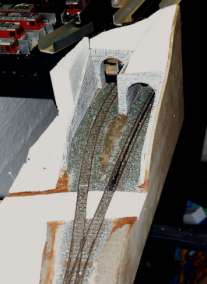
Step 1:
Prepare the underdround of the future rock outcrop. For Belvédère Styropor was used to form the landscape bases. The surface was carved using hobby knifes, rasps and a homemade "hot-wire cutter" (an old wooden coat hanger with piano wire connected to a 12V power supply).
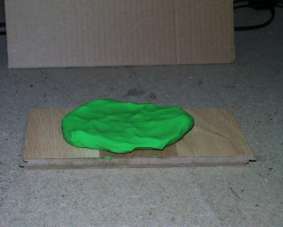
Step 2:
Prepare the matrix for the cast out of plasticine: flatten a piece thick enough so that the inprint of a rock can be taken.
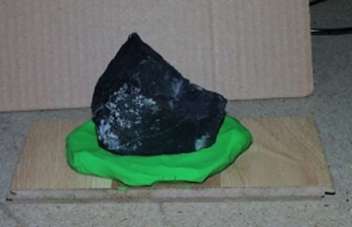
Step 3:
Take an inprit of chosen area. Make sure that the piece of rock is pushed straight from above into the matrix to leave a perfect inprint:
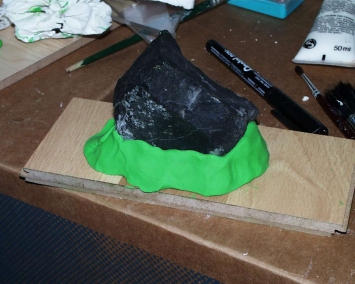
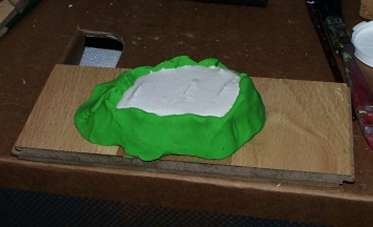
Step 4:
Create an envelope around the piece of rock by padding some plasticine around the base of the rock. This will help to contain the liquid plaster and create a base for the cast:
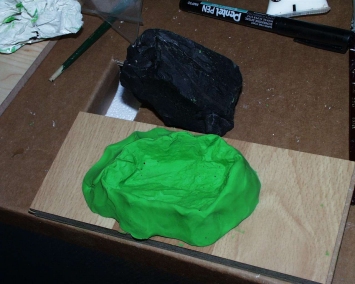
Step 5:
Remove carefully the piece of rock and check the matrix. If the quality is not satisfying repeat steps 2-4 until you are happy:
Step 6:
For the casting I use plaster which sets in about 5 minutes:
Step 7:
Leave the plaster to set solid before succombing to your curiousity (hence the short curing time)...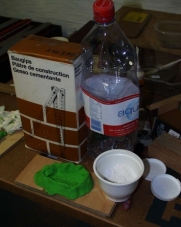
Step 8:
Removal of the cast out of the form: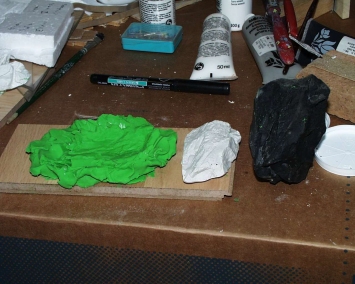
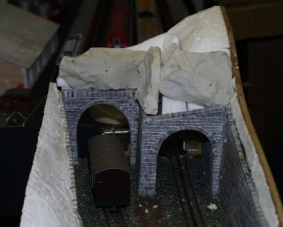
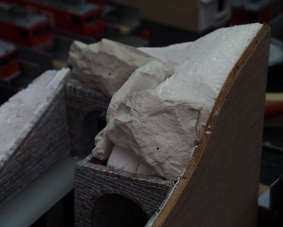
Step 9:
Align the various plaster castings on the layout and glue them in place. In a further step, the area in between of the castings can be sceenicked with plaster and dried brocken-off pieces of plaster.