DIY Orange OR80
Last update: 21/04/2003: layout addedHOME
| My Orange OR80 MKII copy |
Why an Orange?
All the reasonable to good bands around here have Marshalls, the really really rich bands have Mesa's and the older guys mosty play Fender amps. Other amps like Soldano and Orange are hardly seen in Belgium. So I got fascinated by these orange monsters but there are no dealers around and even if there were, they're not exactly cheap. I was getting into the amp building thing through the fantastic AX84 project so I decided to build an Orange as my second project.
Where to start?
First I needed a schematic so looking around the web I found only three and they were all MKII's! But when i looked at them more carefully I could notice some subtle differences. From that time on i collected everything I could find on Orange amps and put it together at my Orange Page.
I soon learned that these MKII's were the base for all the Orange amps that came after so this would be the schematic to use for my project. I picked the post '74 schematic because it was the most readable. Also the electrical changes between the versions didn't seem that big.
Orange amps were mostly PCB amps. But I didn't have a PCB layout and I don't even know how to make a pcb so I decided very quickly I would do it without pcb as in my AX84 P1 amp. In this amp I wanted to use an eyelet board. I surfed the www and soon found the great layouts of Doug Hofmann. I used his Plexi 50 layout as a base for my own OR80 eyelet board layout.
- It also incorporated 2 EL34s so the poweramp was almost identical.
- The preamp of the plexi has three tubes so the OR80 was a bit simpler there.
- The Orange has a Baxandall tonestack that is very difficult to layout on a PTP board. After consulting some more experienced amp builders like Brian James, I soldered my tone stack on the pots.
With the Baxandall on the pots things got a lot easier to layout.
Getting the parts
The next main problem was looking for the right transformers.
- PTs are usually not that critical so I used a Marshall-esque PT with the same secondaries as the ones in the MKII schematic.
- The OT then: Orange OTs are reported to be very beefy. Especially the older ones are said to be really oversized. So i ordered a 2 x EL34 Marshall-esque OT but I had it wired upon a 100W core, so core saturation would never influence the sound.
Both transformers were ordered at Tube Amp Service (Tongeren,Belgium) . They have a simple look (no end bells) but they do the trick quite well, voltages match exactly with the original schematic.
The chassis is from aluminium but it should probably be a bit sturdier to cope with 9 kg of transformers.(yes our mailman did complain! :-) Steel is probably better. But then again why not have a copy of the original right away? :-)
Most other parts (tubes, sockets and some excellent capacitors) came from www.diyparadiso.com.
Improvements to the original schematic
- The eyelet board is easier to maintain and easier to change than a pcb.
- I do have a standby switch :-)
- Two 100 Ohm resistors were used as ground refence for the heaters. It's a bit easier than a hum pot.
- My amp has two bias pots instead of one, one for each EL34. I can use unmatched tubes now.
- Two 1 Ohm resistors were added between the EL34 cathodes and ground to make biasing a bit easier.
I wanted to add a bleeder resistor to be able to work safely on the amp. But the reference resistors on the second 'capacitor tree' already do this! Nice side effect!
status 01/01/2003
So far I have tried a few mods from my page:
- I threw out the "tone eating capacitor" but I'm not completely sure what to think of it. It seems to sound a bit clearer or "more sharp", but I think I'm going to redo the test with a switch so I can A/B it properly.
- I put in a master volume, but I used a linear pot. Apparently that wasn't the way to go. It does work, but the scale doesn't match. I just got a log pot to replace it.
status 19/8/2002
Mostly finished. V1.0!
status 9/6/2002
Found the solution for the feedback problem.
I didn't connect the ground of the OT to the circuit of the circuit... I found the solution over at the AX84 bbs. Apparently several people building the Hi-Octane have that exact problem too :-)
status 30/5/02
Went hum hunting and found that I couldn't use a ground rail on the back of the pots. Doug Hoffman did this on his plexi-amps, but apparently, my pots have the bodies electrically connected to the chassis. When I replaced the ground rail by wires all hum was gone. My amp is now dead quiet. At least in the hum department. It hisses at high volumes (like every high gain amp) and what's a lot worse: I have a major feedback problem. My tone controls and presence controls are virtually useless. I have some settings that are ok, but everything else squeals like hell! Tone is great though. The amp has passed a 3 hour rehearsal without any trouble. PT was quite warm, OT stayed quite cool. A Gibson Les Paul is unbeatable with this amp.
I'm now thinking of shielding my tone controls (like in the older Orange amps) to solve my feedback problem. I hope I don't have to change the OT placement...:-(
I've bought some paint for the head. Guess what color :-) I'm also planning on adding the Ken Fischer Master volume mod this weekend.
PICS

FRONT
The hole on the right has a master vol pot now.
BACK
for the moment I only have an 8 Ohm output, 4 Ohm and 16 Ohm taps will be connected too.
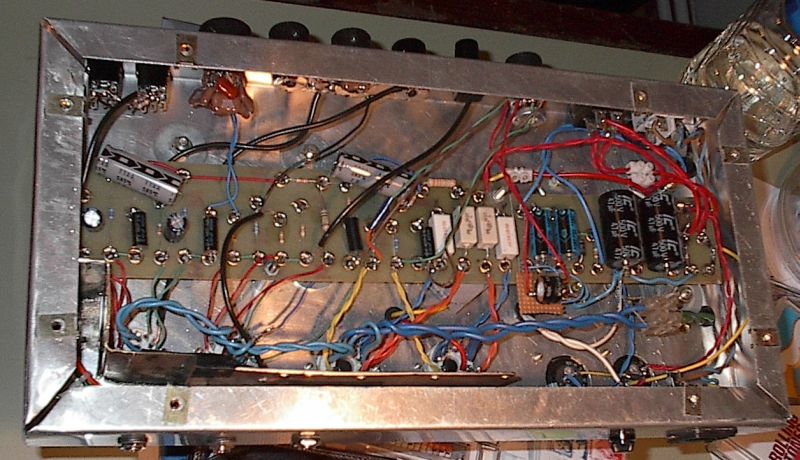
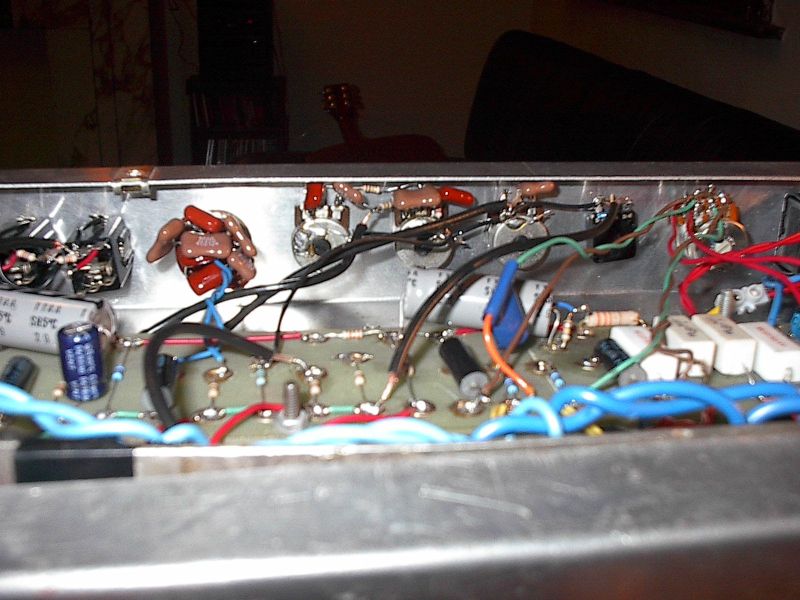
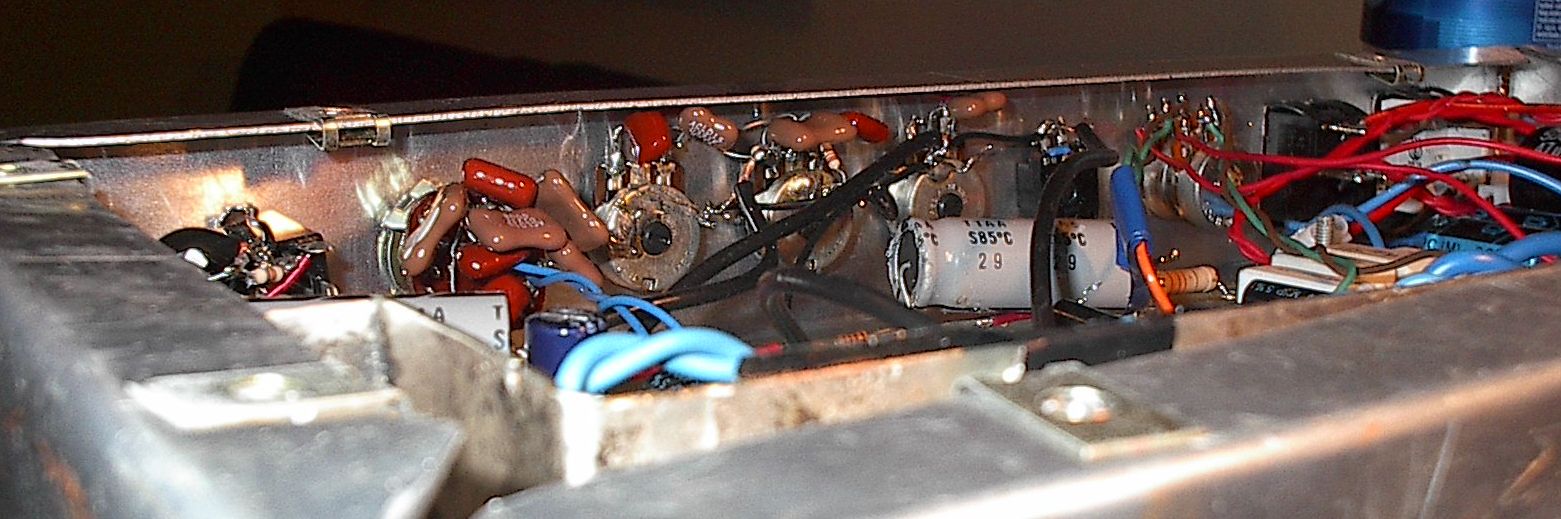
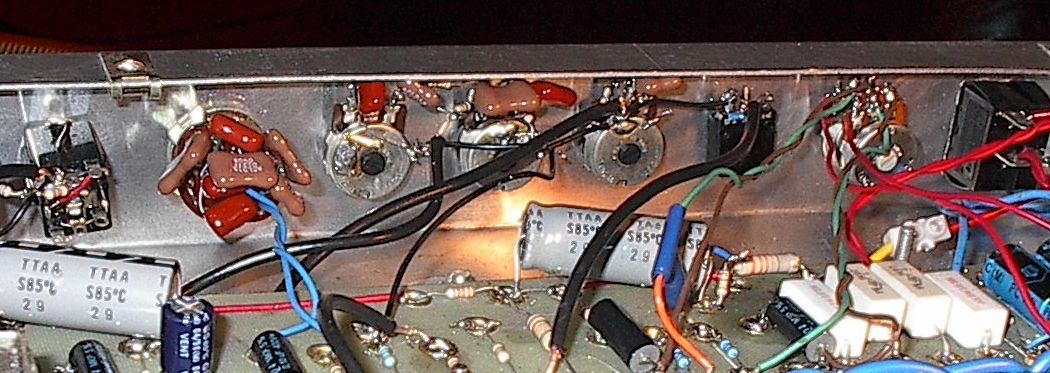
INSIDE
The inside, looks messier than it is.
Future Mods I intend to use this amp to test the mods on my Orange page. If it is running (very close to) perfectly, I'm going to try the different mods on my page on at a time. But that will take another month. Or two. Or... :-)
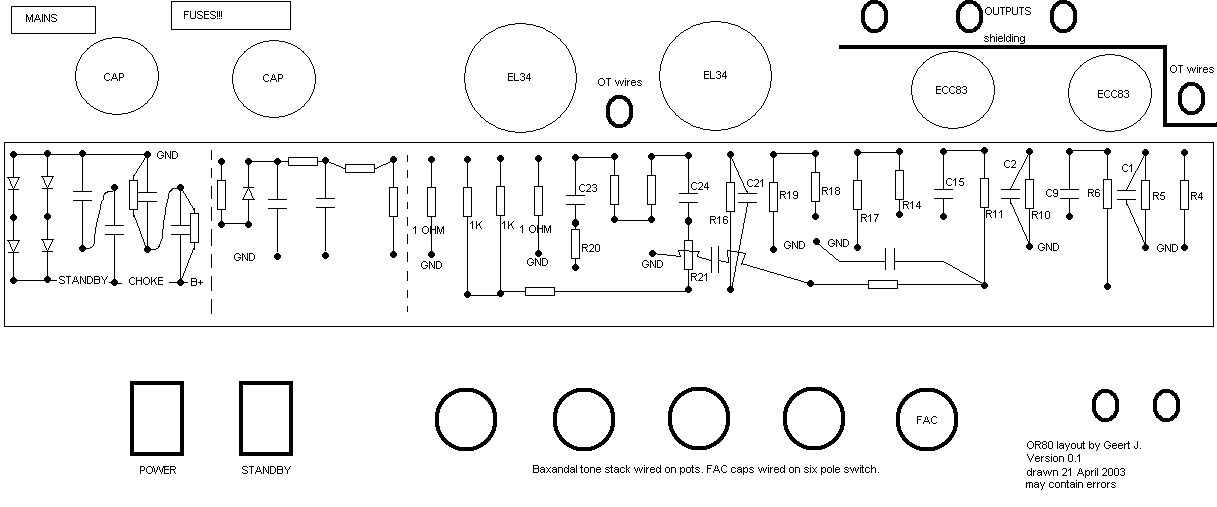
I received a few questions for the layout I used, so I drew up a rough sketch of my layout. It isn't nice, but it works hum-free. Some remarks:
- I put the transformers as far apart as possible to reduce possible hum
- I shielded preamp from the outputs. this was necessary because of the tight fit.
- bias pots were placed on a small piece of board glued to the main board
-...
png version of the layout
bmp version of the layout