|
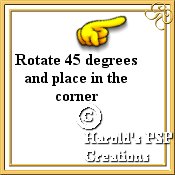
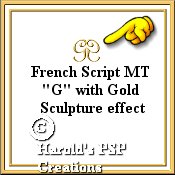
29. Click on the "Layers Option Pallet." 30. Add a new layer and name it "Corners." Click Ok. We are going to make our Border Corners out of a Font letter. I have used the letter "G" in the "French Script MT" font. If you wish to use a different letter, that's fine. |
 |
|
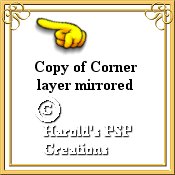
31. Click on the "Text Tool" 32. While the "Marching Ants" are still around the letter "G," position it on the white background so that it is easy to see. Deselect. The "Marching Ants" will disappear. 33. Repeat step 31 and and when the second letter "G" appears, go to "Image/mirror" and the second letter will reverse itself. While the "Marching Ants" are still active, position the second "G" so that it is adjoining the first. We now have our first corner. Deselect. The "Marching Ants" will disappear. |
|
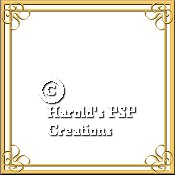
| Now to save your work again. Go to "File/save" and your work will be updated in the same name of "Gold_frame.psp." | |