Salvaging 4 pole magnets from surplus assemblys
The reason for this photo sequence, is too steer readers away from trying to use blunt objects to force the magnets off the steel assemblys. My own experience has been that the percentage of loss (magnet breakage), is greatly reduced by this approach; rather than prying or knocking off the magnets with a hammer. Trying to use the assemblys as is, is also difficult, and invariably leads to some magnet removal approach. The best source for these assemblys are surplus outlets, either locally or via mail outlets.
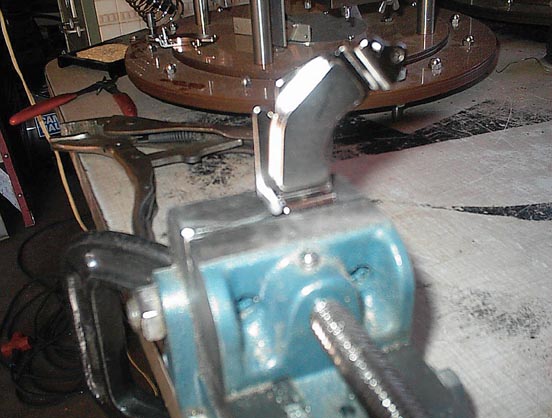
990909-001a
Somewhat blurred by the camera...the object in the
vise is a typical 4 pole magnet, which is glued underneath; and has drops
of epoxy to the side. The vise only holds the steel frame.
990909-002a
A side view of the assembly before visegrip fliers
lock onto the frame and bend it to the left.
This action "pops" the magnet loose from the steel
frame.

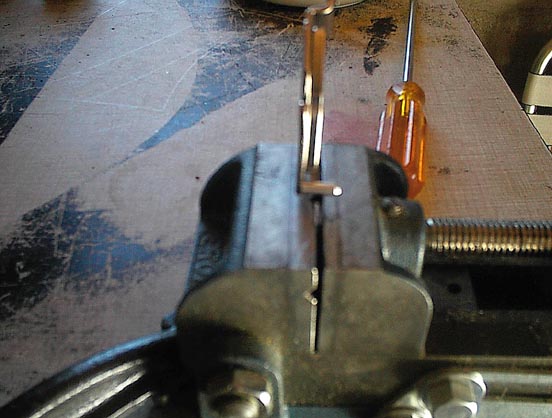
990909-003a
A picture of the vise grip onto the assembly before
bending.
990909-004a
After bending, one can see the magnet partially loose.
Out of some 20 magnets assemblys, only 2 had their nickel plating torn
somewhat, but the magnets were not broken.

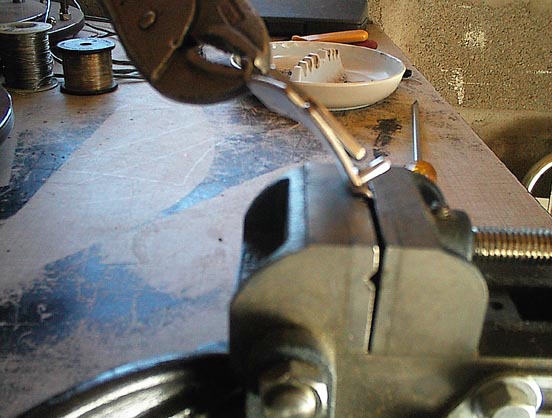
990909-005a
Here, is shown a screwdriver in assisting by leverage
the removal of the magnet from the steel plate. Actually, its possible
to remove by fingers usually at this stage, but, the neodymium magnets
have such a strong field, that if you slip and pinch skin, it can crush
it.

990909-006a
The magnet free of the steel frame (on the vise grip).
On the steel frame, one can hold the glue (darkened) appearance where the
magnet was affixed. This magnet came clean, as the surface is unmarred
from the glue.

990909-007a
Another view of another assembly prior to bending.

990909-010a
A somewhat better view of the glue deposit on the
steel assembly, after the magnet has been removed.