"Beds in Saxon times consisted of a board often placed in a recess, hung about with curtains for warmth and privacy.
A rough mattress made of straw was covered with decorative fabric.
The Normans brought with them from Medieval France a more elaborate bed style, where iron railings were used to hang
the curtains, and both coverings and curtains were rich, elaborate and highly prized. These gradually developed into the
huge four poster beds, heavily carved and richly hung."
And thus, the journey begins....
I have designed a bed that hangs from corner posts by chains. The only logical way to pull off such a design is to do it
"Medieval Style". So, after 3 years of design changes, Research & Development and prototype testing, I believe I have come
up with a design that will be quite functional... masculine enough for the "Man's Man"...yet very elegant for the Ladies.
So follow me on this "journey" and see if I can pull this off....
(At the very least you can watch to see if it all collapses in, crushing me and my design capabilities in a single blow).

Here's the proposed plans:
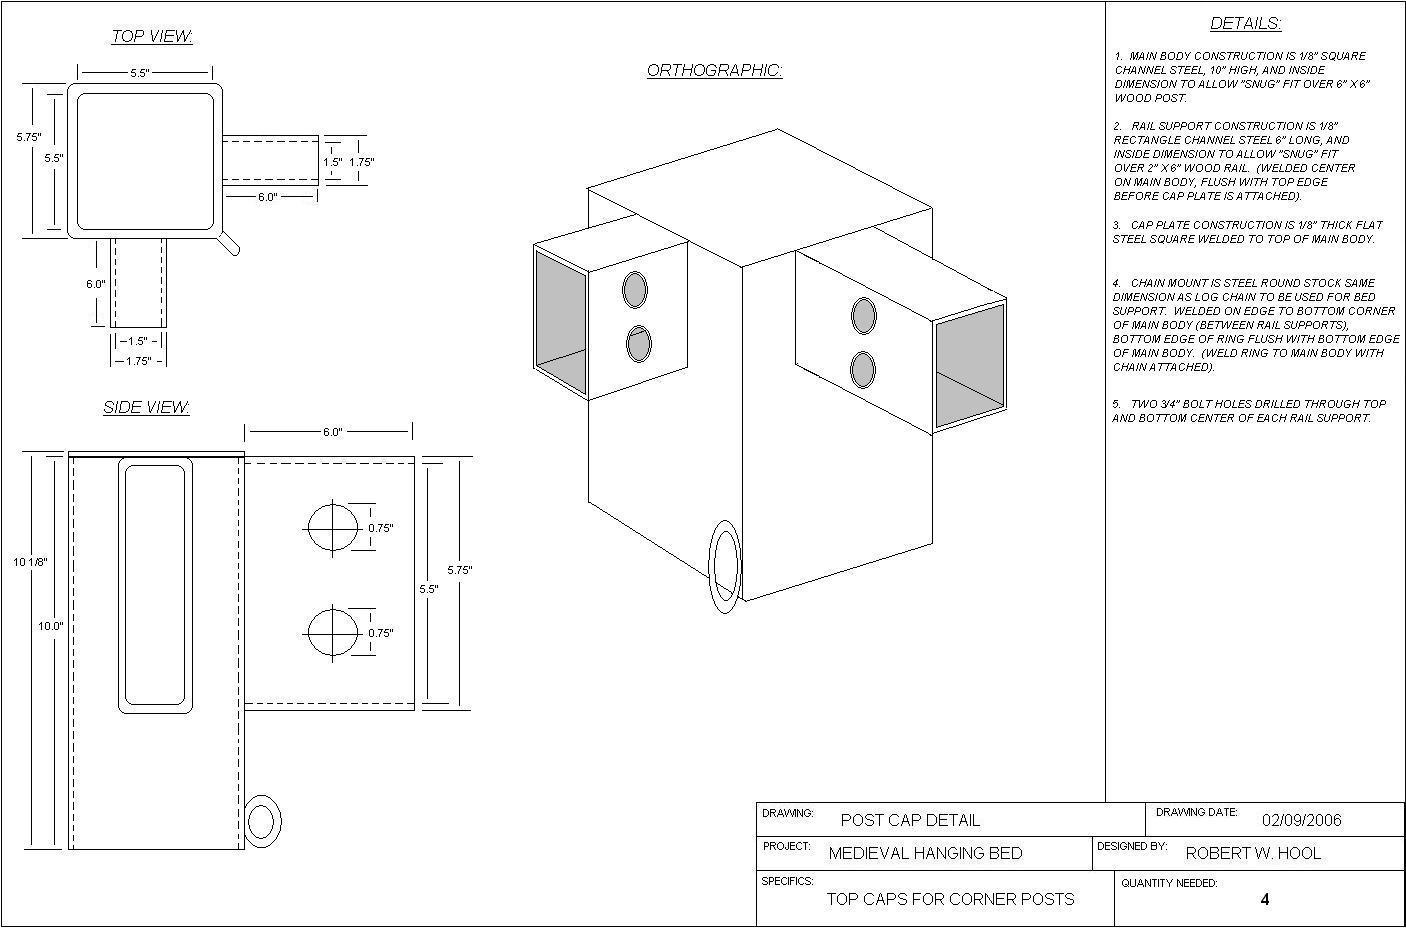 |
Top post cap details. |
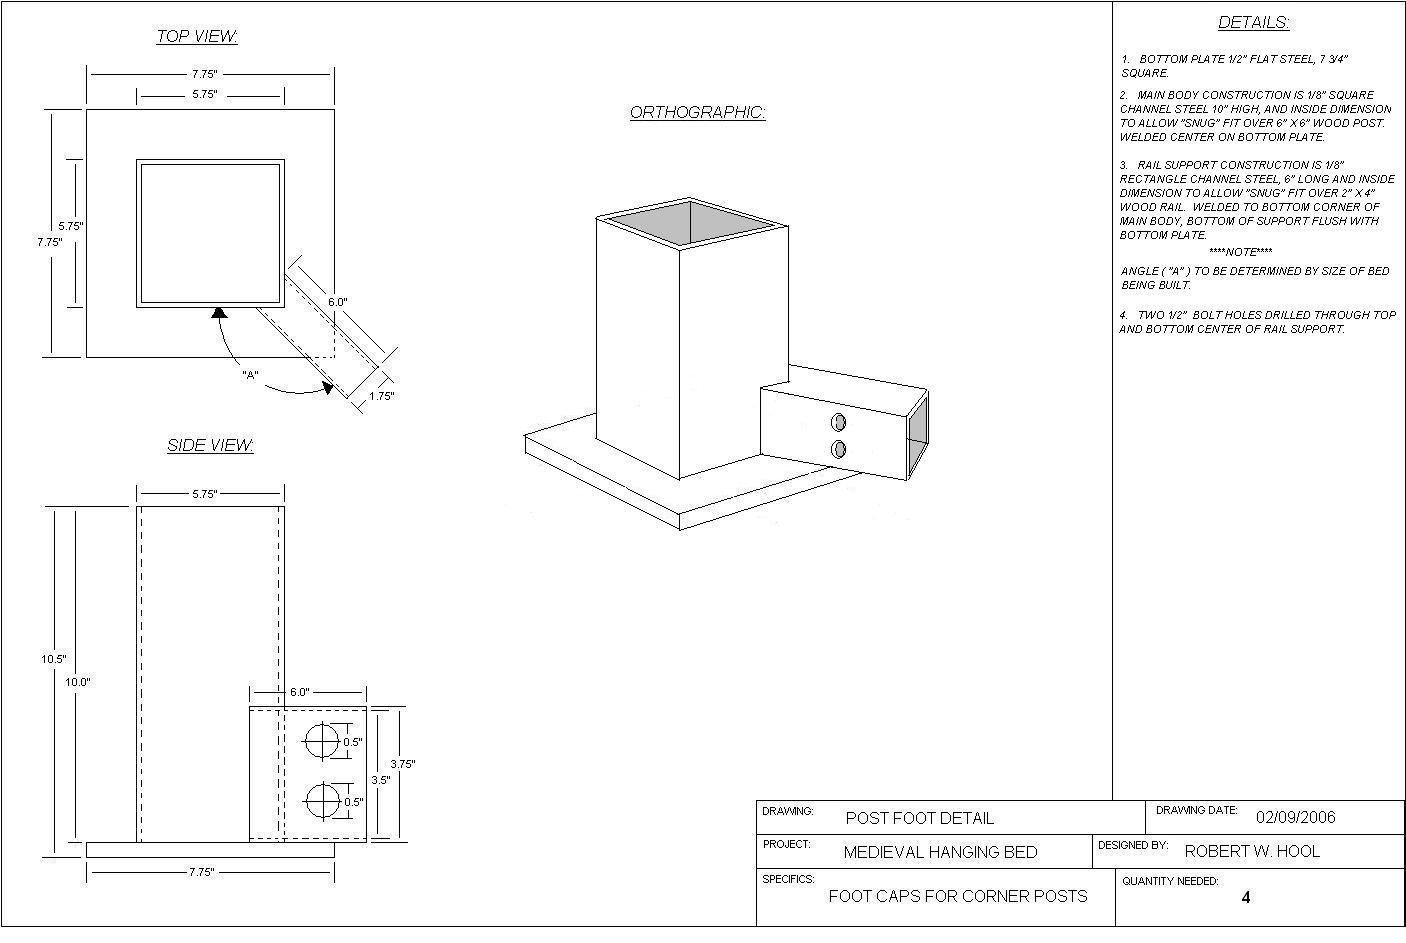 |
Bottom post cap details. |
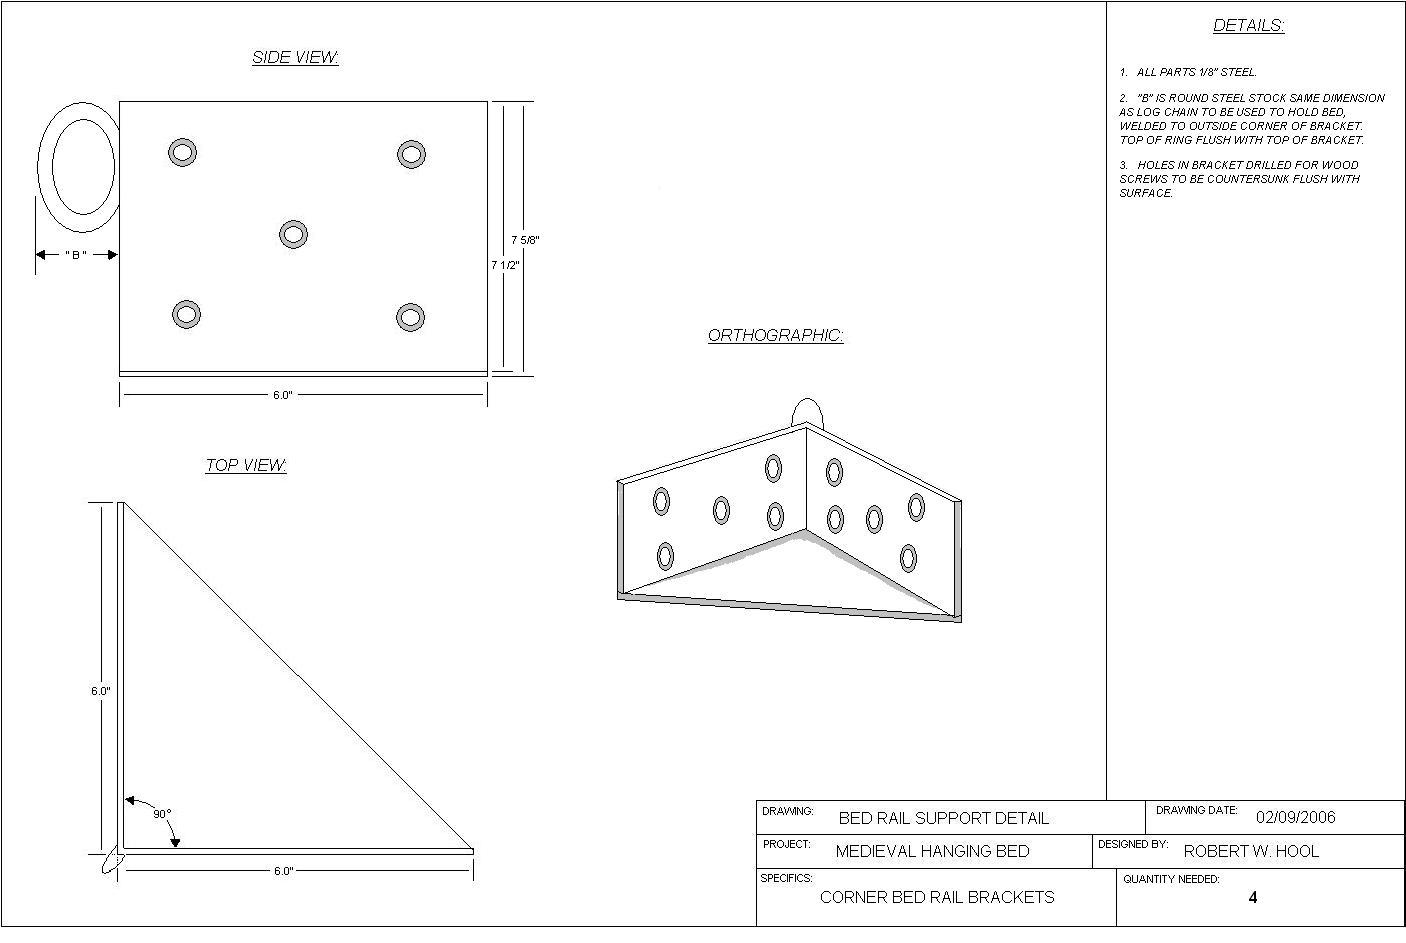 |
Bed frame corner bracket details. |
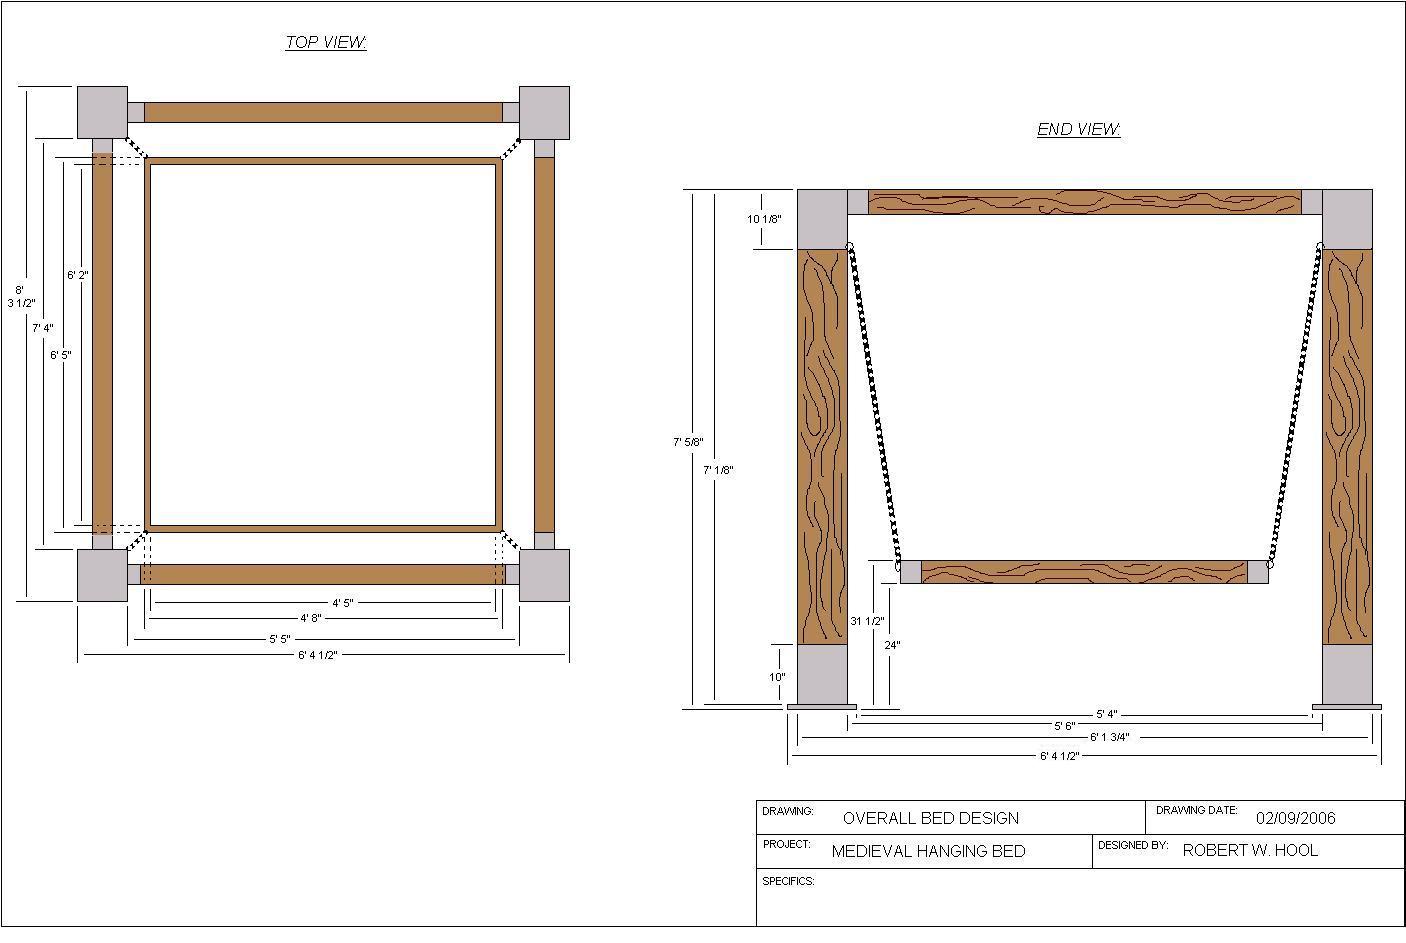 |
Overall bed frame dimensions. |
 |
A general idea of how the outer frame will look. |
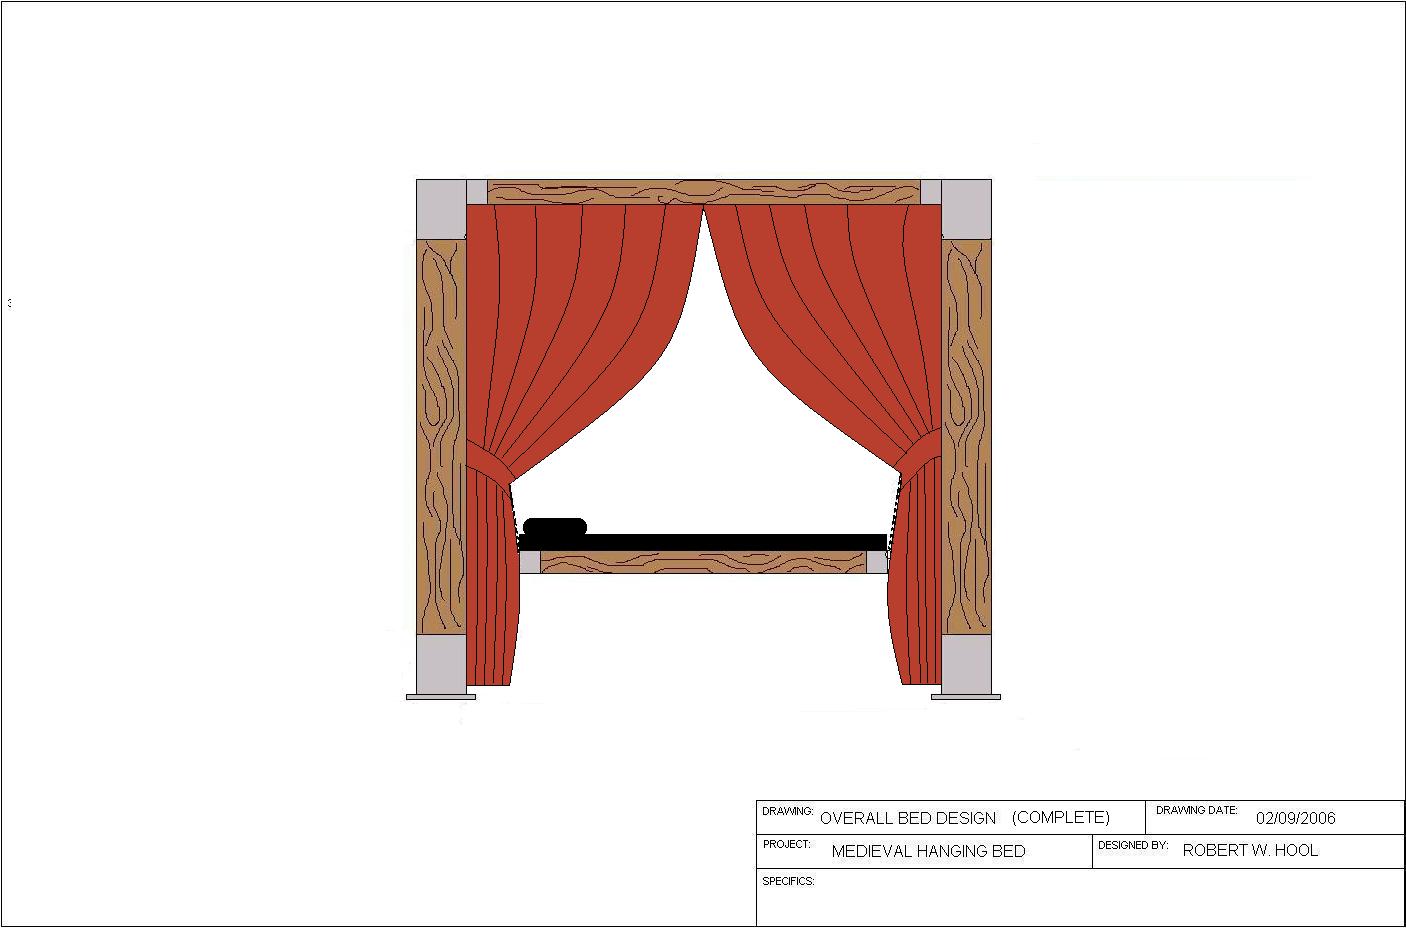 |
And the proposed "finished product". |
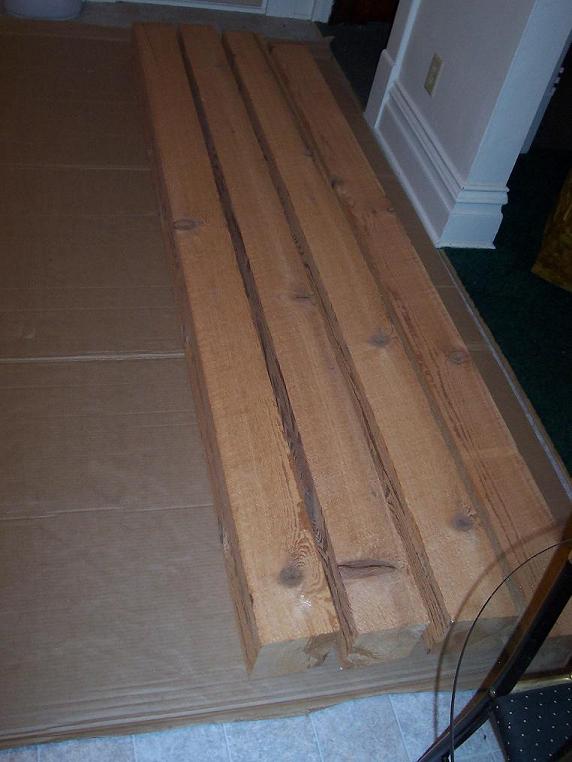 |
Day 1 2-15-2006: Purchased four 6" X 6" Rough Cut Corner Posts from a local sawmill. When I build things, I always "Over Engineer" the design. This is my trademark. In doing this, I know that the device will not fail structurally under normal use. Therefore, I give all my designs a lifetime guarantee. |
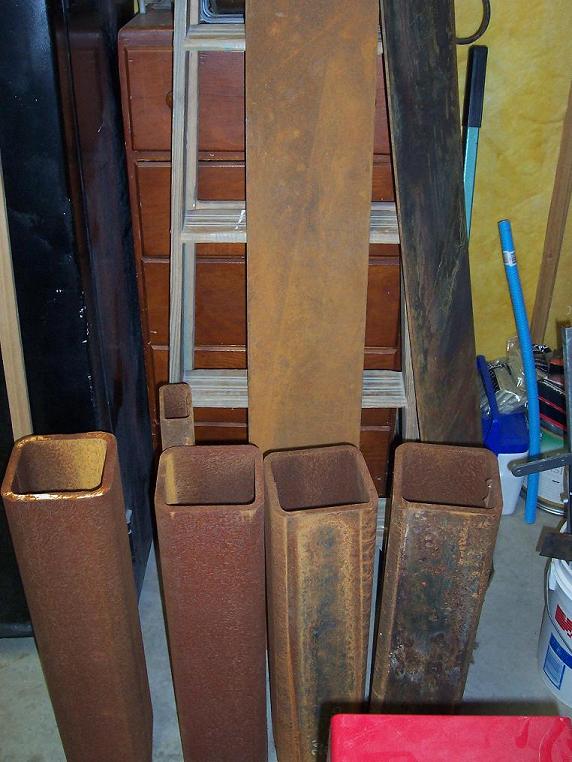 |
Day 2 2/20/2006: Purchased 395 lbs of raw steel. Enough to make almost all of the metal parts for the support structure on this bed. |
 |
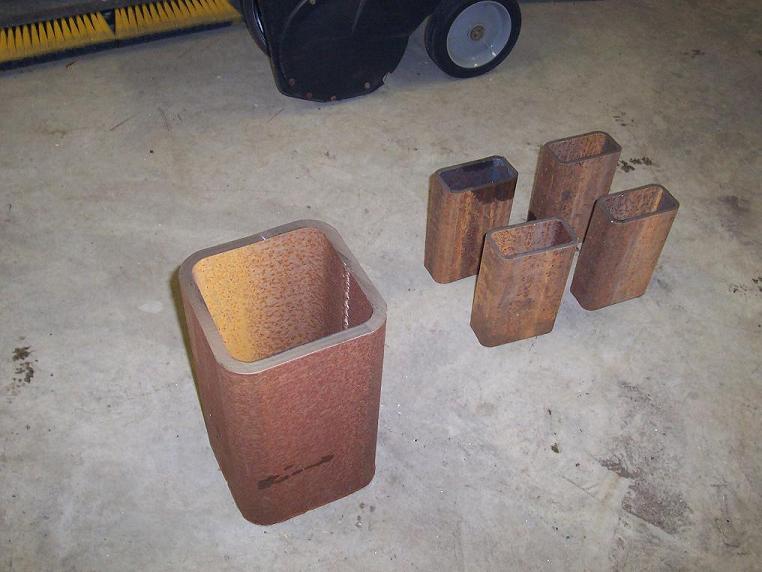
Began cutting the larger pieces of the support structure. (Looks like a hefty chunk of metal eh?...you'll understand why when you get to the end of this project...I hope). |
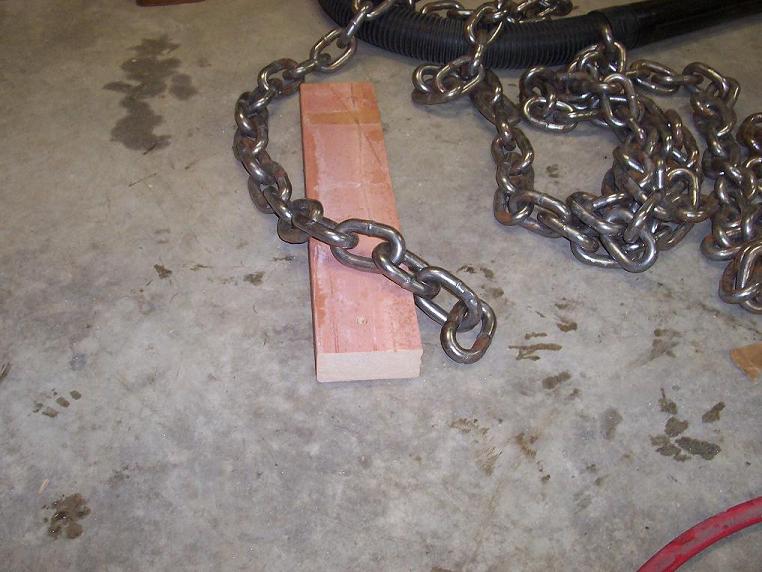 |
Day 3 2-21-2006: Purchased 20 feet of 1/2" log chain to use in hanging the bed frame. The next size up would be anchor chain used on the ships by the U.S. Navy....not ready for that....yet...(Hmmmm??!!...) |
 |
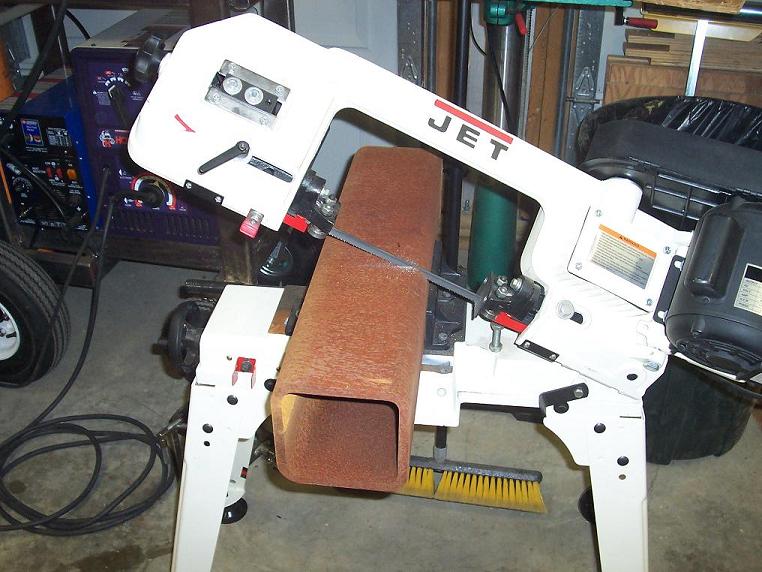
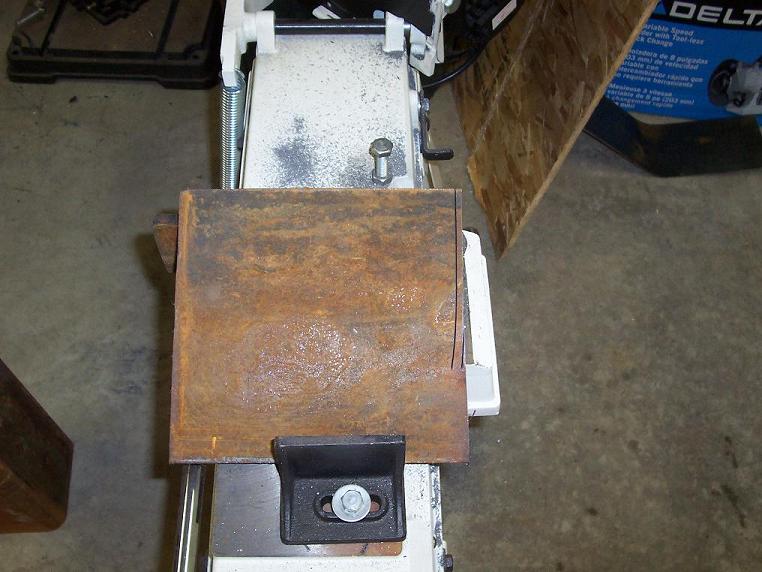
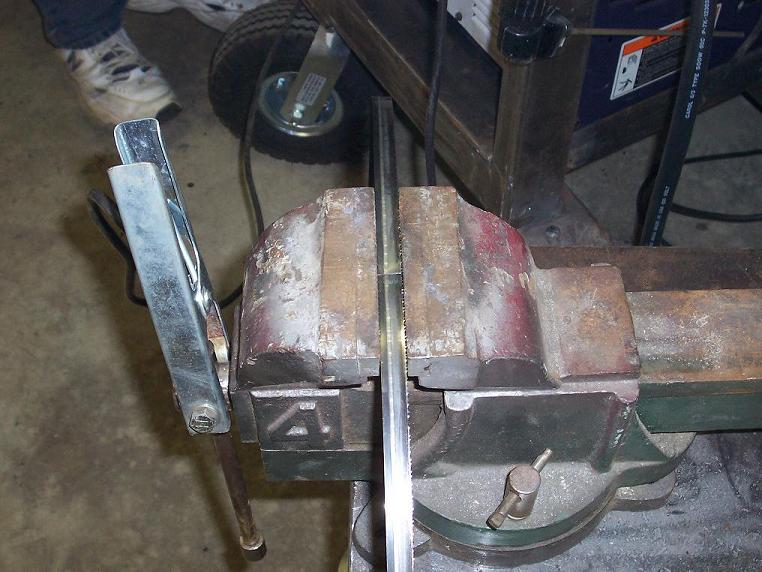
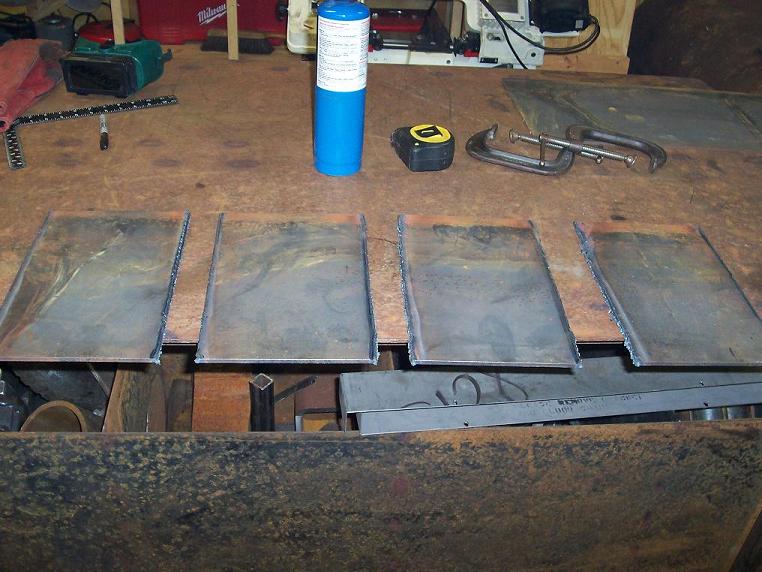
Work got off to a slow start this morning. Started cutting the 1/2" plate steel to be used for the corner post foot caps. |
 |
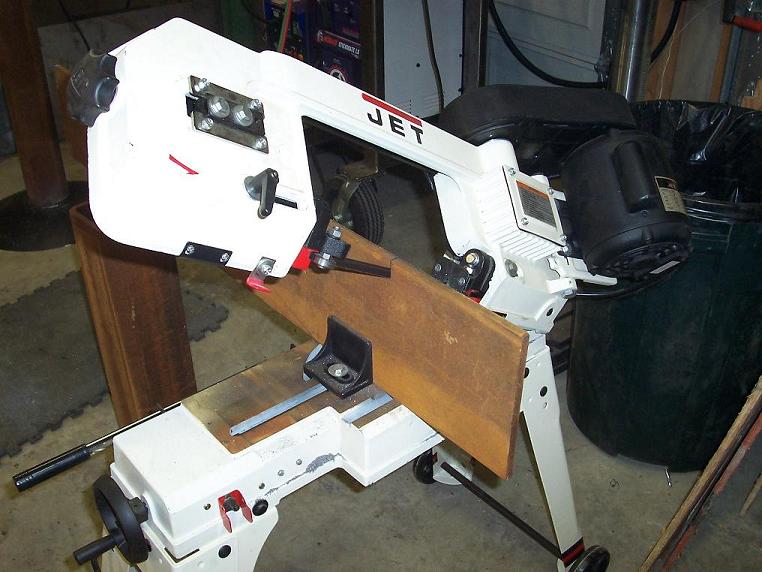
A minor setback as I ponder why the band saw refuses to cut a straight line!!! Then inspiration hits... |
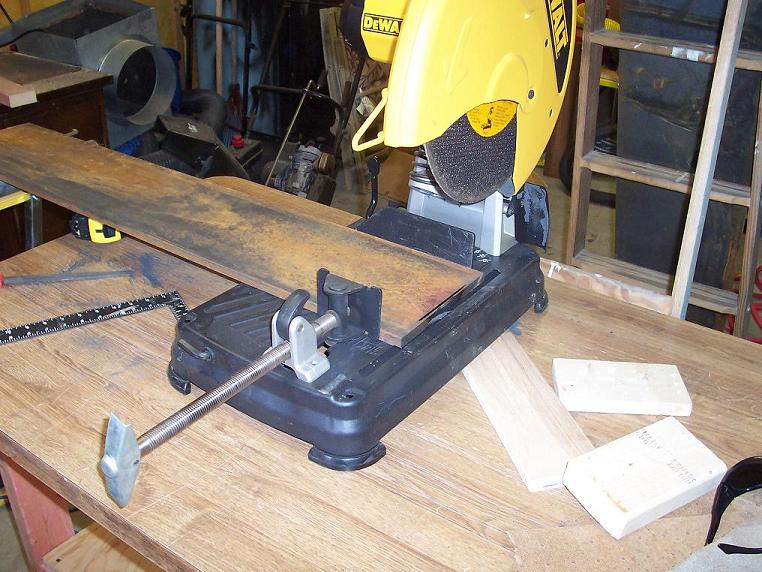 |
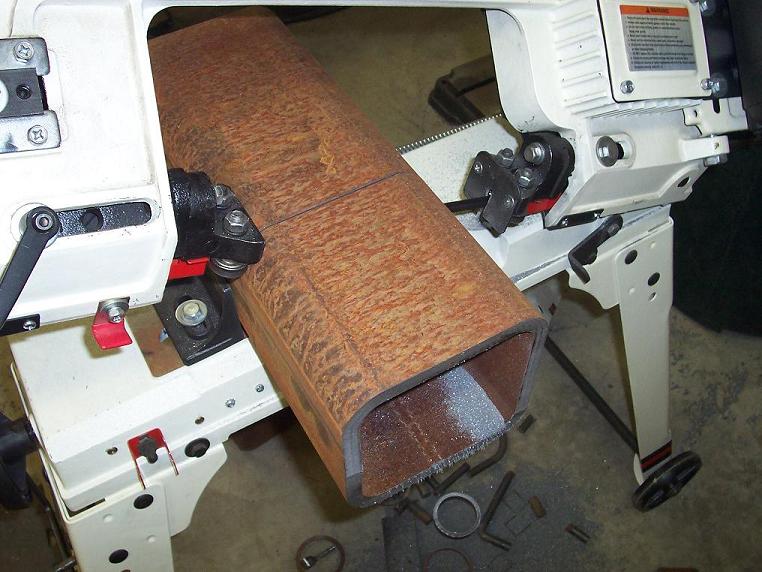
I figured that a chop saw would cut 8" wide, 1/2" thick plate steel.... After 20 minutes of showering the shop with sparks, blowing the circuit breaker 4 or 5 times, until it was fully cooked to the point that it had to be replaced, I hadn't even cut half way through the steel. After more pondering and a consult with my brother, it was determined that I was using the wrong size blade on the band saw. Abandoning the chop saw idea and changing the blade on the band saw, I resumed cutting, trying to make up for lost time. |
 |
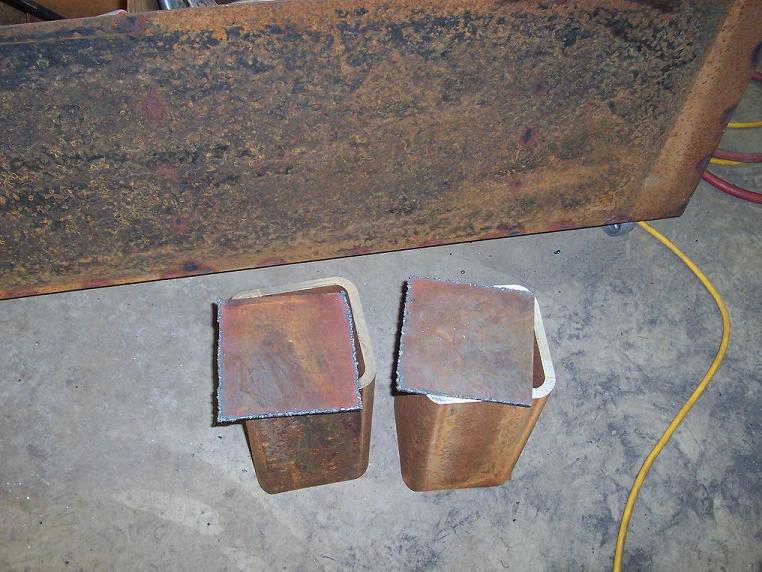
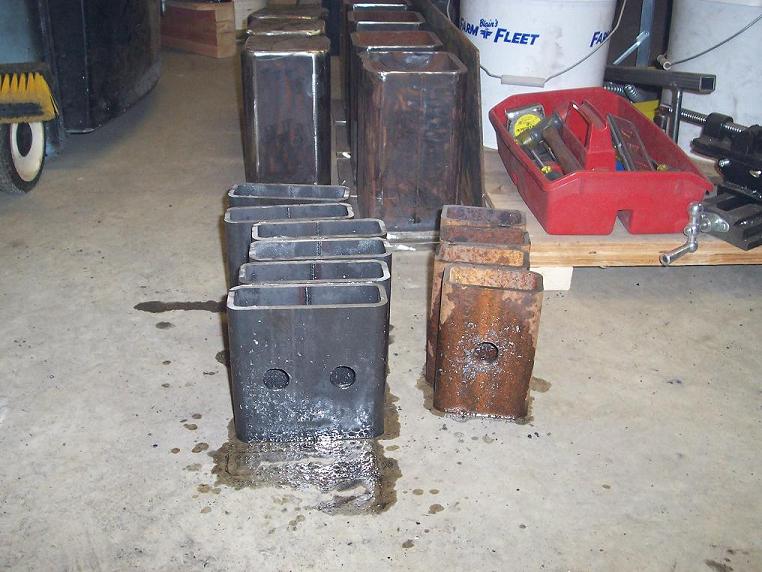
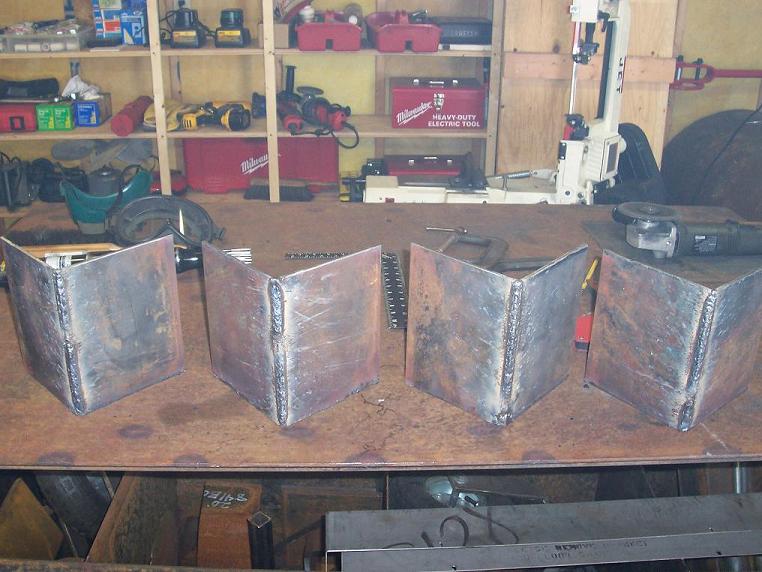
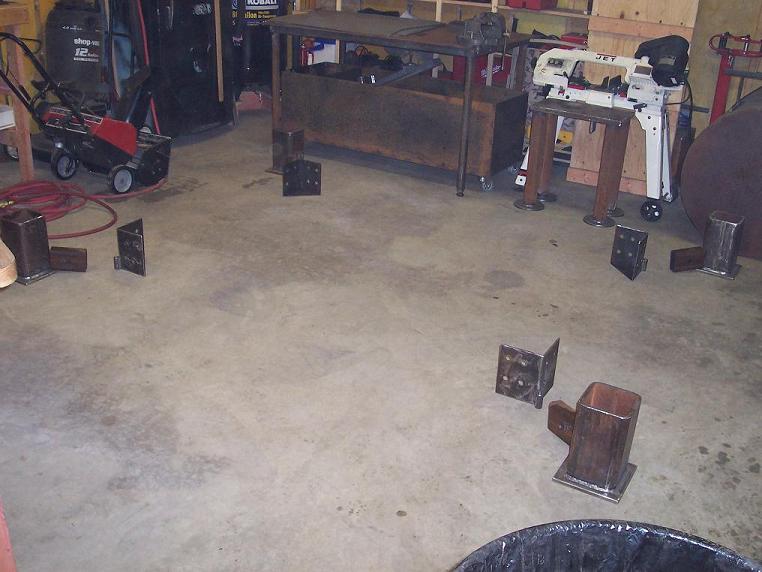
After much cutting, grinding, welding, and more grinding...they're almost done!! |
 |
Day 4 2-24-2006: We weren't having very much luck cutting with the conventional blades that we were getting, so today we picked up a bi-metal blade to see if that would solve our problems. It cut very nicely. I Cut the bottom rail support brackets and the corner post top caps. |
 |
While cutting the corner post top caps, the new saw blade broke. In desparation, we attempted to fix the broken blade. It worked for about 1/3 of the way through the last cut of the night before breaking a second time. |
 |
Because it was the last cut of the night...I decided to throw an old blade on instead of trying a second time to fix the new blade. That blade broke after about 2 minutes of cutting. So I threw on the very last useable old blade that we had in the shop to get the cut finished. It worked. |
 |
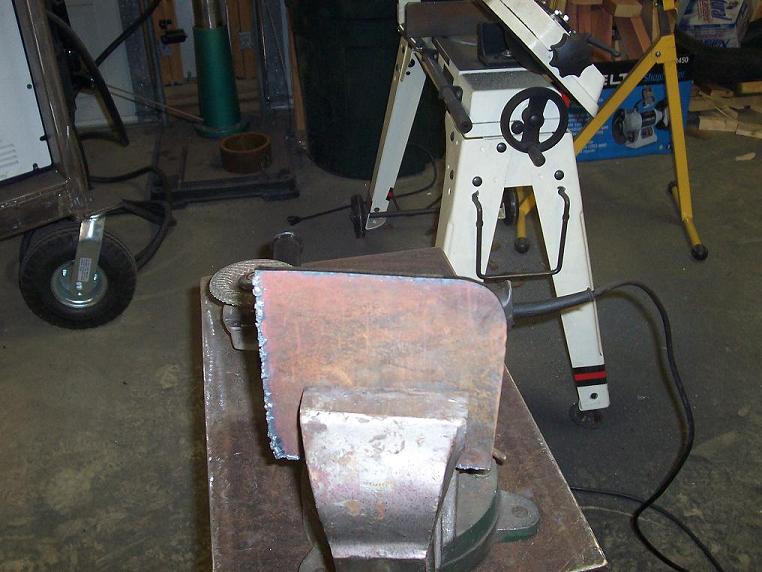
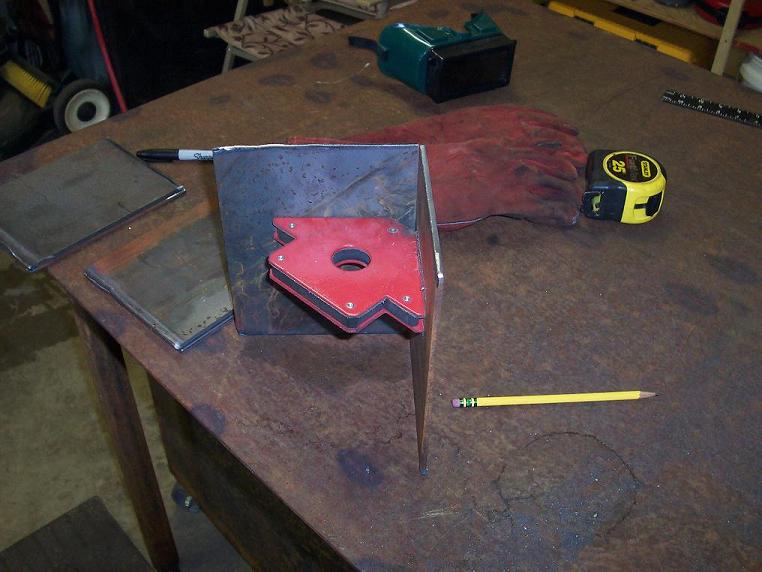
Day 5 2-27-2006: Cut the plates for the top post caps. I decided to use the torch for this, as I need practice with using it, and I didn't feel like fighting with the band saw yet another day. |
 |
A little grinding.... |
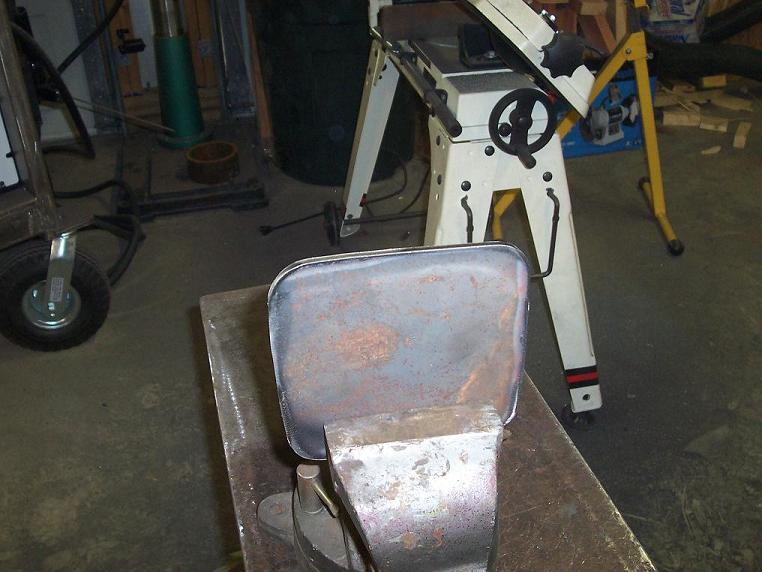 |
And more grinding... until my arms hurt and my hands were numb... |
 |
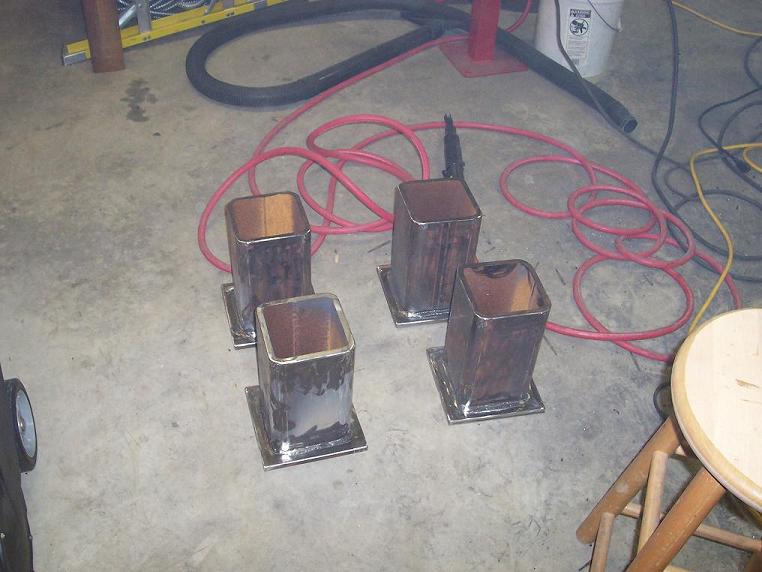
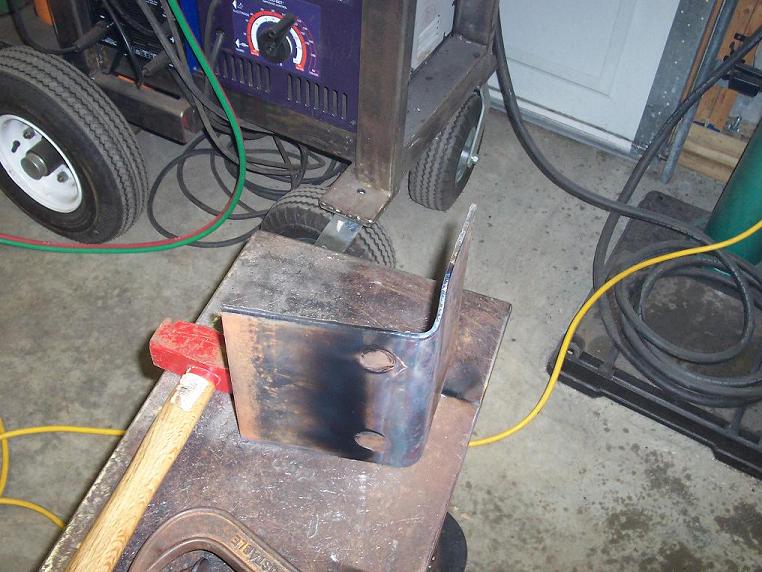
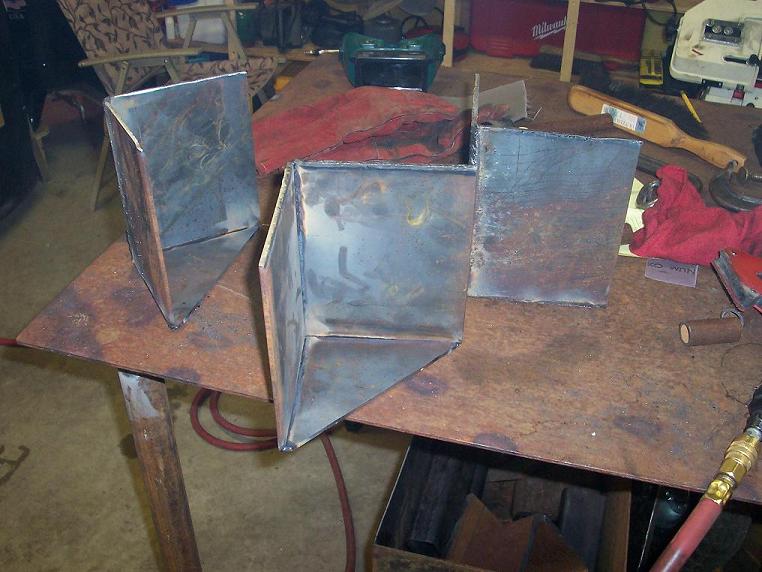
And it's finally ready to be welded on. (One down, three to go...) |
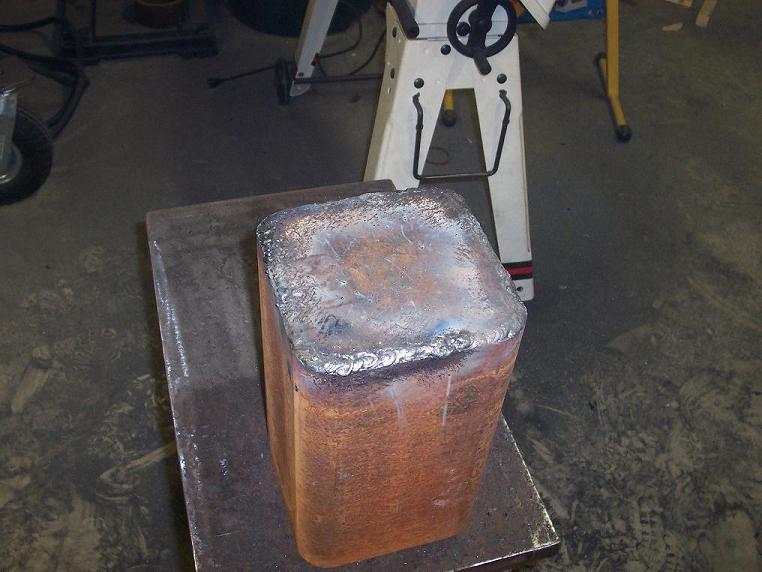 |
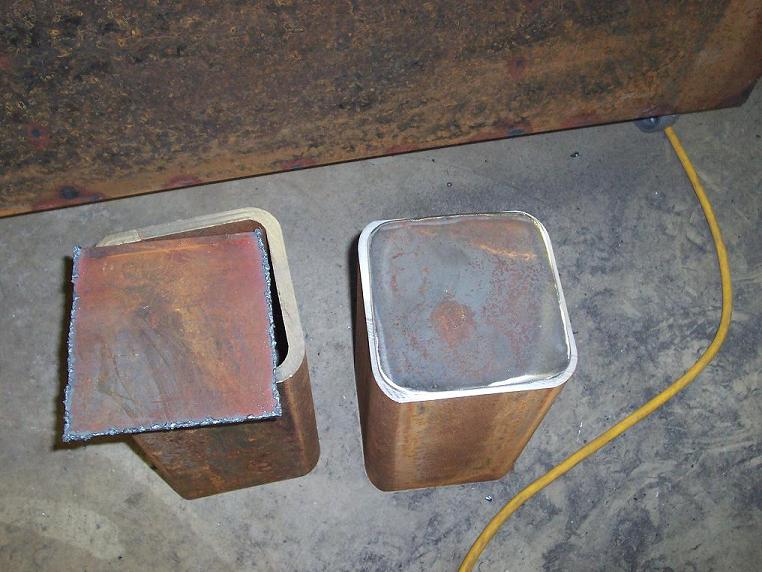
Success!! |
 |
Only got 2 top caps done today...tomorrow I'll get the other 2 done. |
 |
Day 6 2-28-2006: Finished the other 2 top post caps. |
 |
Purchased the steel for the top frame rails. |
 |
Day 7 3-01-2006: Cut the top frame rail supports. Decided to try the bandsaw once again and it paid off. They came out quite nice!! |
 |
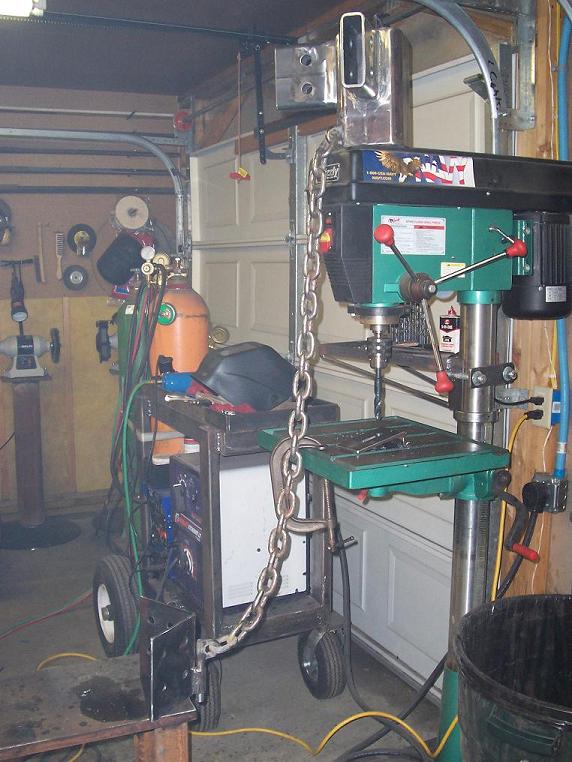
Day 8 3-03-2006: Drilled bolt holes in the top and bottom frame rail supports. This is a lengthy, messy process, as you must use lots of oil to keep the drill bit cool & sharp. |
 |
Day 9 3-04-2006: Laid out and welded top rail supports to the top post caps. |
 |
Top caps with rail supports attached. Somehow, I managed to get them all welded on almost perfectly in place. |
 |
Day 10 3-06-2006: Cut out the bed rail corner brackets. Once again, I practiced with the torch. Still a little rough, but getting better. |
 |
An attempt at being lazy and trying to heat & bend the metal only results in bad craftsmanship, and wasted time. |
 |
Doing it the right way, I cut the pieces, and welded them together to make the right angle. |
 |
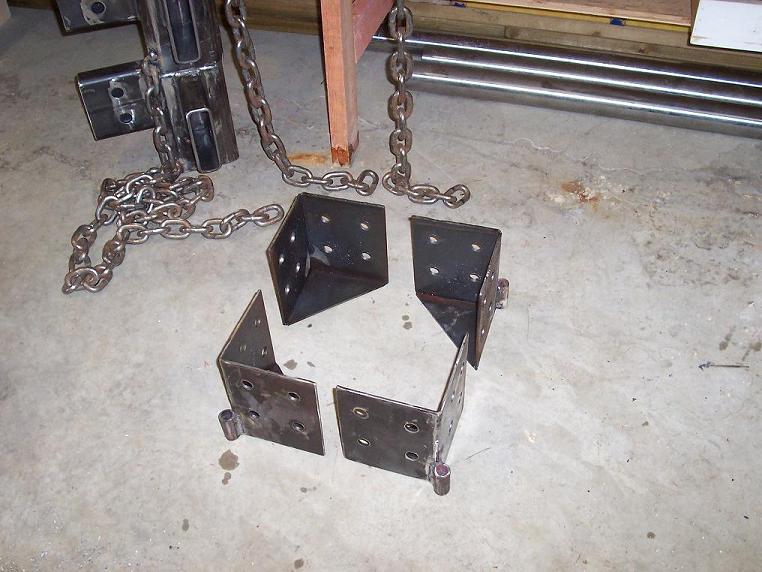
Finished welding the corner brackets. |
 |
Added a support plate across the bottom of the brackets. |
 |
A feeble attempt to attach the leveling device to the corner bracket...I had the heat set too high on the welder and melted the end of the metal pipe. I'll have to cut it off tomorrow and start over. |
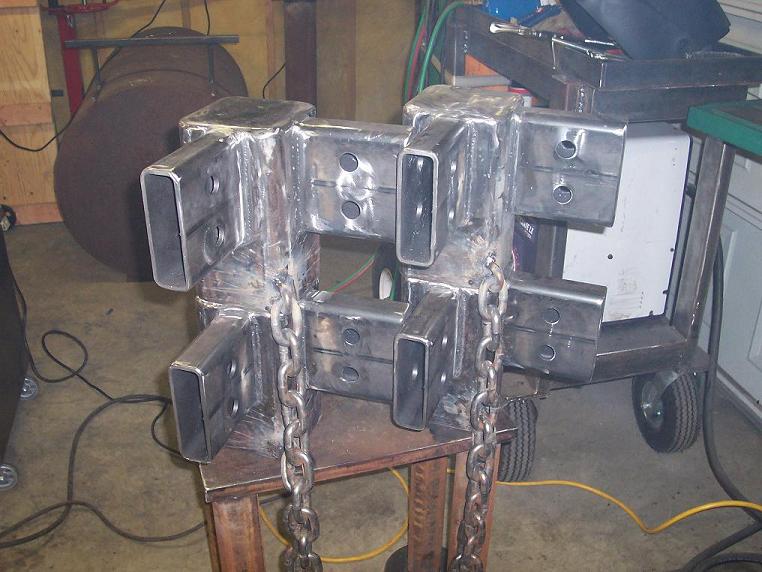 |
I decided to move on and attach the chains to the top corner post caps. |
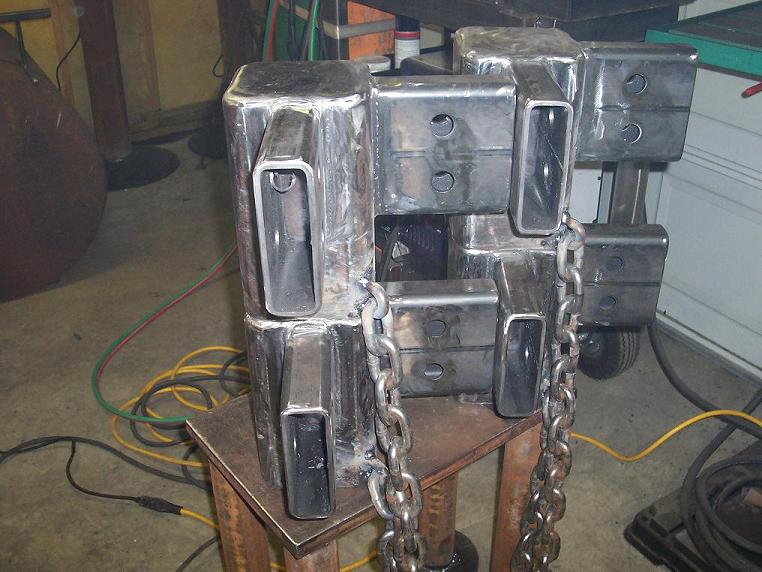 |
Except for some finish grinding and the paint...the top post caps are done. |
 |
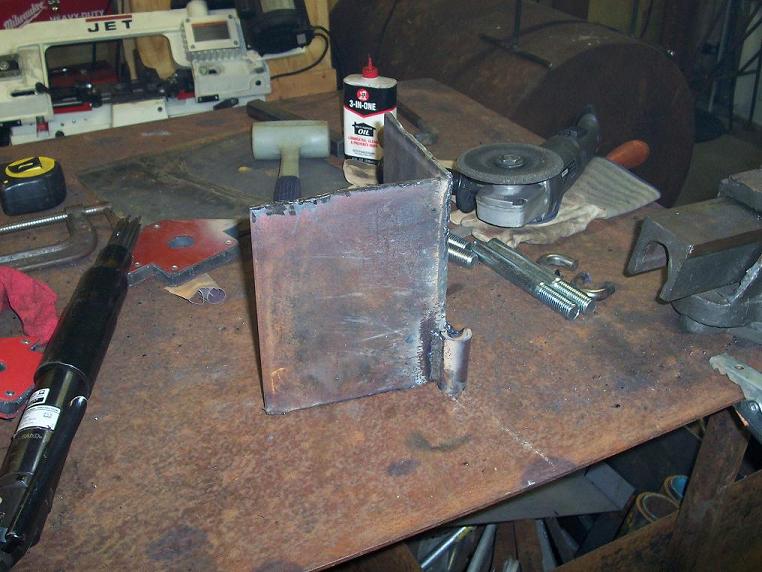
Day 11 3-08-2006: Drilled holes in bed frame corner brackets and welded the leveling pipes on the corners. |
 |
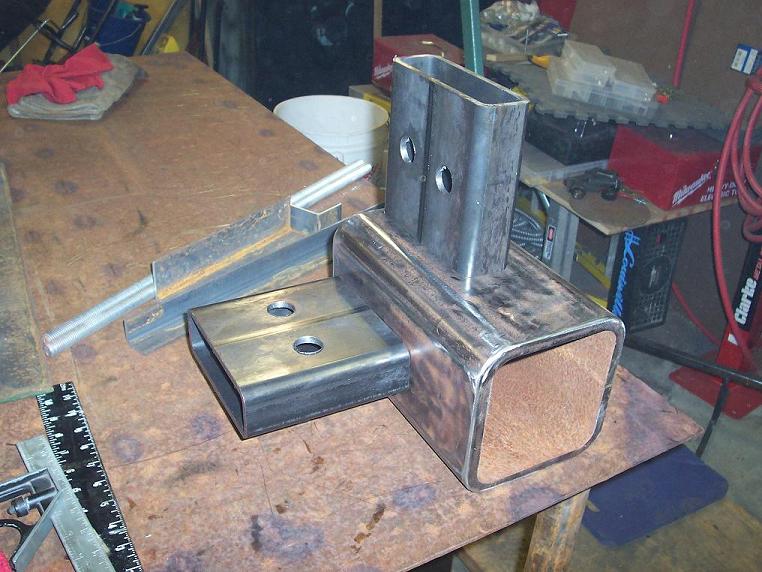
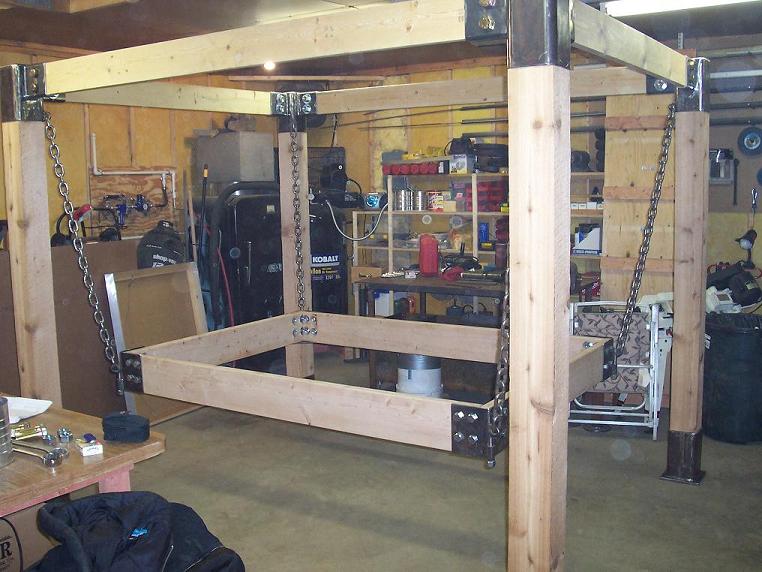
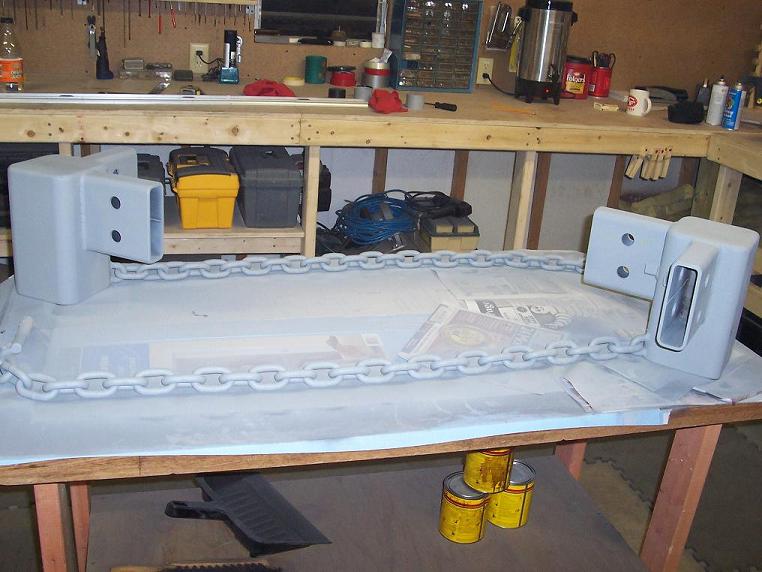
Day 12 3-09-2006: Did a mock up of how the bed frame connects to the top corner caps. |
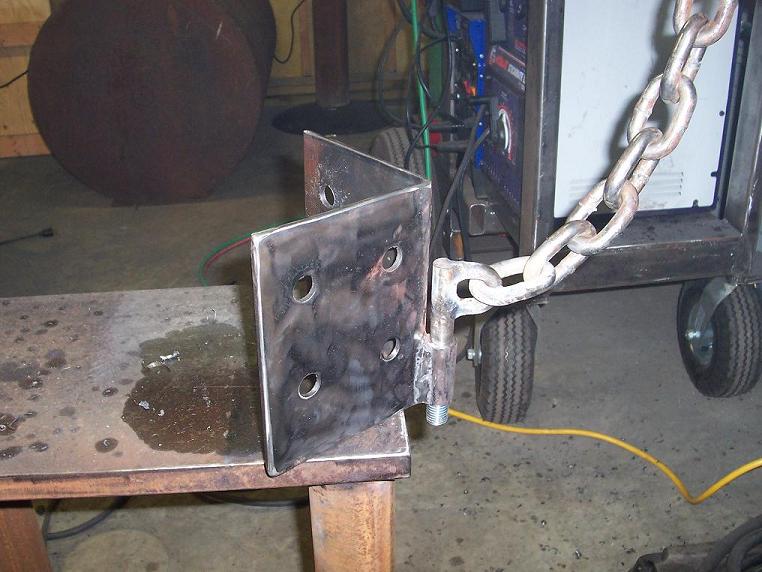 |
Welded the leveling rods to the bottom end of the chains. Here's A close up of how the leveling device will work. |
 |
Then I did a preliminary layout of the corner post positions, to get the angle for the "X" brace that will be the bottom rail supports. |
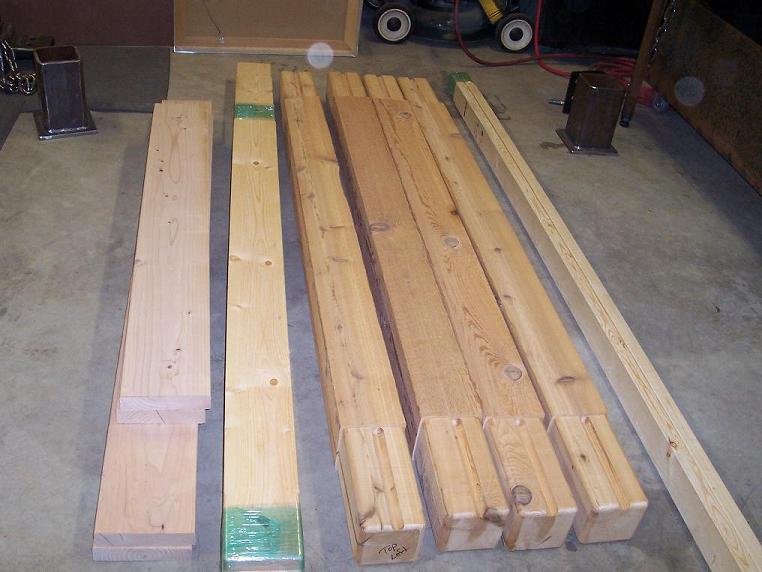 |
Day 13 3-13-2006: Spent most of today cutting and milling the wood for the frame. |
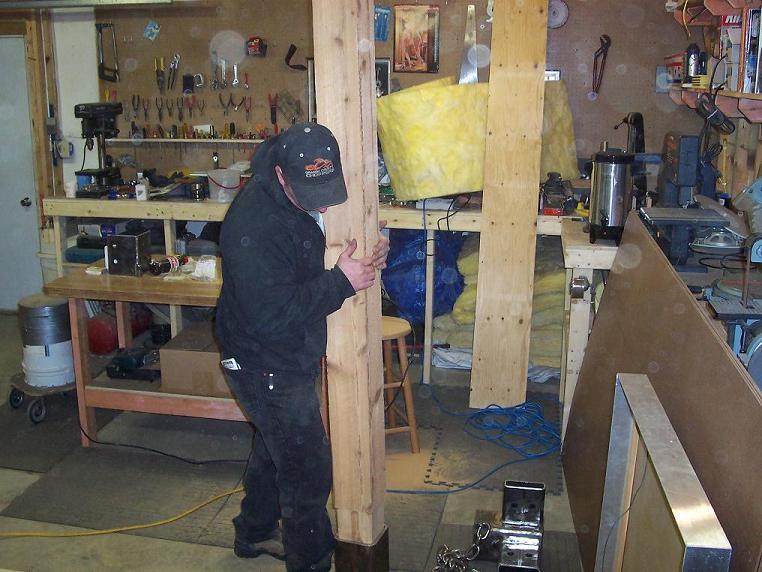 |
Began fitting the corner posts into the top & bottom caps. |
 |
Here's one end of the frame set up. |
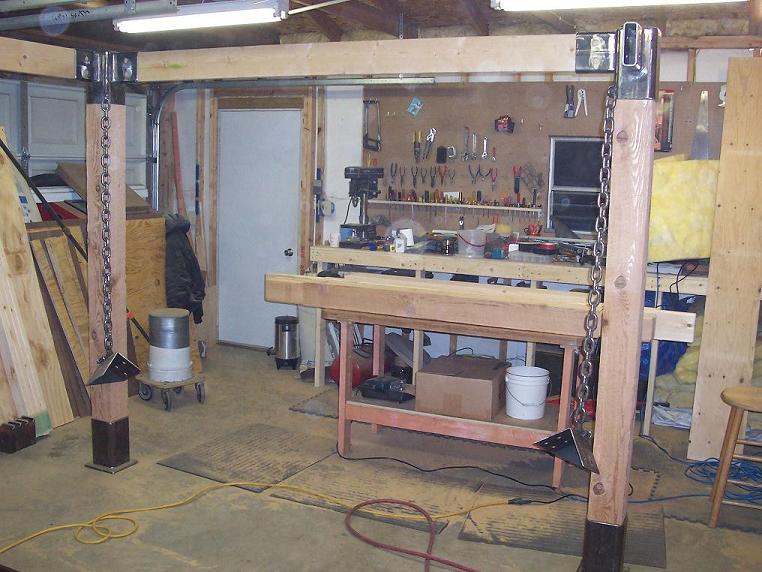 |
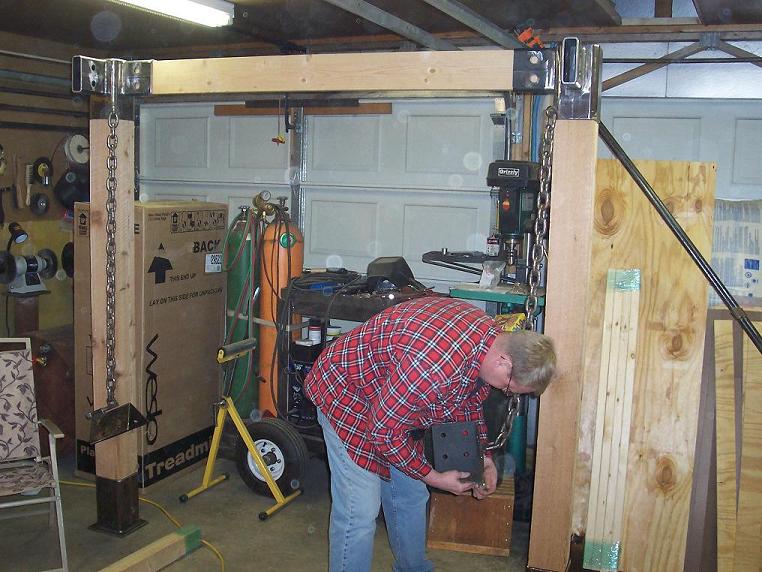
Managed to get 3 of the corner posts set and 2 of the top rails inserted. |
 |
Here's another angle of the three corner posts...now that I look at it, I'm going to have to remove the long side rail, install the other end rail, then install both side rails at the same time. But it's 12:30 A.M....that will be tomorrow. |
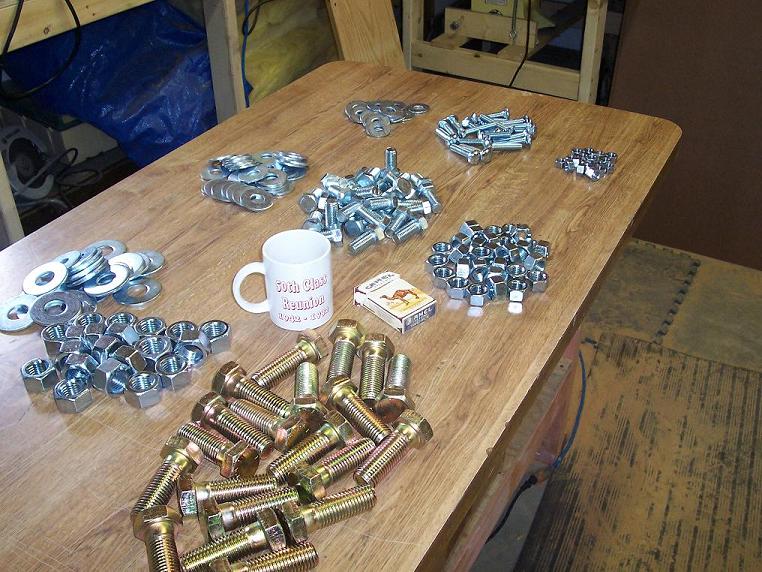 |
Day 14 3-14-2006: Purchased the "nuts & bolts" of the whole project. |
 |
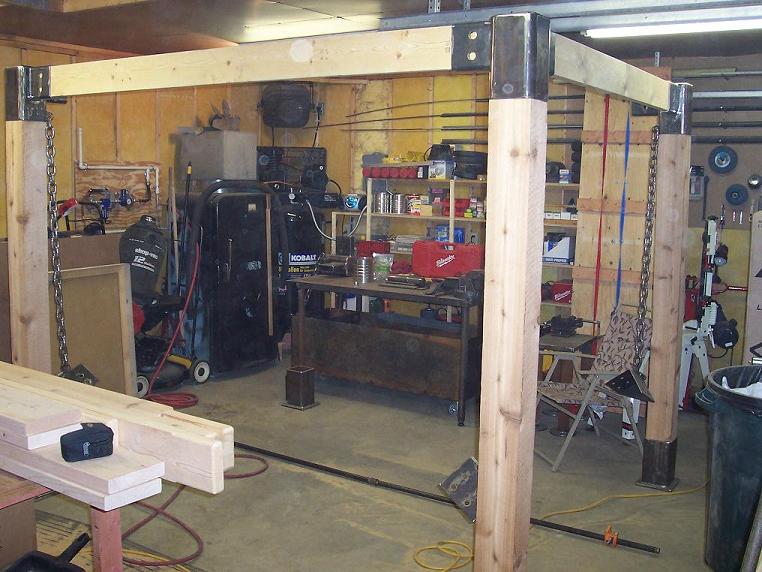
Finished the last corner post, and installed the other two side rails. Also did a "test fit" of the mattress frame. |
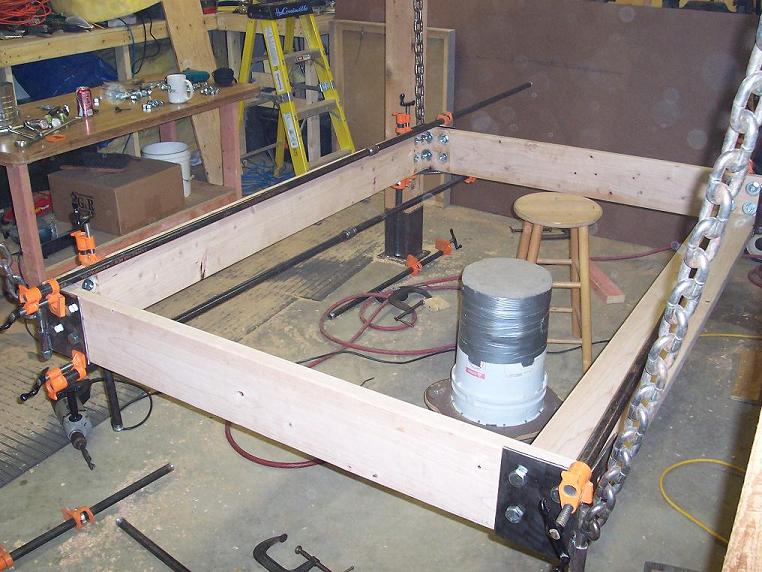 |
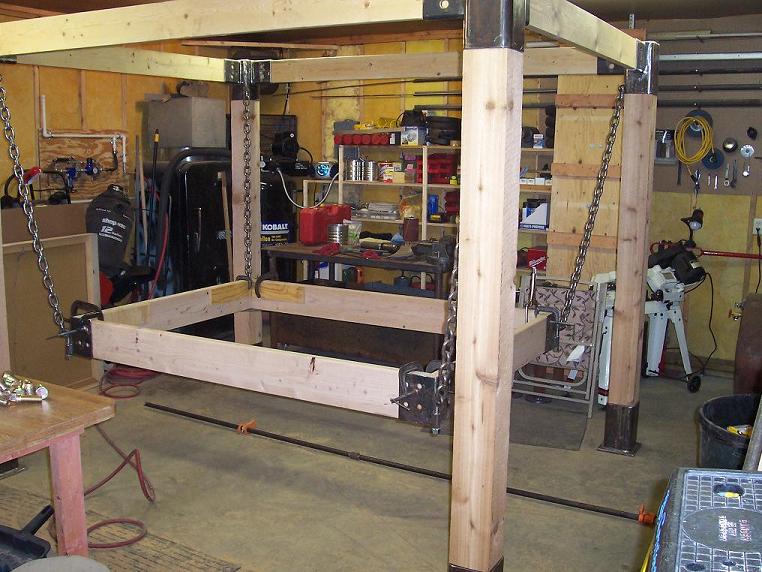
A few more clamps...some drilling...and inserting the hardware. |
 |
Here's the frame with the hardware installed in the top rails and the mattress rails. |
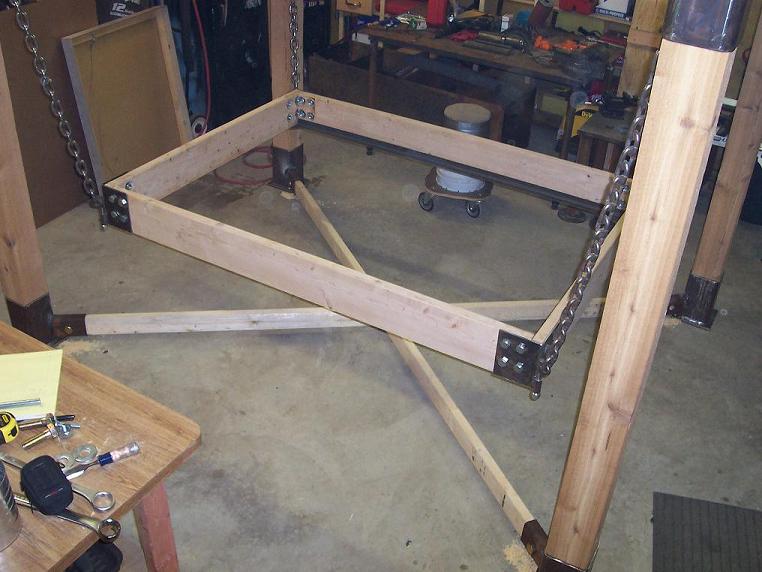 |
Day 15 3-15-2006: Laid out the "X" brace for the bottom frame, and tack welded the brackets in place. Tried to drill the holes through the wood to insert the bolts, and bent the 1" drill bit. (Almost broke my hand when the drill twisted on me). |
 |
Cut and set the bed rail angle steel in place. Tomorrow will be mounting day for them. |
 |
Day 16 3-21-2006: Began staining the wood parts of the frame. |
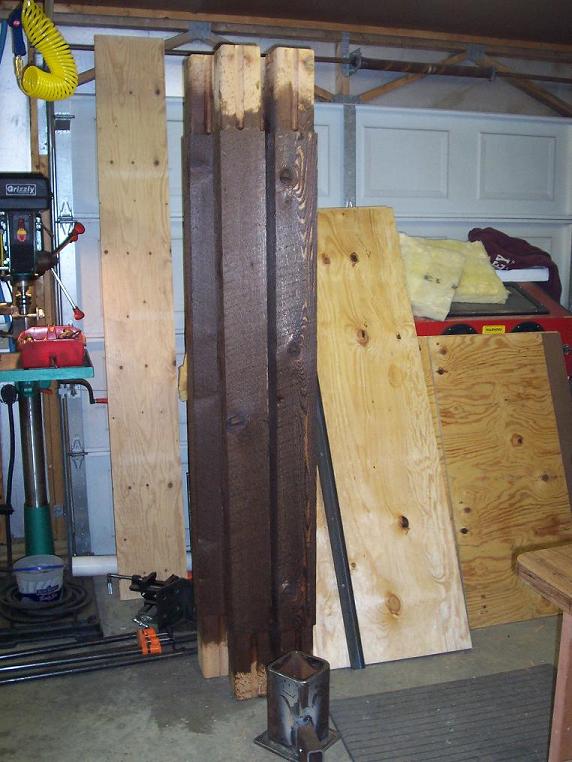 |
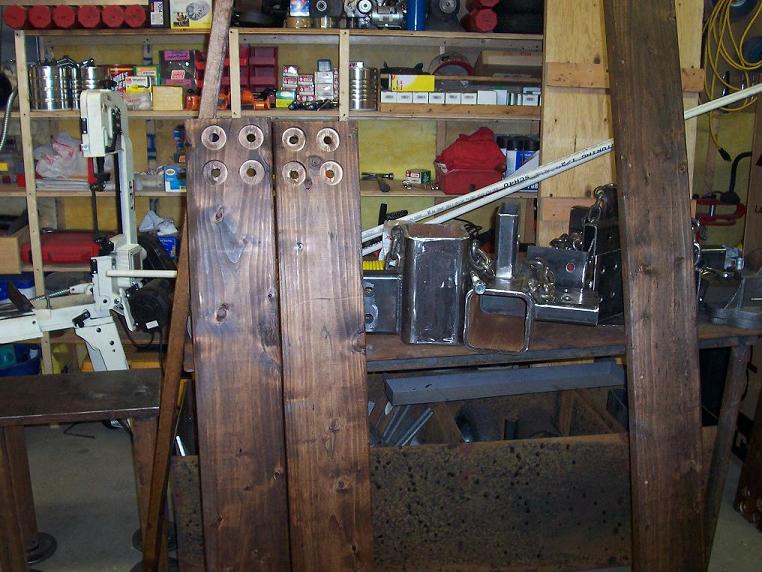
Freshly stained corner posts. |
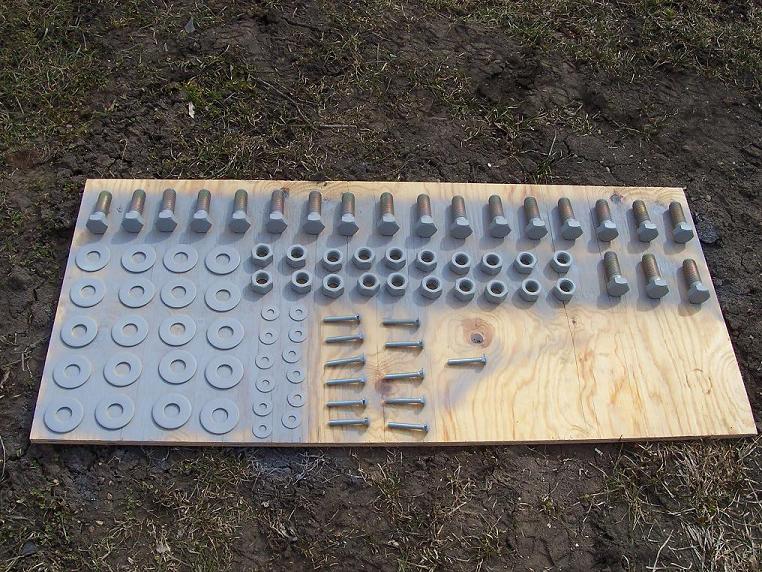 |
Primed the hardware. (Everything will be painted flat black...I just didn't want to take any more pictures during this process). |
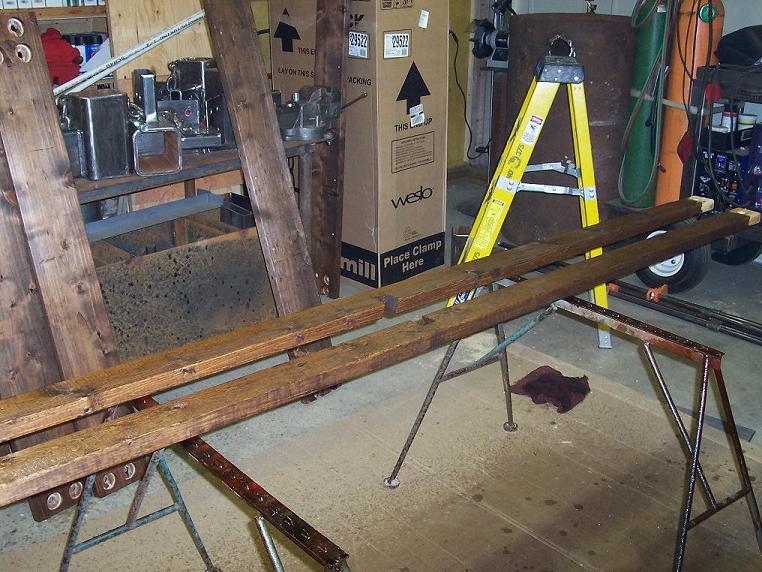 |
Bottom frame rails stained. |
| Day 17 3-22-2006: Did some clean-up work on the bed corner brackets, finished welding the "X" brackets in place, and cut the curtain rod brackets. At this point, I was too tired to take pictures, so I skipped the camera work today. |
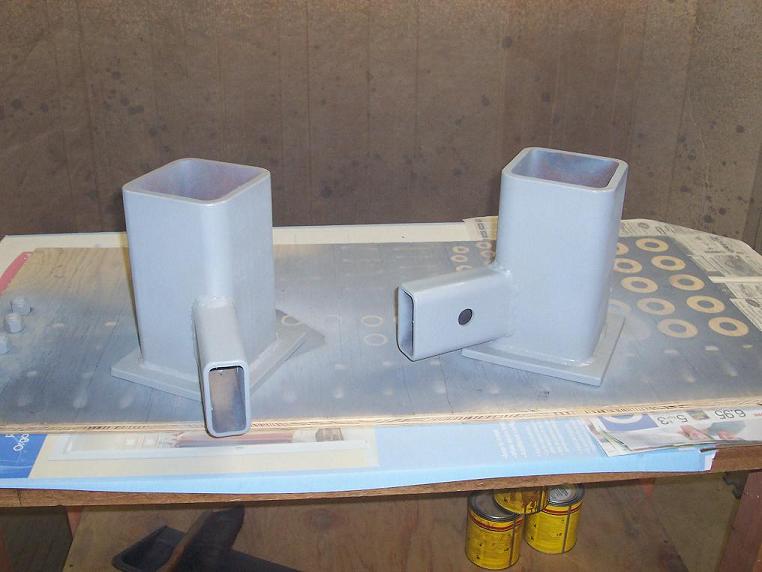 |
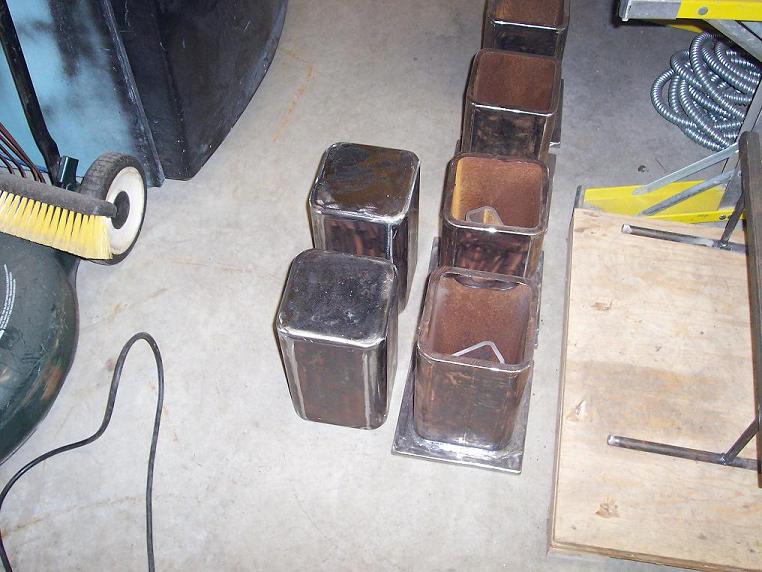
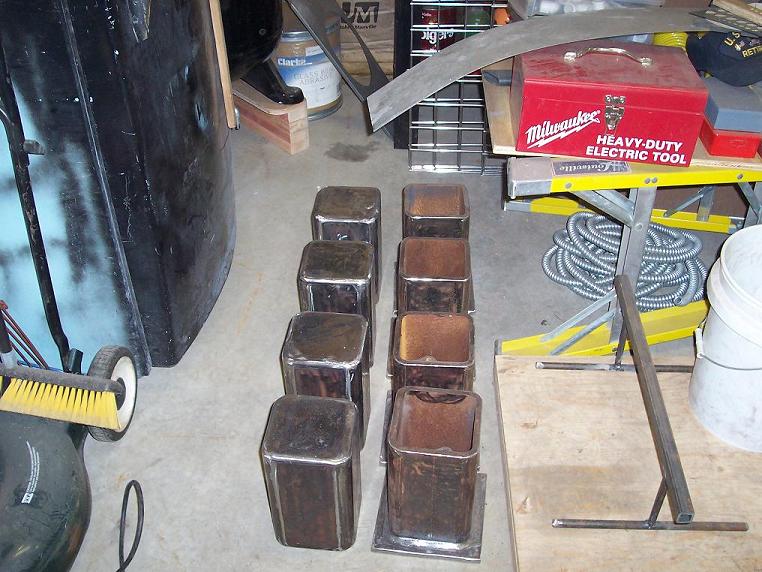
Day 18 3-23-2006: Began painting the post caps today. Started with the foot caps. Here's two of them primed. |
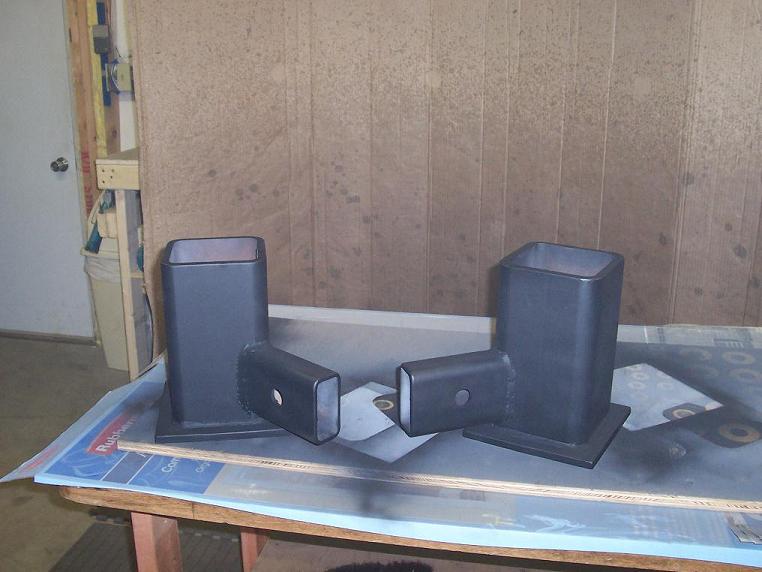 |
And here they are with the flat black paint. |
 |
Day 19 3-24-2006: Primed and painted all 4 top post caps today...the only picture I felt like taking today was of them primed. (I get really lazy towards the end of my projects). |
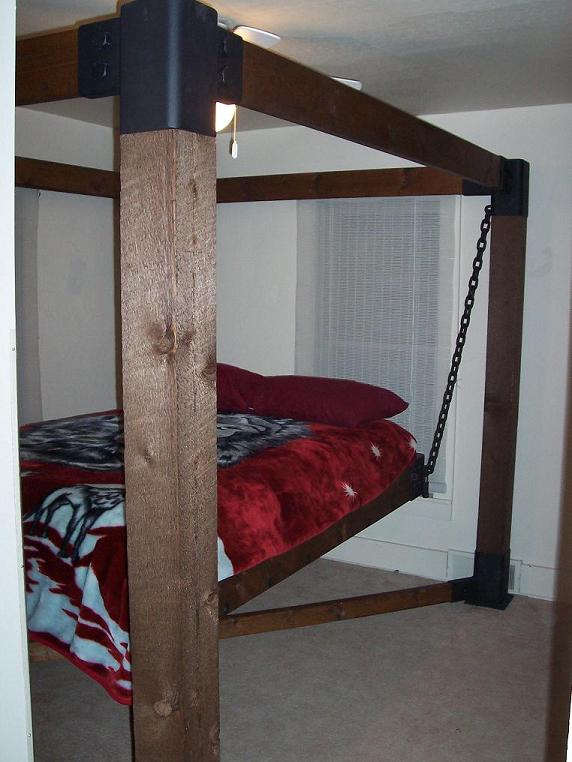 |
Day 20 3-25-2006: Assembled the finished frame in my room. The room is too small to get pics of the whole bed at once, so I had to break them up into parts. |
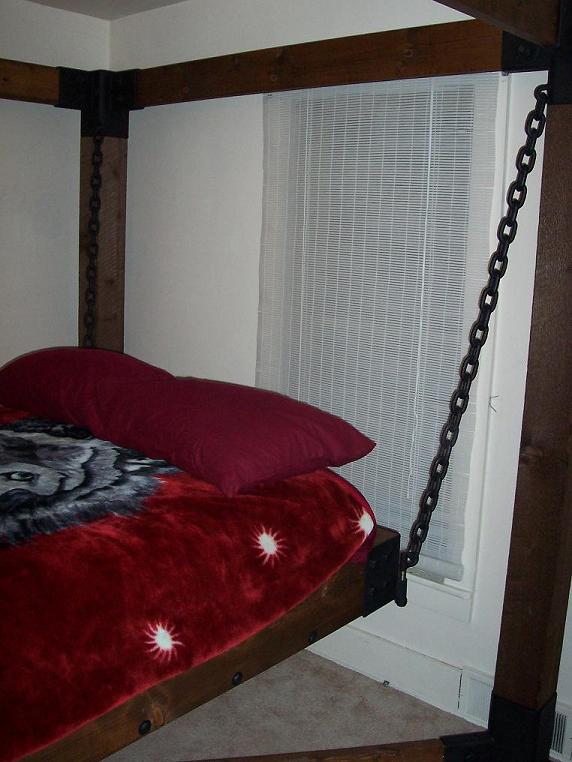 |
Here's a good look at the bed corner bracket, and how the chain connects to it. |
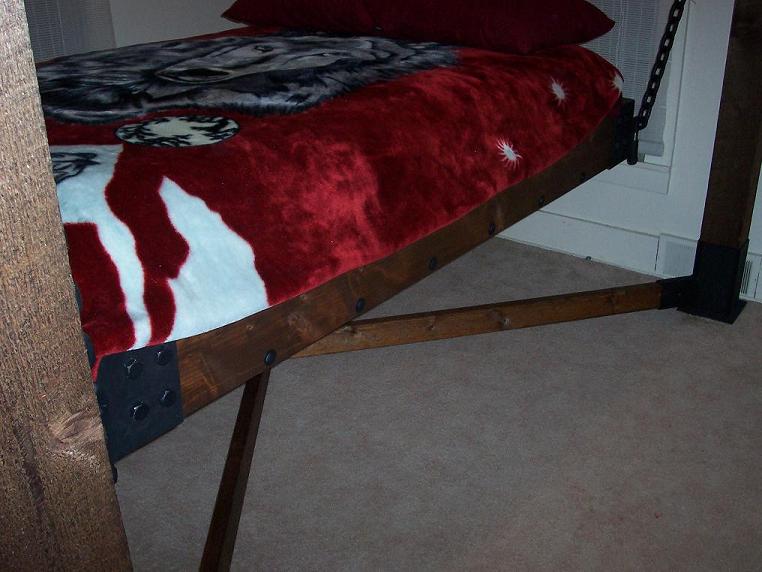 |
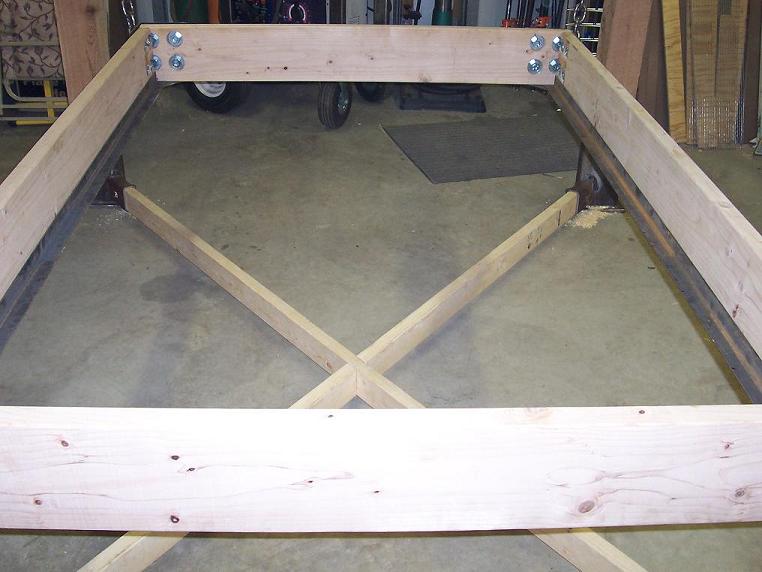
The "X" brace came out very well, I think. |
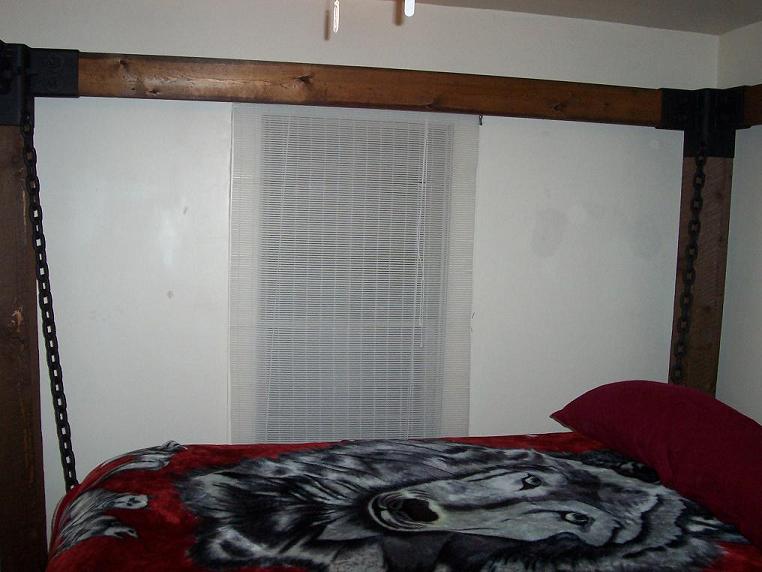 |
Here's the view from across the bed...it looks pretty "bare bones" right now...I think, though, that the curtains will tie it all together. |
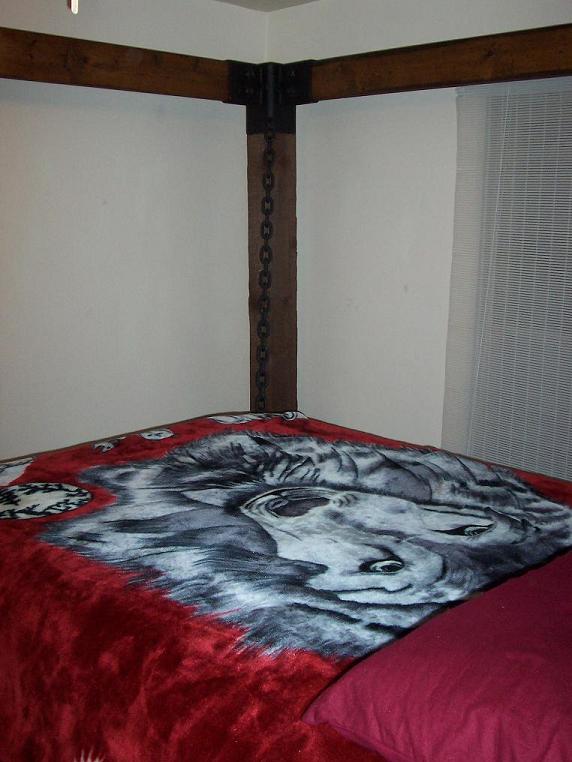 |
Here's a look at one of the corner posts from across the bed. |
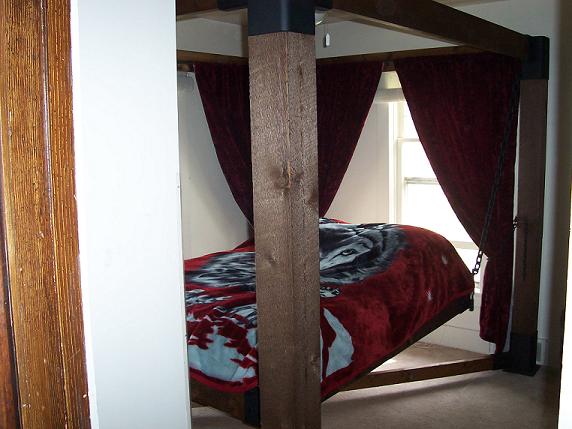 |
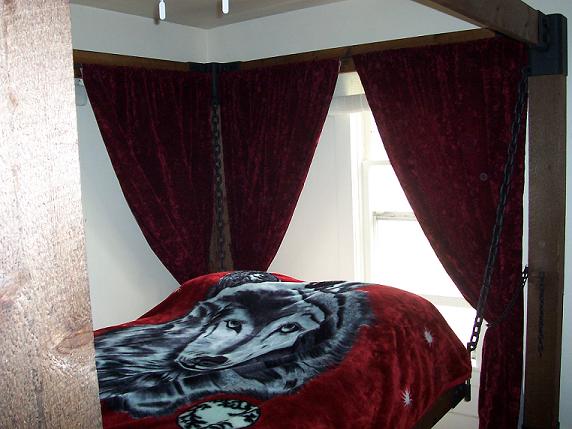
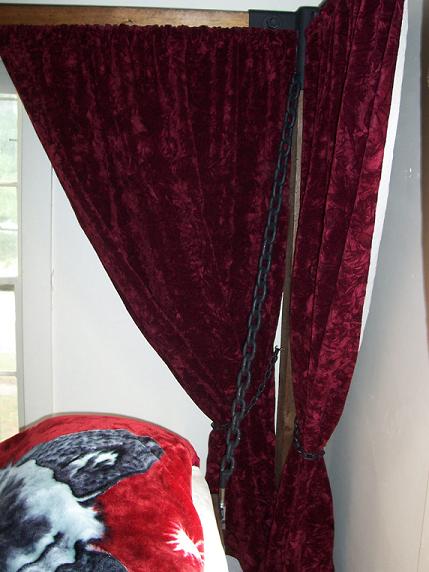
Day 21 4-7-2006: Two sets of the curtains finished. |
 |
 |
 |
 |
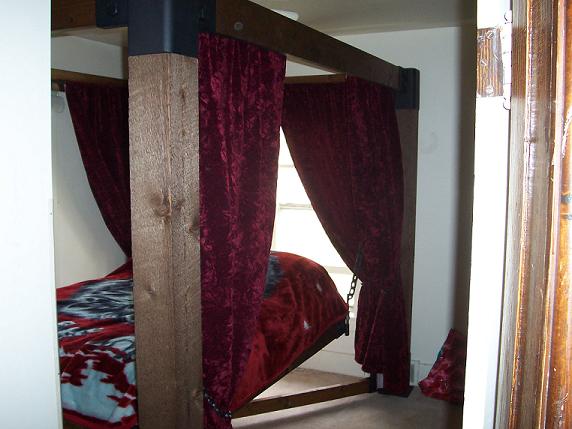 |
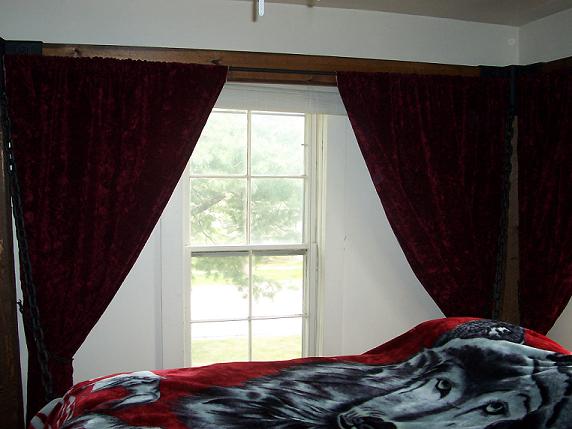
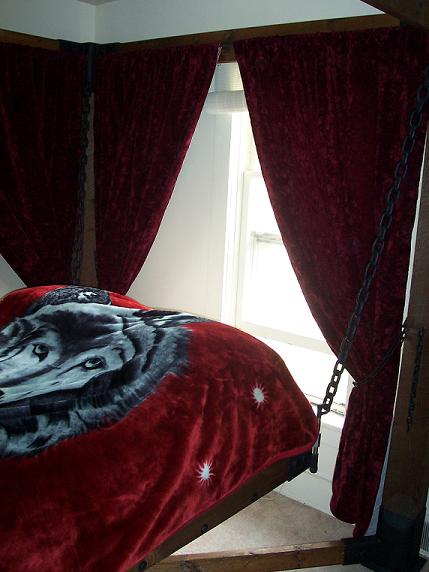
Day 22 4-23-2006: The third set of the curtains finished. |
CREDITS:
Parts & Supplies from:
Norby's Farm Fleet
Waverly, IA.
Tractor Supply Co
Waterloo, IA.
The Home Depot
Waterloo, IA
Grosse Steel Co.
Cedar Falls, IA
Walker's Auto Salvage
Waverly, IA
Hancock Fabrics
Waterloo, IA
Campbell's Supply Co.
Waterloo, IA
And
Ron Boggess,
Sawmill operator in Floyd, IA, for the corner posts I've searched long and hard for.
And Special Thanks To:
John Johnson,
For all your help and support, and putting up with my mess throughout this project.
Ross Johnson,
For use of the garage, and also putting up with my mess on this project.
Steve Johnson,
For cutting the curtain rod brackets for me.
Janice Johnson,
For making the curtains...they look awesome!!!
Chris Kelly,
For pointing out the fact that I needed a leveling system for the bed.
Dave Hulbert,
For your design ideas on the leveling system and the tie backs for the curtains.
And
Joe,
at HH Projects,
For helping with the Research & Development, as well as the prototype testing of this project.
If you have any comments or would like to order one of these beds, email me for info:
mssngr505