|
Chocolate Easter Egg
This tutorial is for Paint Shop Pro 6
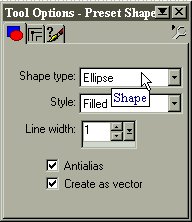
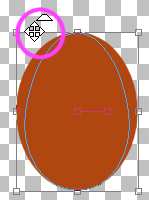
To begin create a new image 150 by 200 pixels, with a transparent background or color of your choice. Then choose the color of the egg. For this egg, I used RGB values of 176,68,23 as the foreground color. Use the Preset Shape tool How the egg gets wider at the bottom than at the top? With the "Ctrl" key depressed drag one of the top corner handles inwards a little. (You will see that the cursor change).
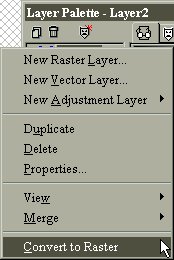
When you have a shape you are satisified with, go to your layer palette and convert the egg layer to Raster by right clicking on the layer.
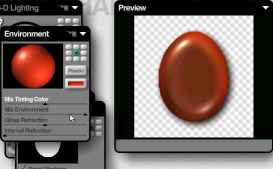
Then select the egg with the magic wand, and choose Image/Plug-in Filters/KPT5/ShapeShifter... Select " Environment " and choose the color for the egg
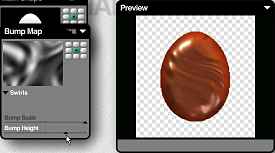
Select "Bump Map" and choose the bump that you prefer. For this egg I used "Swirls"
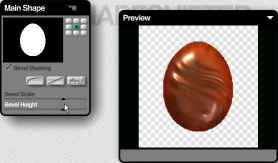
Then choose "Main Shape" this will be the shape of the egg.
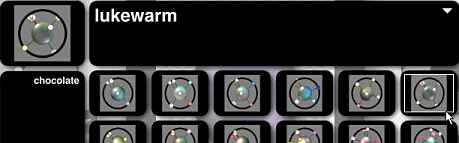
Then the light, go to "3D-lightning", here I chose "lukewarm"
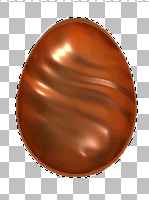
Accept all and return to PSP. Next choose : Selections/Modify/Contract/ 2 pixels, invert the selection and delete; this is to eliminate any jaggies And below are the results! Enjoy it.
I want to express my appreciation to Teddy-(lldzines) and Kenzie (JadeCat)for giving of their time to provide additional assistance to complete the translation. Please visit their web site when you have a chance and let them know you were there.
Copyright
©Argentina's Designs 1998/2008.
All rights reserved. |

 to create an ellipse. Use the settings for the ellipse below (Create
as vector) and draw an oval shape the approximate size
you want your egg.
to create an ellipse. Use the settings for the ellipse below (Create
as vector) and draw an oval shape the approximate size
you want your egg.