
Parts list
Step 1 - Removing the board
Step 2 - Removing the components
Step 3 - Putting in the new components
Step 4 - Switching between
the mods
Step 5 -
Re-assembly
Clips
Conclusion
Sites to buy
materials from
You will
need:
Step 1 - Removing the board [Top]
Step 2 - Removing the components [Top]
C1, C3, C5, C12, C13 - these are silver in colour and look
like they are covered in plastic
Referance
Diagram
C2, C8, C9, C14 - Rather than being silver, these look like small
black batteries
[Referance
Diagram]
C11, R13, R14, R39, C7, D5 - This is a more mixed bunch, there's some
silver caps, resistors and a ceramic cap.
[Referance
Diagram]
The board should now look like this.
Step 3 - Putting in the
new components [Top]
Bob, as they say, is your uncle
Step 4 - Switching
between the All-seeing eye mod and the Ultra mod
[Top]
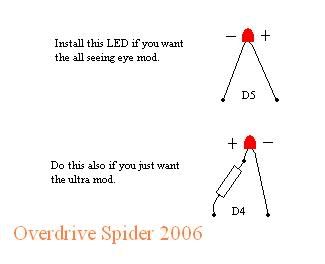
First of all, its worth noting that it is a lot easier to not use a
switch and just leave the pedal in either ASE or Ultra modes. If you
just want the All seeing eye mod, you will need to remove D5 and
replece it with an LED. If you want the Ultra mod, you will need to
put a LED in series with D4 as well as changing D5. Difficult to get
your head arround, but this diagram should help:
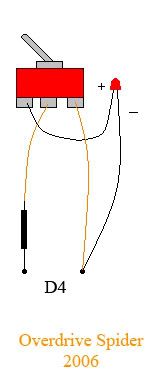
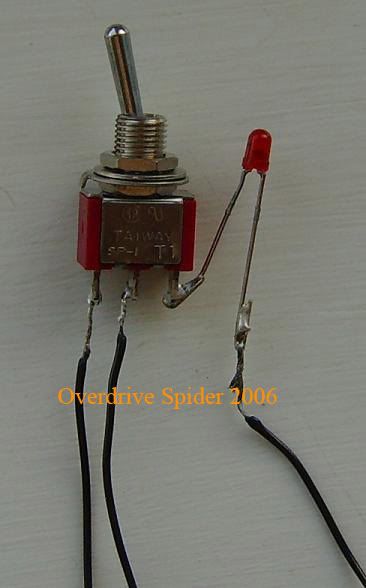
Adding a switch is a little more complex, take these steps and you
should be fine:
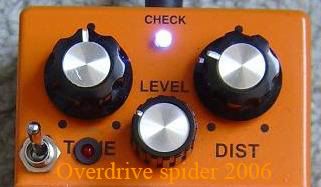
If you are installing a new check LED, note which side of the
LED was + and - and put the new LED in accordingly - if you
forget or don't know don't worry it wont damage the LED if you try it
both ways. Usually, most 3mm LEDs will work with the current resistor
in, but if you are using a 5mm LED change R35 to a 2k4 resistor.
Step 5 - Re-assembly
[Top]
If you have used a switch this is important, you have to decide where
to put it! The most room is on the sides just below the jacks, this
however does look kinda clumsy and is kinda difficult to reach. The
alternative is on the face of the pedal where all the knobs are. This
is a bit more difficult, but looks a lot better. My pedal has the
Keeley switch on the front and two more switches on the
side (one for circuit bending and
the other for switching between two capacitors).
If you want it on the front, be careful when drilling and make sure
that you don't damage the components! (I took mine out for this
bit) Remember to use a punch so the drill dosn't move (if you don't
have a propper one, use a screw).
The easiest way to assemble is probably like this:
Pedal Clips [Top]
Clip 01
Guitar: Orville by Gibson Les Paul Custom, Riff
Raff Alnico 5 pickup in neck position with volume rolled down to
7
Amp: Marshall DSL 401 Combo Flat settings on clean channel (all 12
o'clock) apart from gain down to 10 o'clock. Plays clean first then
plays with the pedal.
Mode: Switch up; all seeing eye mod
Listen
here!
Clip
02
Guitar: Orville by Gibson Les Paul Custom, Riff
Raff Alnico 5 pickup in neck position with volume rolled down to
7
Amp: Marshall DSL 401 Combo Flat settings on clean channel (all 12
o'clock) apart from gain down to 10 o'clock.
Mode; Switch up; All seeing eye mod
Listen
here!
Clip
03
Guitar: Orville by Gibson Les Paul Custom, Riff
Raff Alnico 5 pickup in neck position with volume on full
Amp: My distortion settings. The lick is played first through my
distortion then the ds-1 is used as a boost to smooth out the sound
and show the pedal being used as a boost.
Mode: Switch down; Ultra mod
Listen
here!
Clip
04
Guitar: Orville by Gibson Les Paul Custom, Anderson H3 Bridge,
volume full
Amp: Guitar rig 2 simulation "Gratifier" (Mesa Dual Rec) Clean first,
then with pedal.
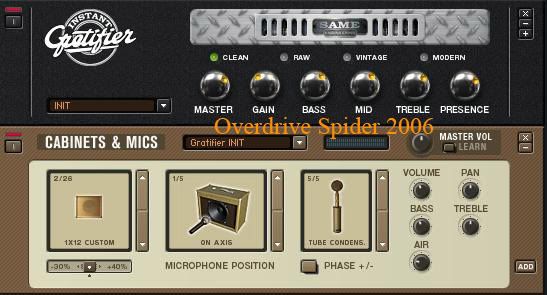
Listen
here!
Conclusion
[Top]
When you first plug it in, be careful! You will probably be
trying to put in your old settings into the pedal. Remember, this is
not a boss DS-1 anymore! The best tones I have found so far have been
on the lower more subtle settings, great for blues and mild distorted
tones. Sounds especially good when the volume is rolled down. Don't
be mistaken, this pedal can be used for high-gain stuff (hence clip
3) sounds fantastic as a boost to get a smooth lead sound instead of
using the amp and sacrificing your lead tone. I think this is
probably what Satch and Vai use there's for, but I'm not sure.
It is definitely worthwhile to try, I will probably use this on my
pedalboard now where I wouldn't have usually (it used to be a great
door stop). To be fair, I don't think I have found the best tones out
of it. There seems to be quite a few farty tones here and there which
are really quite terrible, but I'm leaving that down to me not
knowing the full properties of it yet! If you need help with this, I
may be able to help, you can find me at guitargeek, my user name is
lp_man, you can either pm me, send me an e-mail, start a thread or
reply in this thread; http://guitargeek.com/chat/showthread.php?s=&threadid=76894
I would like to say a special thanks to berarduur
from guitargeek for
all his help in this project! I wouldn't have had the technical
know-how to deal with half of the stuff in here, and I'm pretty sure
I nearly sent him insane with the amount of questions I asked!
Sites to buy
materials from: [Top]
www.maplin.co.uk (some
components aren't suitable so watch out. Stuff like LEDs and switches
are fine though)
www.smallbearelec.com
- great site where I usually get my componennts from
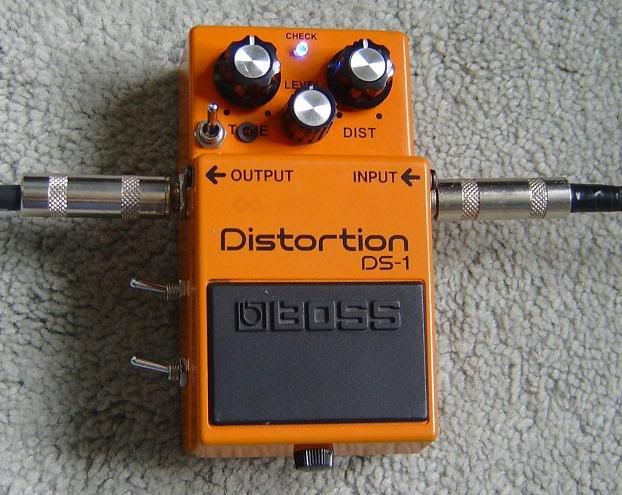
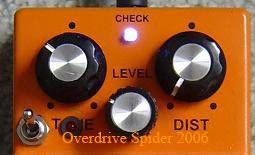
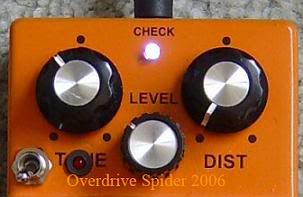
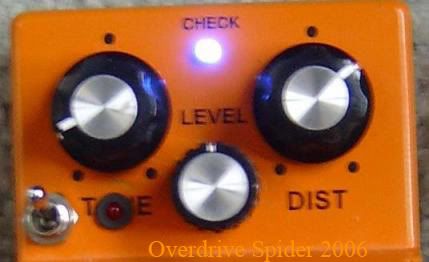
Top switch: Toggles between All Seeing Eye and Ultra Mods
Middle switch: Toggles between a high value Silver Micra cap and
standard Ceramic cap, not really noticeable effect
Bottom switch: Toggles Circuit bending variation D on and off.
[Pic1]
[Pic
2]
[Home] / [DS-1
Mods]