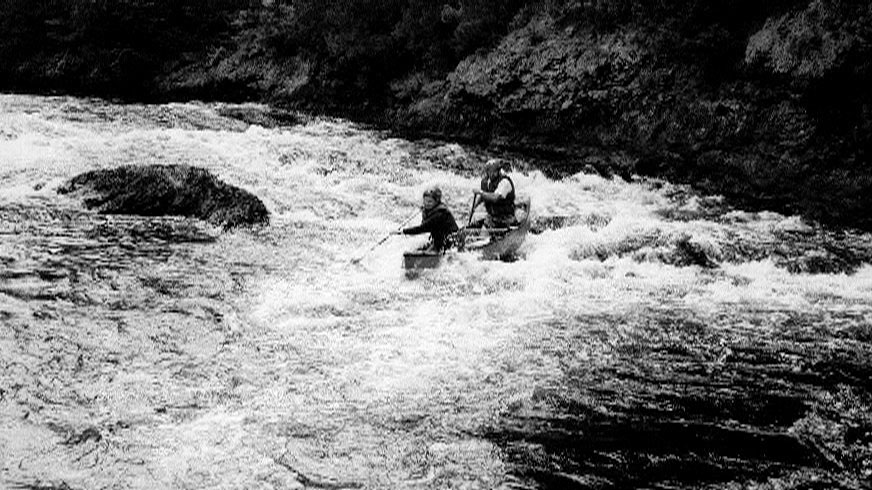
Petawawa River, The Natch, Low Water
Do it Yourself Outfitting
(Otherwise known as getting ready to have some
fun and avoid losing your boat.)
|
Petawawa River, The Natch, Low Water |
Do it Yourself Outfitting (Otherwise known as getting ready to have some fun and avoid losing your boat.)
|
|
1. List of Materials |
|
| 2. Preparing the Boat | |
|
3. Installing the Parts |
2. Preparing the Boat
| Air bags | |
| Sanding | Surfaces to be glued. Jagged holes due to drilling. |
| Measuring 1 | 1/4" Holes at bow and stern to secure air bag ends. Holes must be inand down far enough to clear the thickness of the ABS and allow space for the air-bag end. |
| Measuring 2 |
Measure the distance between the inside of the thwart at the bow and 8-10 inches above the bow seat. Divide the distance as evenly as possible in 6-8 inch increments to evenly space the starter holes along gunwhales. Make a chalk mark at these points. You will install the inchworms these points but on the underside of the thwart. You will thread thin cord through these connectors by criss-crosings it across air bags and through the inchworms to secure the bags into the boat (keep them from floating out when the canoe is overturned) |
| Drilling 1 |
Bow and stern holes Use a 1/4" drill bit to allow a larger diameter rope Drill a hole on each side near the bow and stern tip. |
| Drilling 2 | Inchworms will be installed with small screws and an electric drill. |
| Gluing | O-Ring will be glued to the floor of the canoe fairly close to the bow seat and in the middle. |
| Webbing | Can be cut after installing after the o-ring installation is dry. |