
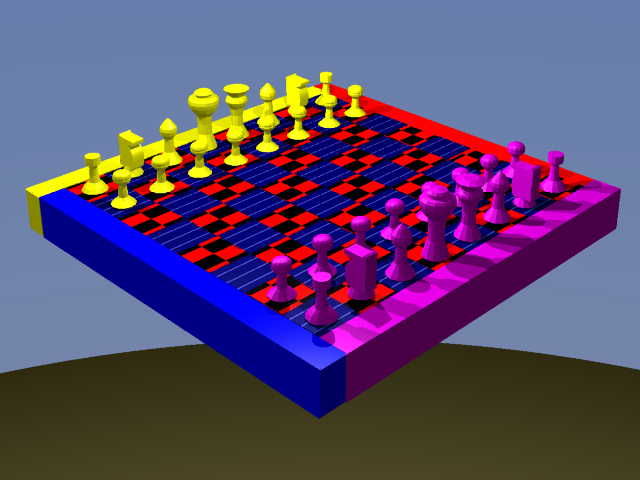

| This chess
board was not easy to make. I started by making all of the little
squares and putting them together in the board. I made one square
the shape and size that I wanted, then I duplicated it sixty three times
to make the rest, and put them all together in one board. Next came the pieces. I started with the easiest; the pawns. Using the free form tool, I began with a cylinder the size of the piece. I then adjusted the height and the shape of the sides. I used the extrusion thing, and added a lot of points on the line, then moved them around to create the shape that I wanted. It took me several attempts to figure out how to do this. Once I figured it out, I just made the pieces in shapes like the pieces of a chess set that I have. This worked for all of the pieces, except for the knight. For the knight, I started with the shape of the horses head, and made it the width that I wanted. Then I made a round base and put the head on it to make the final piece. Finally, I lined the pieces up with the squares that they go on. I used the side grids on the sides to line them up just right. Once I had all of that done, I still had to put a border around the whole thing. I made four long cubes, all the same size and lined them up along the outside of the board. The last step was choosing colors for everything. I wanted this to be a fun thing, so I chose several very bright colors. This project was fun, but also annoying some of the time. It is frustrating when the program wouldn't do what I wanted it to do. When things were working the way I wanted them to, it was fun. The best part was when I finished, and I got to see what I had created. Overall, it wasn't such a bad project. |