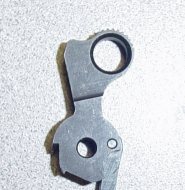
Well, the first thing I notice is that the hammer and sear pin holes are too tight. No surprise there. A couple minutes with a round needle file gets them opened up enough to allow me to tap the pins in with a light hammer. If necessary, I will take a reamer to them later.
After the sear, hammer, disconnector, sear spring, and grip safety are installed, I notice the hammer won't drop when the slide is in battery. Hmm. Kuhnhausen says the disconnector may be too long. Sure enough, the dial caliper says it's 1.310". He also says that most fitted Colt disconnectors are 1.287-1.290". A few file strokes on the top, and back in it goes. This seems to do the trick. It mikes at about 1.295". Kuhnhausen says this is OK, though it might drag. I'm just happy the hammer falls when I pull the trigger. With no thumb safety, I use my beavertail jig to hold the grip safety in place. It seems to work: its leg keeps the trigger stirrup from moving back. And the trigger doesn't bind anymore. Good so far. I'll come back and polish it later. The trigger pull is not horrendous, maybe 6 or 7 pounds, but it could use some cleaning up. I'll go back and take care of that when I am doing my "fluff n' buff". My goal now is simply to get the gun running safely and dependably.
While I'm waiting for the hammer to show up, I'll see if I can get my rear sight installed. I opted for the simple target-style replacement blade and tenon from King's. My first thought was to buy the Wilson Combat Pyramids, but that would have also required a $25.00 dovetail cutter for the front sight. So I decided to go with the $16 King's. Sights are easily replaced later, and, besides, I am not really planning on carrying this gun for self-defense. The specs on my Essex slide say it has a narrow tenon, so that's what I order.
I noticed the rear dovetail is too narrow for the rear sight to even begin to slide in. I curse myself for not ordering a dovetail file, until I remember that I have a triangular needle file that will probably work nicely instead. Sure enough, it does. After about 10 minutes of dye, cut, try, and dye again, I manage to get the rear sight in with some gentle taps with my hammer. It will have to be removed when I finish the slide, but at least there won't be any more fitting necessary after it's blued. The corners of the rear sight are a bit sharp, and I make a note to round them off somewhat. The front blade is a sharp 90 degree angle, and I would like to bevel it to reduce snagging, and checker it to reduce glare. We'll see about that later.
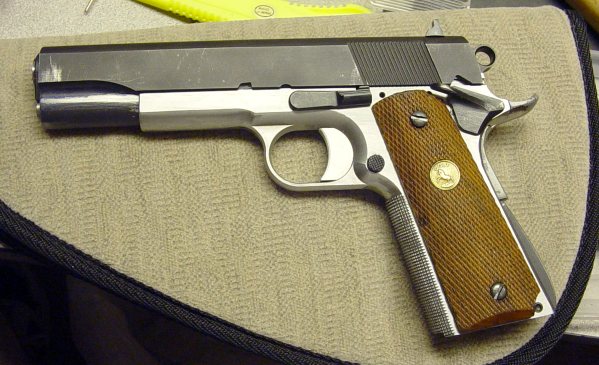
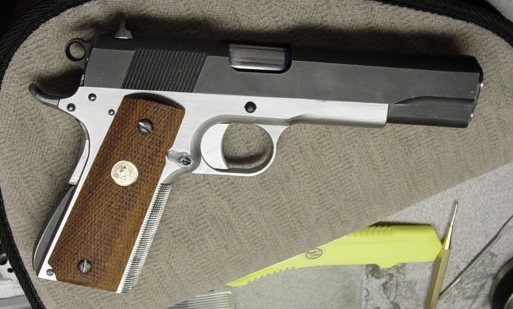
There shouldn't be much to do other than install the hammer strut, and put it all together to see how it fits. You can see the plunger tube is still not installed, because I haven't finished polishing the frame yet. Also, in this photo I have finished filing down the dust cover to size.