Previous Page |
Page 2 |
 |
| ||
Previous Page |
Page 2 |
|
| ||
Using the New Printer
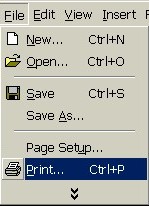
When you add a new printer you may need to set up the application programs to print to that new printer. This is done in the Print dialog box of the application you want to use to print. First, open the File menu and select Print.
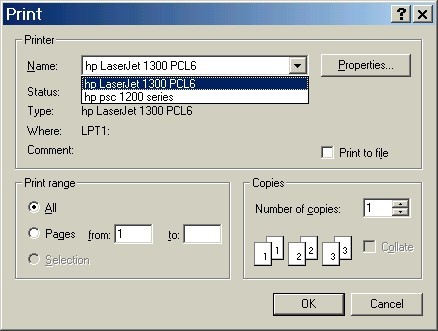
Next, in the drop-down box for the Printer name, select the name of the new printer.
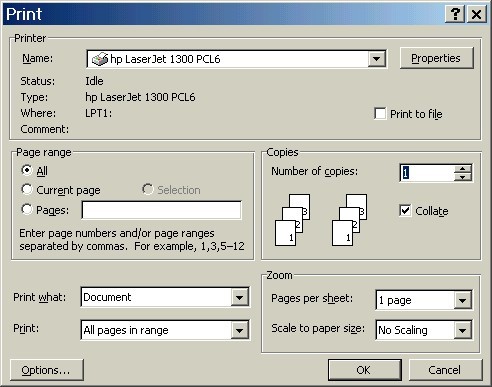
Finally, enter any other changes you want to make (the number of copies to print, for example) and click OK.
Changing the Default Printer
If you have more than one printer, you can change which printer is the default printer. A default printer is the printer every file is printed to when no printer name is specified.
To change which printer is the default printer, open the Printers folder (open the Start Menu, go to the Settings submenu and select Printers. On Windows XP, open the Start Menu and select Printers & Faxes). Right-click over the icon of the printer you want to make the default printer and select Set as Default.
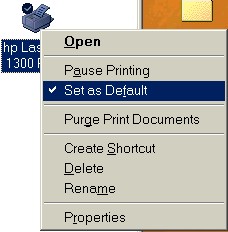
If the printer is already the default printer, there will be a checkmark on the upper left-hand side of the printer icon and "Set as Default" on the right-click shortcut menu will also have a checkmark next to it.
Practice:
| 1. | Open the Printers folder. To do this on most Windows operating systems, open the Start Menu, go to the Settings submenu and select Printers. To do this on Windows XP, open the Start Menu and select Printers & Faxes. |
| 2. | If there are printers in this folder, right-click over one of the icons and look at the menu. Do not select any commands at this time. If there are no printers in the Printers folder, skip this step. |
| 3. | Close the Printers folder by clicking on the Close ("X") button in the upper right-hand corner. |
 Previous Page |
END OF LESSON #8Adding Printers |