- Open a new transparent image in PSP 350 x 50 16m colors.
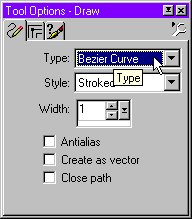
- Draw a bezier curve, from 0,50 to 250,0

- Click on the tube tool; choose the little lights Scale 35

- I prefer, to put one light on each layer, and then merge all visible
layers, because it is easier to arrange.

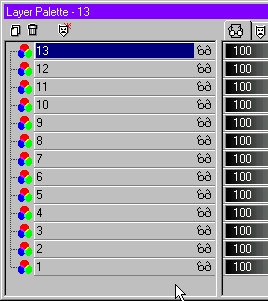
- When you have all the lights on the bezier curve: duplicate the first layer until obtains 13 layers. (There are 11 bulbs in the image, plus one layer in which all the lights are lit and layer 1 will be the frame with all lights unlit.).
- We will begin with layer 13 ďż˝ active layer-. This is the string that will have all lights lit. Click the Colors menu, choose Adjust/Brightness and Contrast, and set both to 20. Click OK.
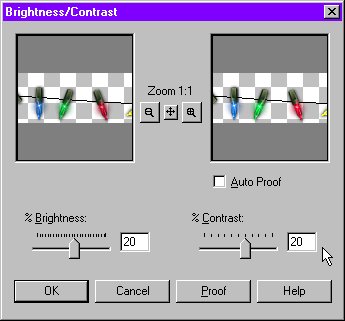
- Now, make the layer 12 the active layer, click the Selection tool, and set to Ellipse, select the last bulb (red), use the Brightness/Contrast adjustment with the same settings.
Repeat step 7 with each layer until layers 2 (blue). Remember that layer 1 is the beginning in which all the bulbs are off.
Save your images as *.psp and from File menu, choose File/Run Animation Shop.
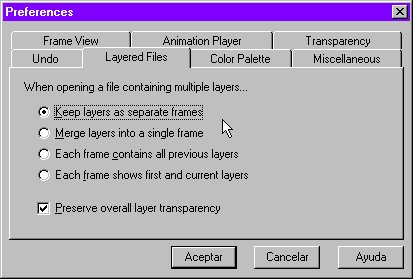
- Click File menu/Preferences/General Program Preferences and check this
setting.
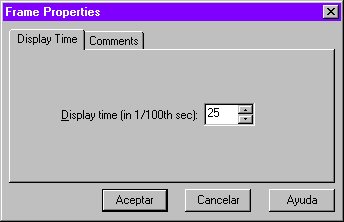
- Open your file psp with the lights. Edit menu/Select all, right click and Properties/ Display time 25 sec.
- When you are satisfied with your animation choose File/Save


