
Copyright © 2000. RBScycle.


Projects Index
The Building Of SWB1
The Building Of LWB1
The Building Of LWB2
The Building Of LWB3
Building JIG1
The Building Of SWB2
The Building Of SWB3
The Building Of SWB4
The Building Of SWB5
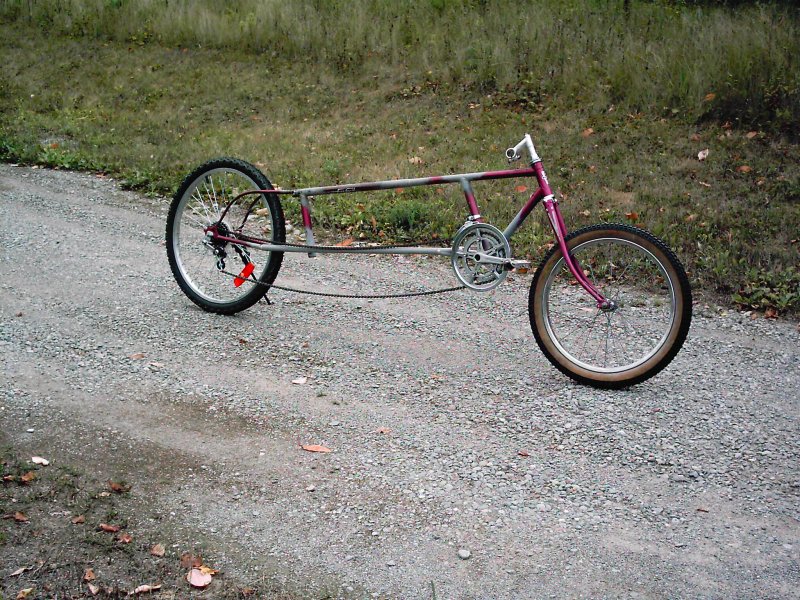
The Building Of SWB1
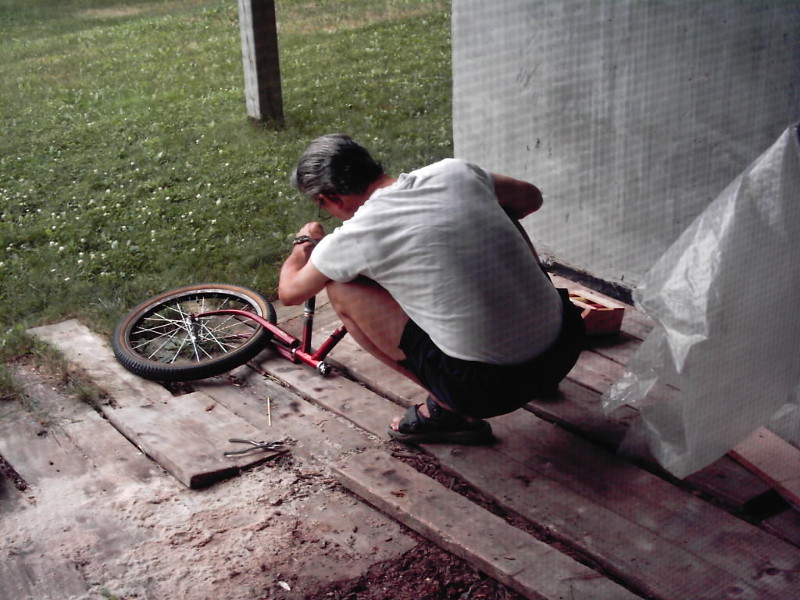
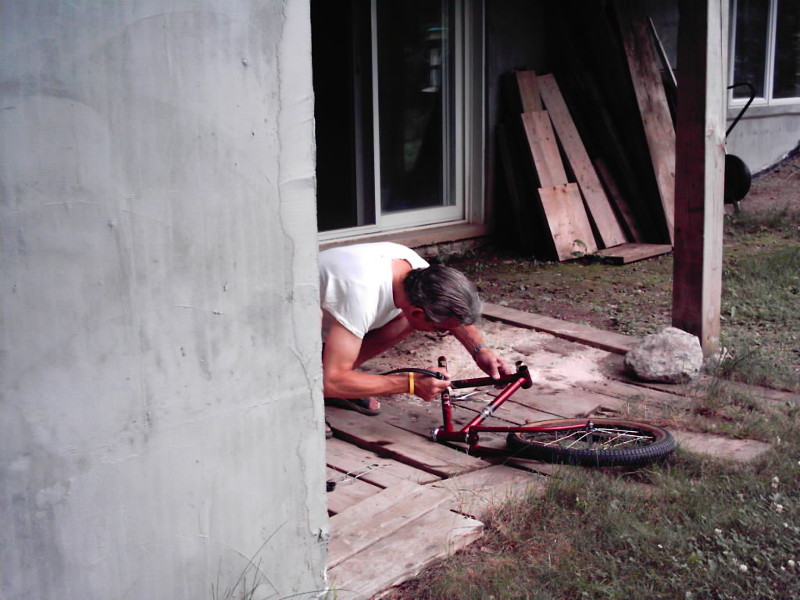
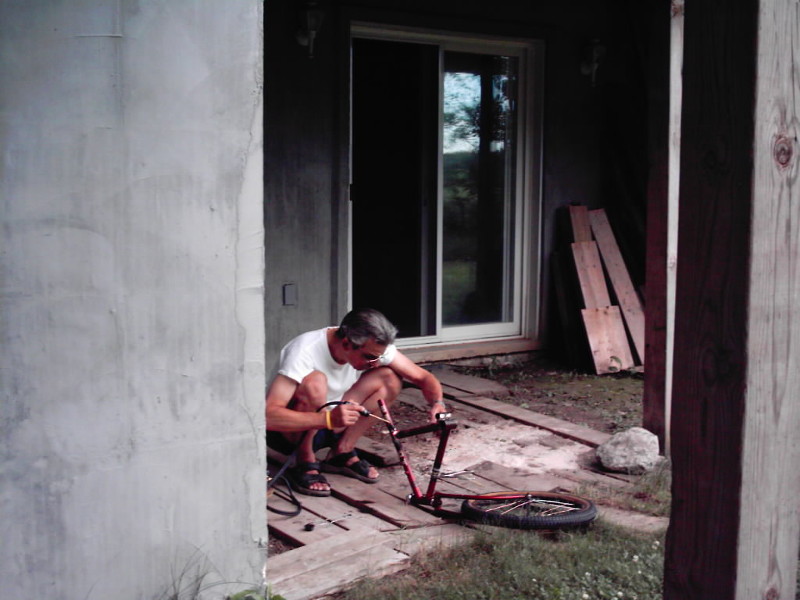
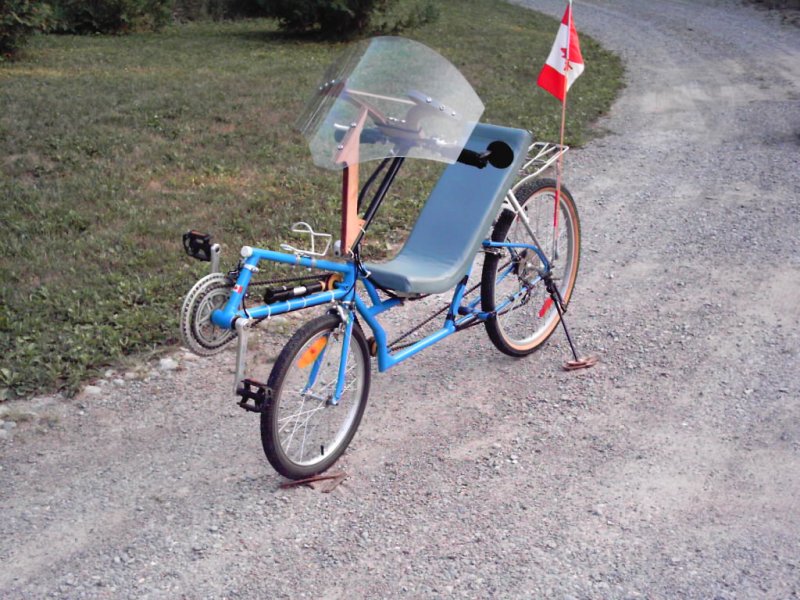
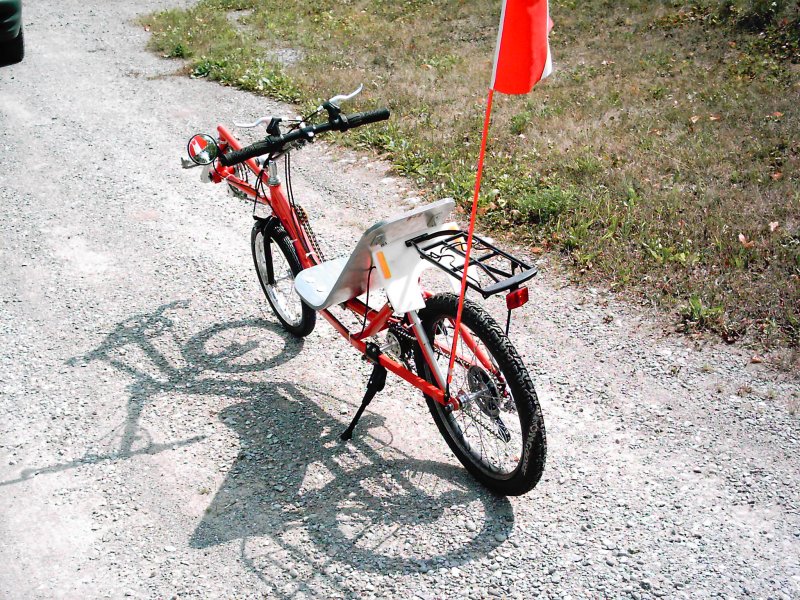
SWB1 was my first recumbent. Built in the summer of 2001. Because I could not afford the $1995.00 Canadain price tag for recumbents at that time.Encouraged by a friend , Carry Chen, from Urbane Cycle in Toronto, Ontario, Canada. At first the prospect of building a bicycle seem daunting. I was no engineer, and was not about to attempt to build a bicycle! After speaking to Carry, I was much encouraged, and went to Canadian Tire and bought one of those very small brazing kits. The one with the brown/red and yellow cylinders. You know, the ones the size of the "Butane" torches for plumming! Yup, that's it. Then I started testing my skills by cutting up scrap bikes from the 'Dump' and trying to braze two pieces together.
Well that summer of 2001, I managed to put together SWB1, which I rode that year, and for many years after that.
SWB1 performed better than expected, was small nimble and quick. Easy to transport on a standard bicycle rack, even with my little car, Suzuki Swift. The 24" rear wheel was small enough to be a reasonably good climber and still large enough to have enough speed on the flat, using standard Road Bike parts.
The following year, 2002, I built a sidecar for attaching to SWB1, with a single wheel nut, for extra storage.
SWB1
Spring 2001
Project IndexThe Building Of LWB1
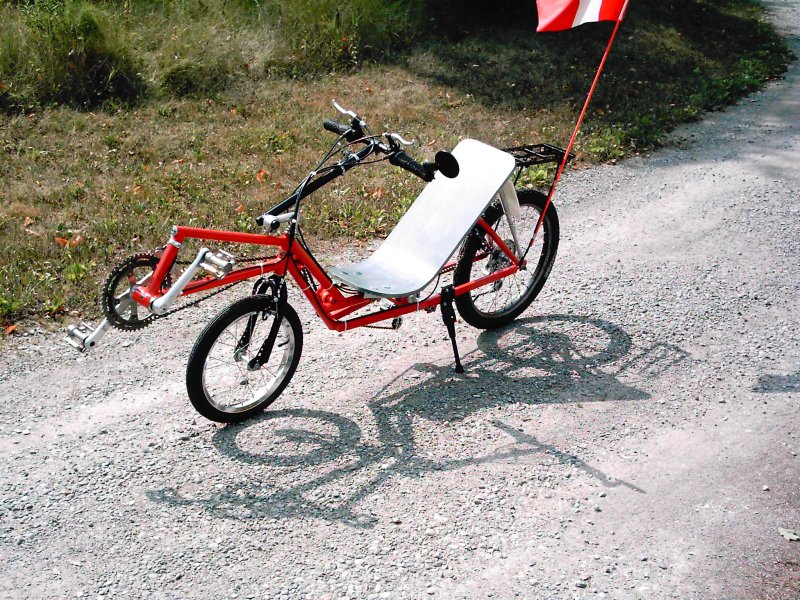
LWB1 was built in the summer of 2002. It was my first attempt at a Long Wheel Base recumbent. I had heard tha the Long Wheel Base recumbents were the Cadilac of recumbents.This particular Cadilac was not very nice looking (Ugly). To me, the bike must have a certain look-appeal to it. This bike to me didn't have any.
Additionally, I had screwed-up the rear end. Somehow I got it crooked! *&^%$#@!
LWB1 was put on the back burner for some time. I finally decided to have another look at LWB1 and the back end was fixed. However, it was still ugly! So I put it on the back burner ... again!
LWB1 was never completed. It was eventually sold as-is for a project bike.
LWB1
Summer 2002
Project IndexThe Building Of LWB2
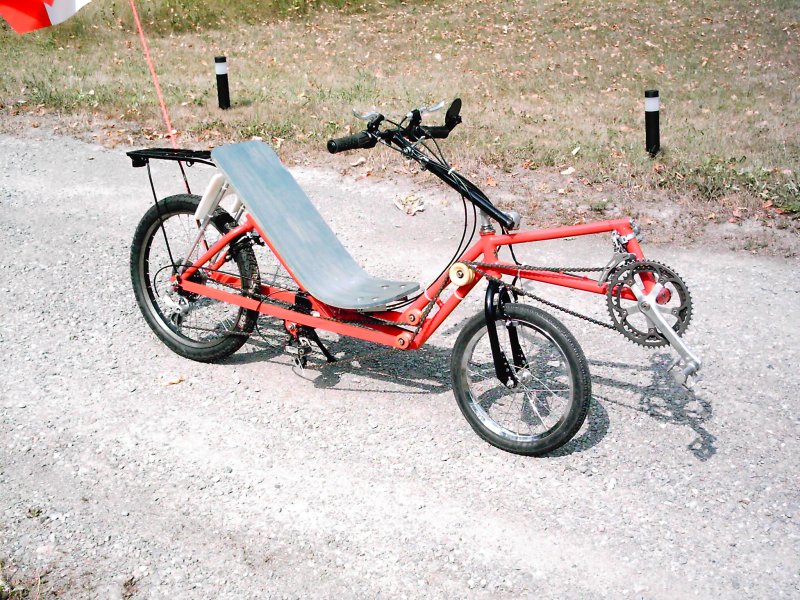
LWB2 was built in the summer of 2003. It was my second attempt at a Long Wheel Base recumbent. I still needed to try a Long Wheel Base Recumbent! This design had the 'raked' front end, which looked better to me.This time the Long Wheel Base recumbent was completed. I could see the attraction to the Long Wheel Base recumbent. It was nice and smooth, you sit up higher, visibility was great. However, there was something about the design, at least this one, that I was not comfortable with. I'll keep looking for a more suitable design.
LWB2
Summer 2003
Project IndexThe Building Of LWB3
LWB3 was built in the summer of 2004. It was my third attempt at building a Long Wheel Base recumbent. I still needed to try a Long Wheel Base Recumbent! This design also had the 'raked' front end, like LWB2.This design still was not what I wanted and so this hit the back burner also.
LWB3

Summer 2004
Project IndexBuilding JIG1
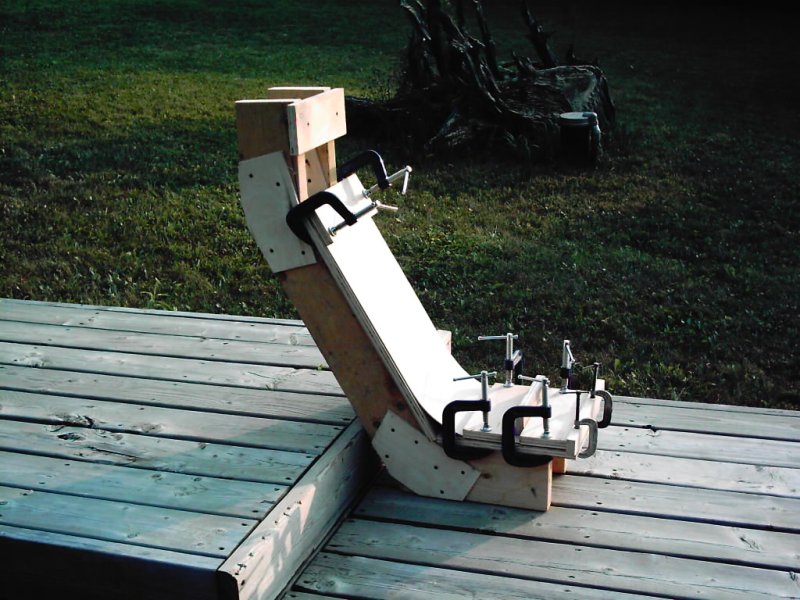
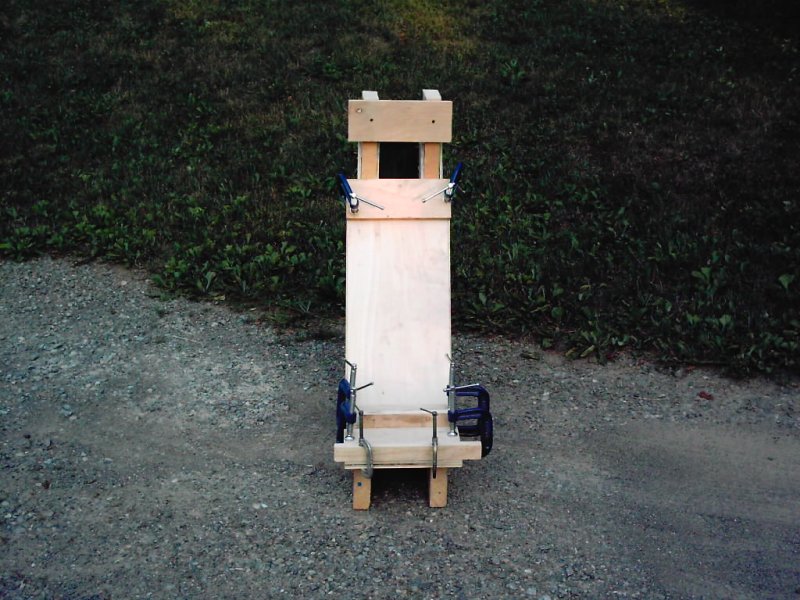
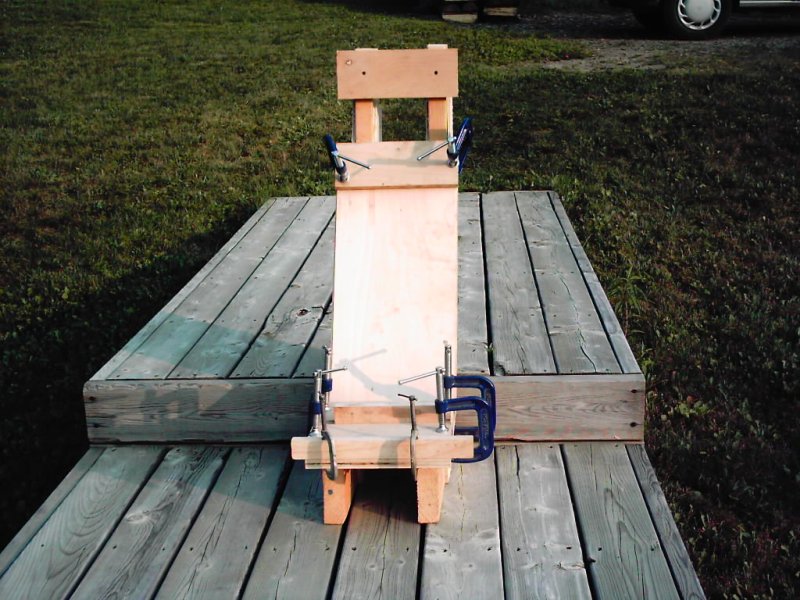
My preference is for a hard-shell seat, so I want a strong, light-weight and hard seat. That type of seat goes really well on a Short Wheel Base recembent. I want something I can put a couple screws into and not have to worry about them dropping out after a year of riding!To keep these seats uniform in shape and feel and to be able to reproduce them, I decided to build a JIG to make them.
JIG1 was built in summer 2004, and made from scrap lumber laying aroung my house, from it's construction, which was completed in 1996. A couple pieces of 2" x 6"'s and some 3/4" plywood, some nails and some screws.
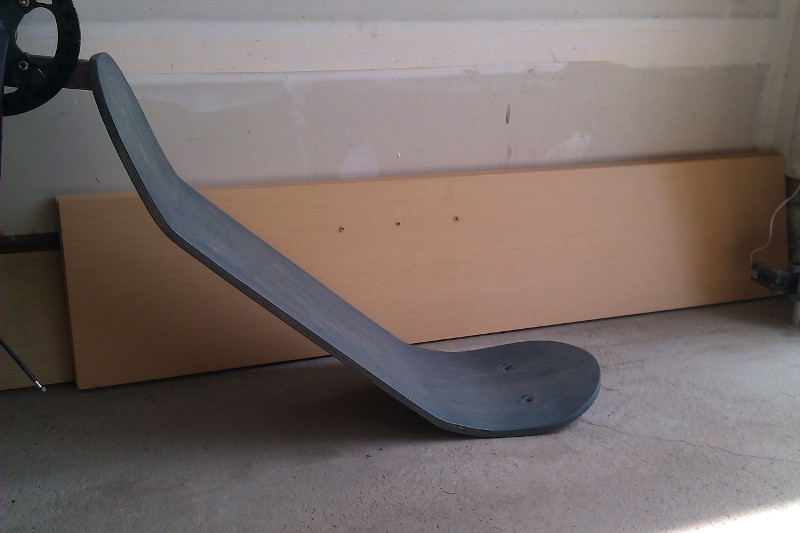
I have made several seats using this JIG and the seats are very comfortable and very strong. I laminate four (4) pieces of 1/8" Baltic Birch Plywood, glued them together with Carpenters Glue, to form the 1/2" thick formed seat. It feels Great and It works Great!
For more Detailed Information, E-Mail US!
JIG1
Spring 2004
Project IndexThe Building Of SWB2
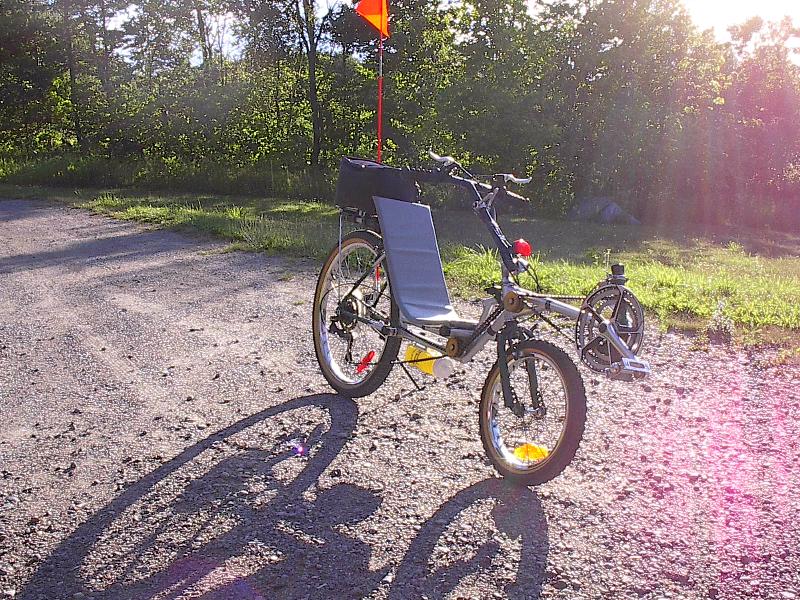
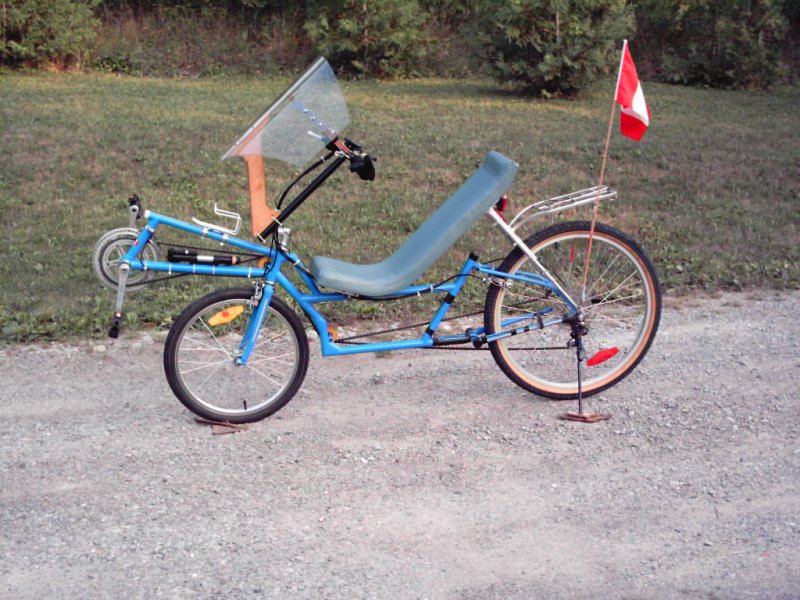
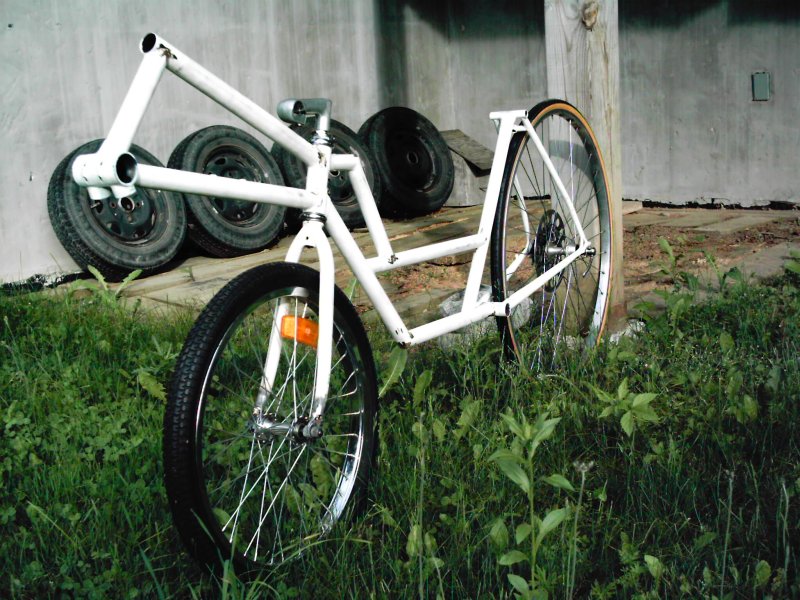
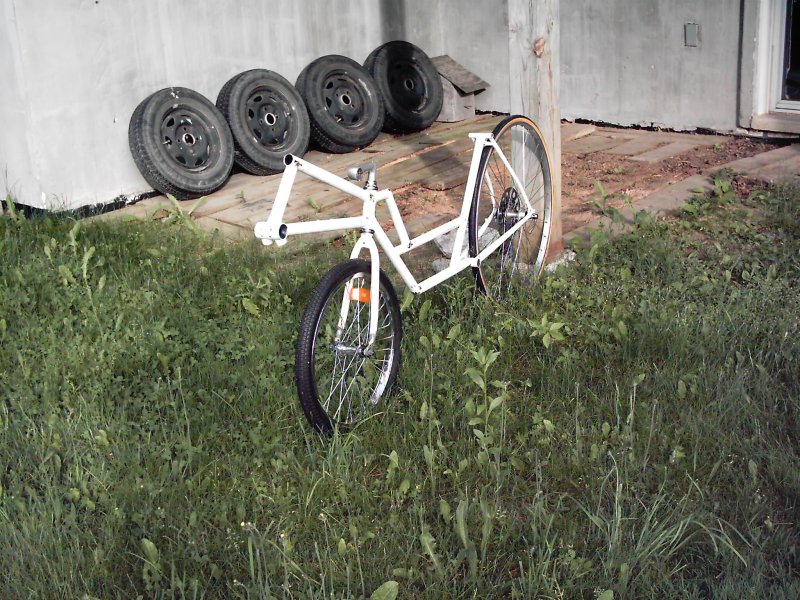
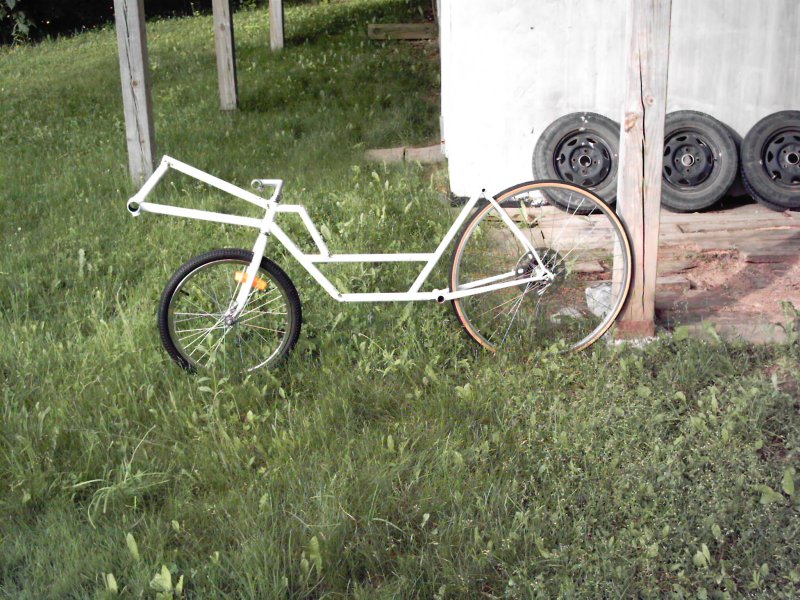
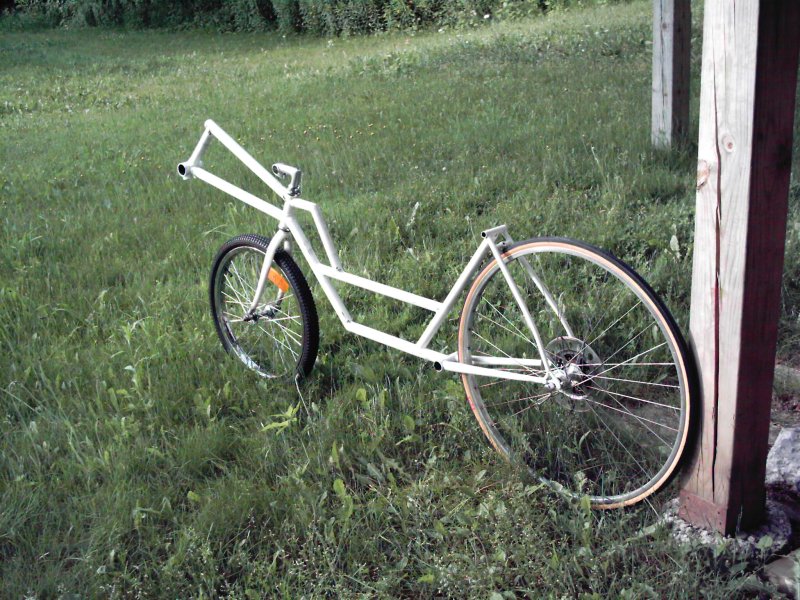
SWB2 was Built in the summer of 2004. SWB1 was really too small for my frame and I decided to build a more suitable size frame.SWB2 building went very well and is a lovely bike with standard 26" Mountain Bike rear wheel and standard BMX 20" fromt wheel. The bake handles very nicely and is a pleasure to ride
AHEM!!! I did get the frame a little too big for me! I can see more building comming up!
Building SWB2 Windshield ...
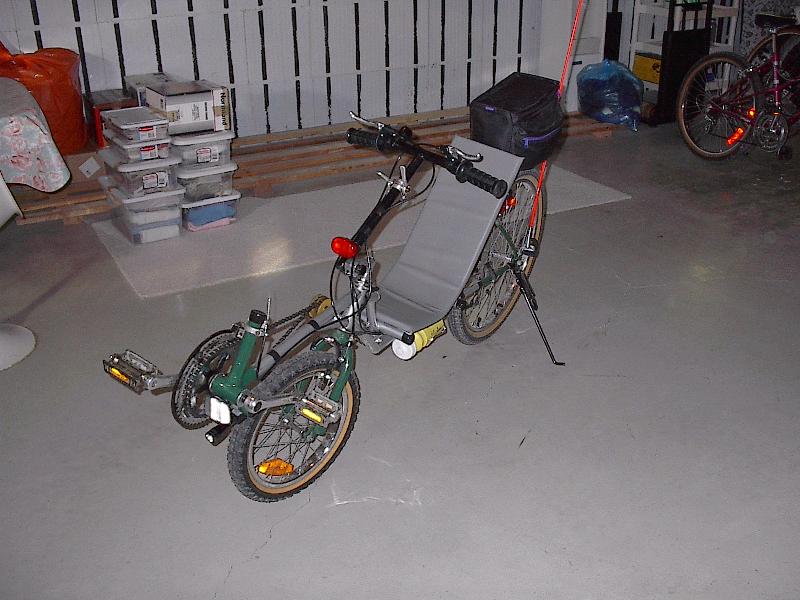
The Windshield for SWB2 was built in summer 2004, and added that needed protection from road dust, dirt and bugs!Building SWB2 Trailer ...
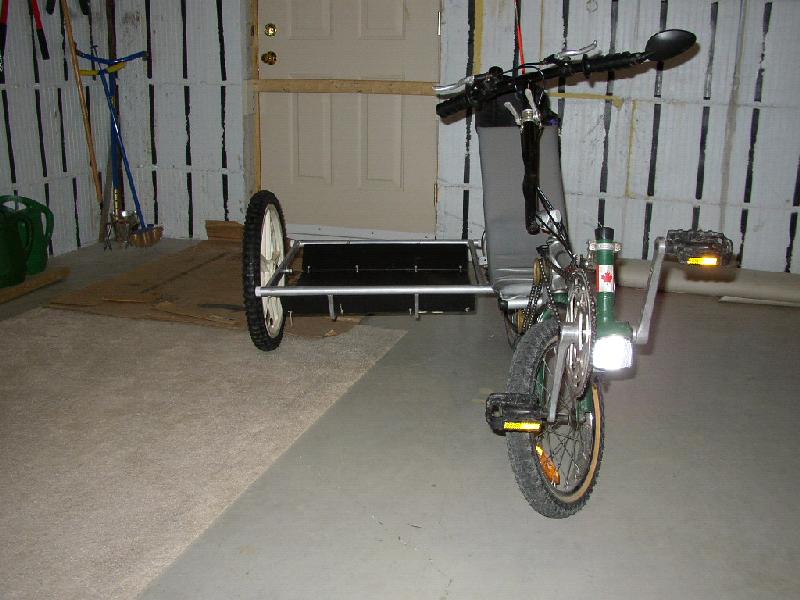
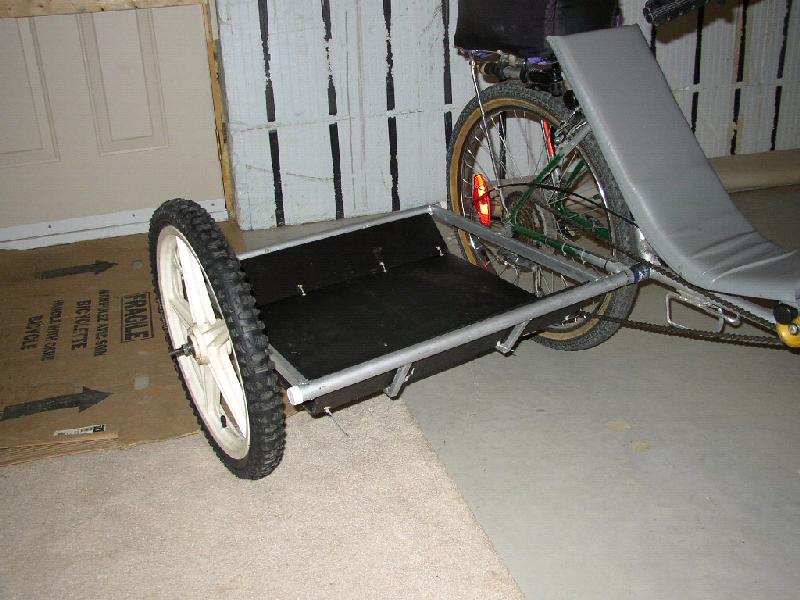
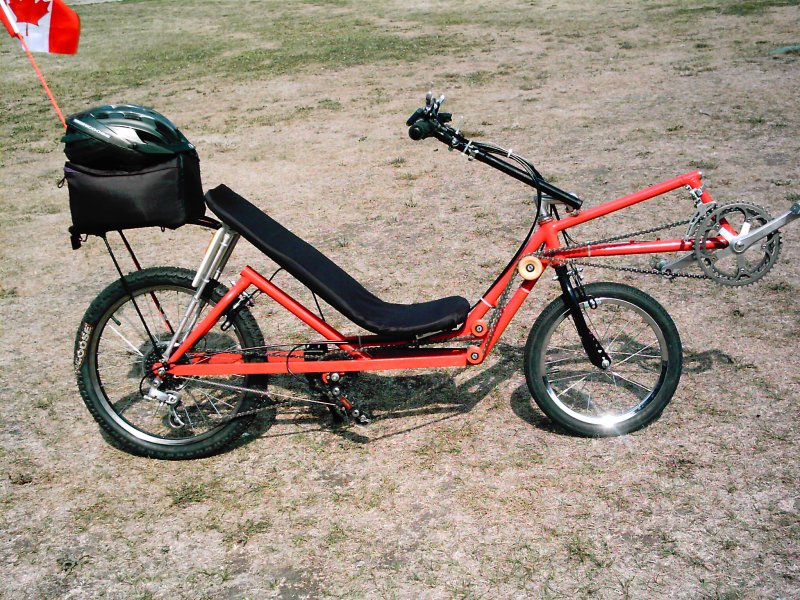
The Trailer for SWB2 was built in summer 2004, and added the availability to cary additional luggage. The Trailer is easily added/removed by a single "Pin and Clip"! The Trailer arm that attaches to the rear of the bike is also removable from the Trailer, to make it easier for transporting.LWB2
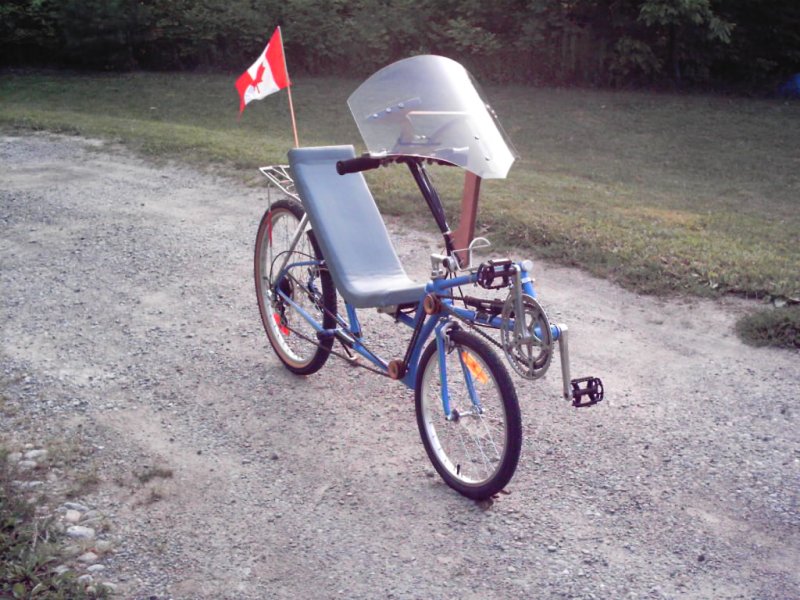
Summer 2004
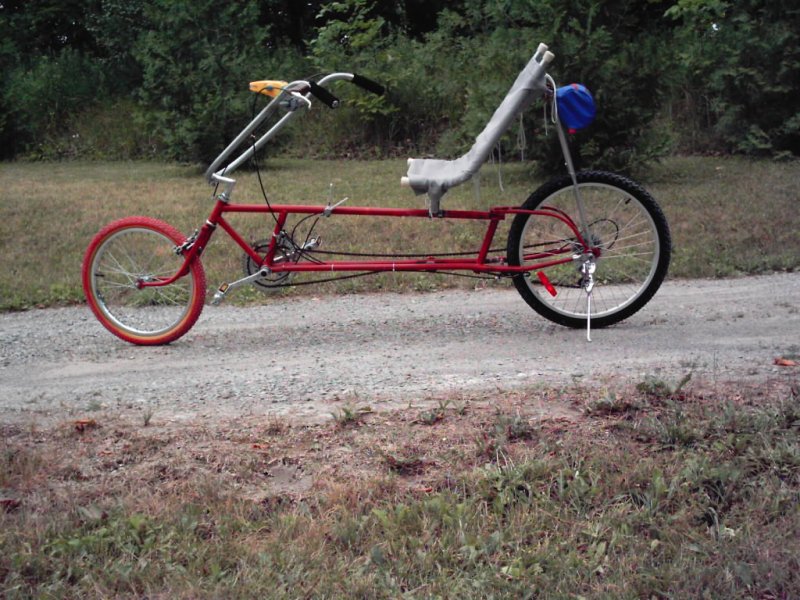
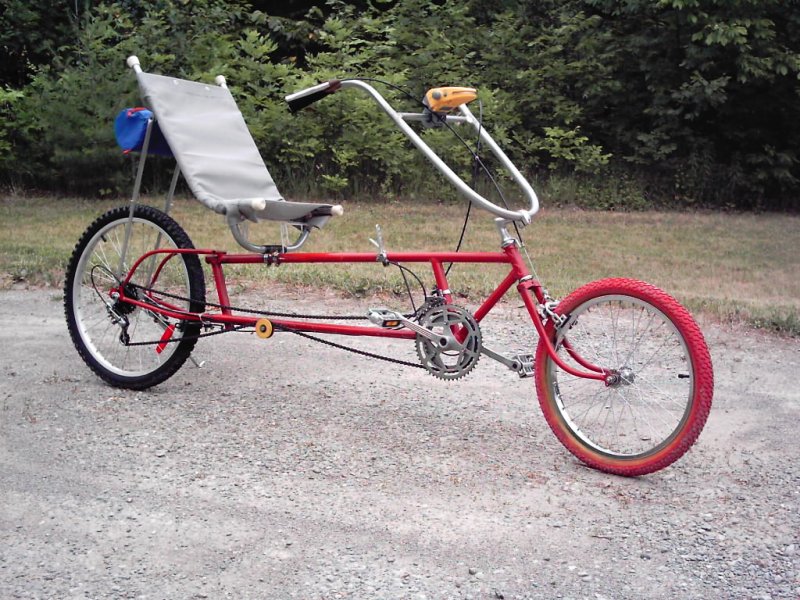
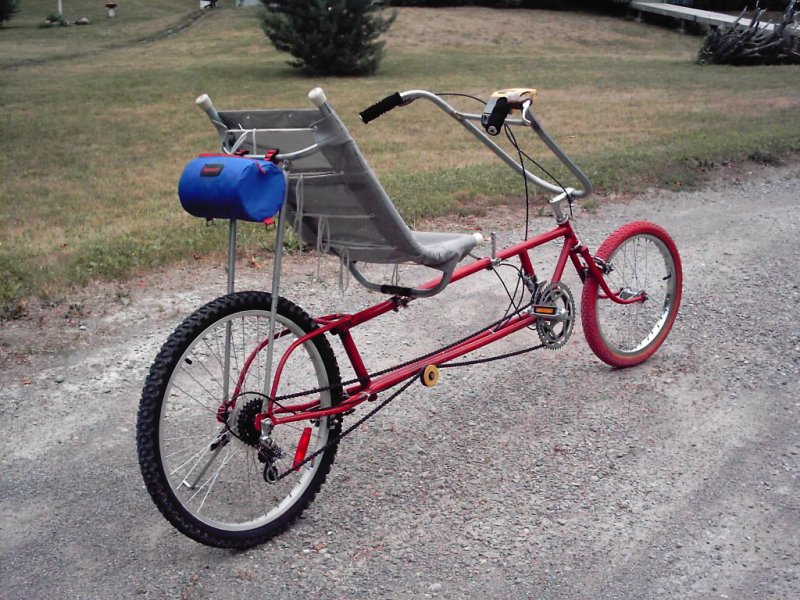
Project IndexThe Building Of SWB3
SWB3 was Built in the summer of 2006. SWB3 was designed and built to be lightweight and fast.SWB3 was built mainly with CROMO tubing and used standard Road Bike Rear Wheel, 27", thin and light weight, and 20" front wheel. Seat was made to be adjustable, forward and backwards as-well-as recling.
It was built too long for my size. Yup, I did it again! Ah well, here comes SWB4!
SWB3
Summer 2006
Project IndexThe Building Of SWB4
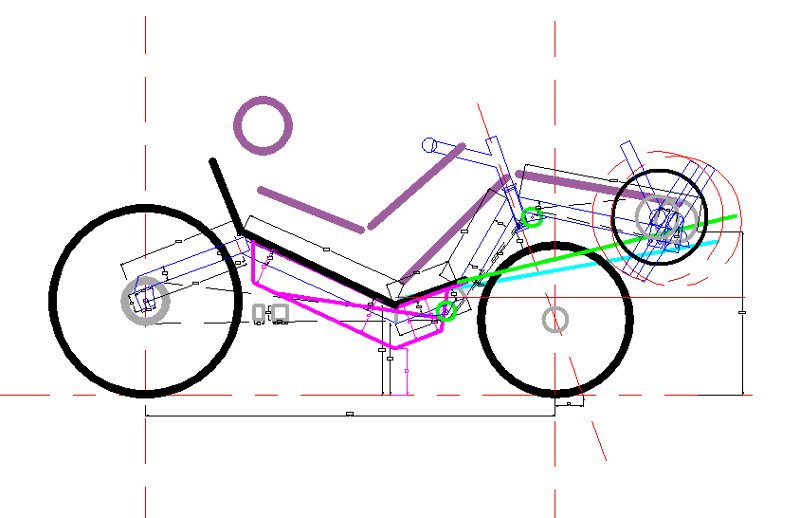
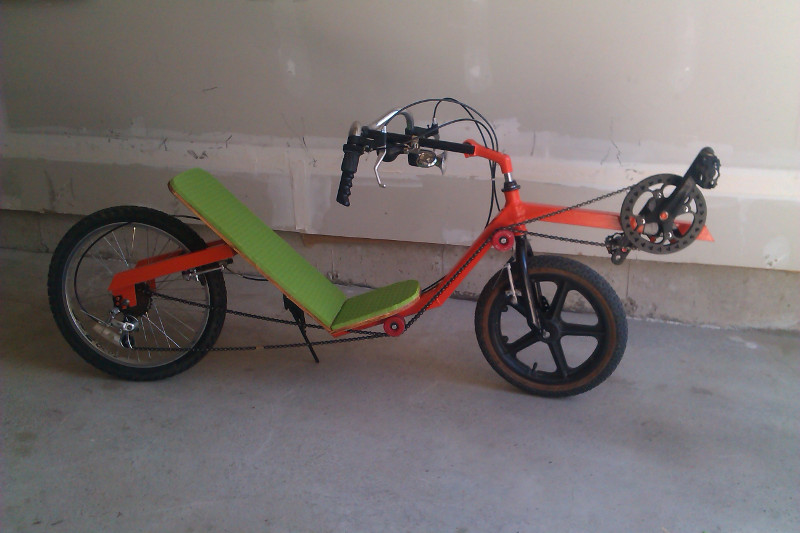
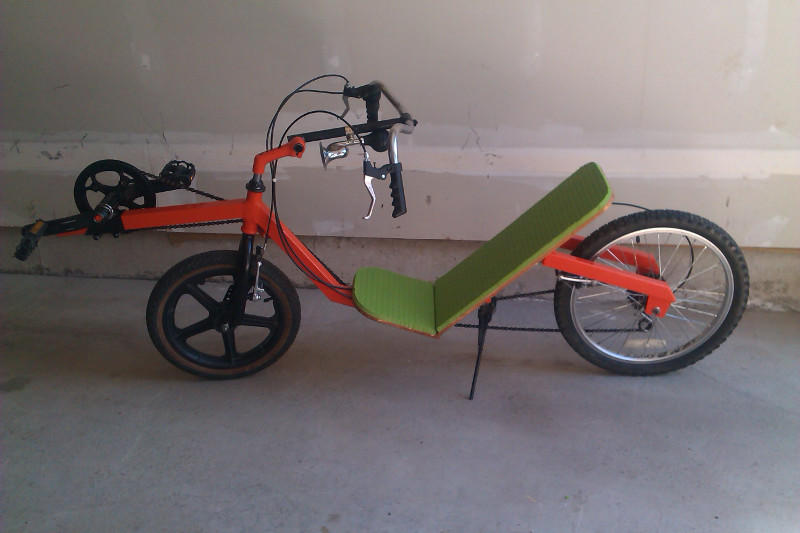
I Built SWB4 because I wanted a really low Low-Racer. To get the bike really low, it required having a small back wheel, (20"), and a smaller front wheel (16"). It doesn't have to have a smaller front wheel, some people like the balanced look and go for both wheels the same size but, I personally find that a slightly smaller front wheel is more aesthetically pleasing to "my" eye. If the difference in size between the front wheel and rear wheel is more than 4", this diminishes the aesthetic appearance of the bike..."My eye"! Nothing to do with the balance or performance.Having a small (20") rear wheel presents some problems. Lots of climbing ability, no go on the flat. Unless of course you opt for a very large crank. Again, it takes away from the beauty of the bike. Also, I like to keep standard (road bike) parts as much as possible.
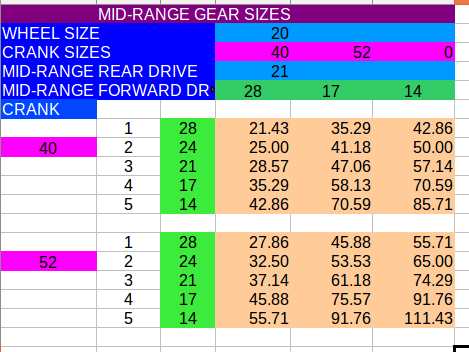
I had to move to a 5 speed cassette at the rear wheel because the distance between the rear cassette and the Mid Cassette, was about 18". Not really enough room, (trying to keep the bike short), leaving too great of an angle from the high gear (rear wheel cassette) to the MidDrive cassette drive gear. This MidGear was made from another (standard) 5-speed cassette. The cassette was dis-assembled, spacers were moved around to allow two spacers between the "drive" gear and the rest of the cassette, the shifting gears. One cog had to be eliminated leaving only a three speed cassette. In retrospect, perhaps I should have used a SRAM Gear drum in the rear wheel. However, its expensive and not what I would consider a "standard" part. At least not North of the border.
Regardless, With my gear arrangement I ended up with a 30 speed gearing, that ranged from a 22.50 to 111.43, not bad for some old 5-speed road bike gears, and the cost was great!
The bike is only 44" long axle to axle. I'm a small guy, 38" leg reach is a stretch for me, I'm all of 5'6".
I also used, on this bike, two tracking-rollers, as the chain was touching the rear-wheel stays, as those stays came together at the down-tube. A departure from my other bikes, which used two twin-grooved idler wheels. The same idler wheels were used for drive chain and return chain. Minimal friction, not noticeable by me. The idler wheels return grove was wide enough not to 'grab' the return chain, as it merely held up the return chain from sagging.
On the subject of idler wheels. I have been having problems using Skate-Board wheels for my idler wheels. When attempting to cut the grove for the chain, the outer rubber splits about 1/8" in, making the wheel useless. I need to cut at least a 1/4" grove to hold the chain properly, and prevent it from "jumping" out of the grove. I realize, of course, that I could use an "L" bracket to hold the chain from "jumping" out of the grove. However, this also requires another spacer as the bearing is counter-sunk into the wheel...Additional custom work! Any suggestions...Anyone!
The seat, like some of my other bikes, is made of 1/2" Plywood, bent to form the shape. In the case of SWB4, the plywood was stained and lacquered, to show the wood grain. A seat slip cover was made that contains the padding and lumbar support. To suit the riders comfort, more padding can be added, and the lumbar support can be moved up or down. Additionally, the seat can be adjusted forward or backward about 5"-6", and the reclining angle can be adjusted up or down in three increments.
Had to rush to get the bike ready for the Port Hope Trikefest 2007. This is a yearly event organized by John Murray. "John's Cycle Shop". Details on our "Links" Page! All Welcome. The event usually spans Saturday & Sunday, the third weekend of August each year.
All major components have been installed. It would appear that I will make the "TrikeFest" 2007. The bike will have its debut at TrikeFest 2007. Some minor things to be done still. Fine Tuning will continue...until I get it right.
COMMENTS
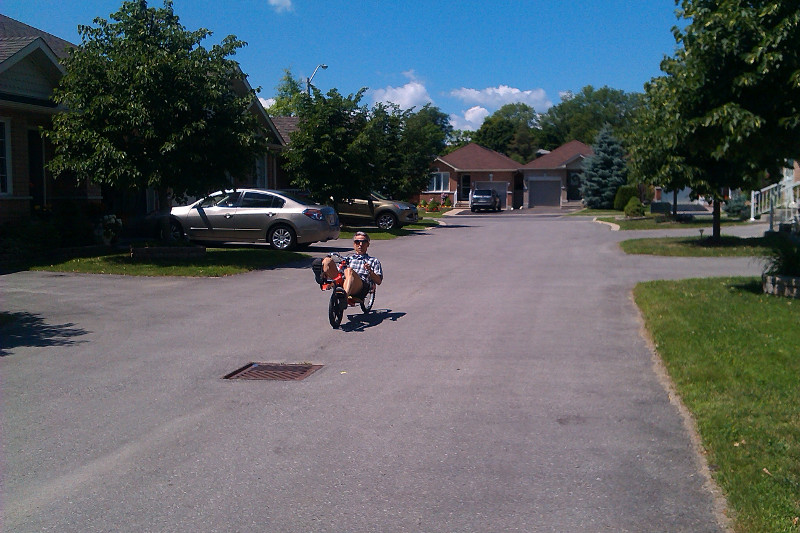
The Bike is a joy to ride, and performs like a true sports car. It has Mountain-Bike Climbing ability on the hills, Road-Bike speed on the flat, and corners like a Formula 1!It is low, I can place my hands on the ground, my feet in the pedals, and move off from that standing position. What a blast to ride!
For more Detailed Information, E-Mail RBSCycle!
SWB4
Summer 2007
Project IndexThe Bulding Of SWB5
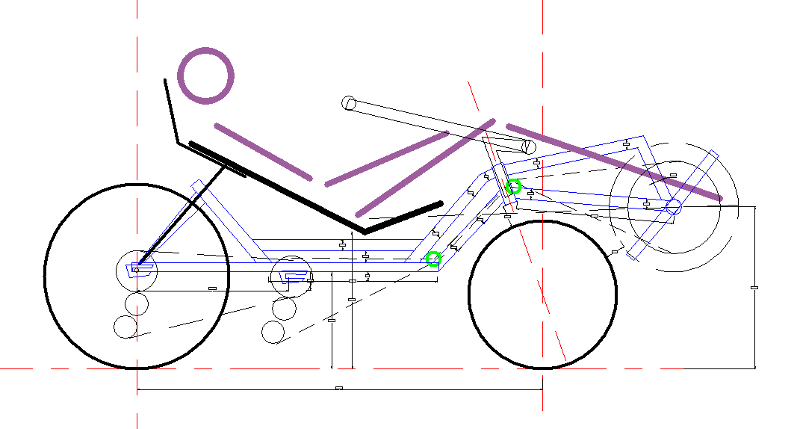
SWB5 is a combination of SWB4 and the "Tomahawk" From "Atomic Zombie". I have been toying with the idea of building another SWB4 or something very similar. I bought some plans from "Atomic Zombie" (Great Guys and Great Projects!). However, not the same size of SWB4. Their "Tomahawk" is designed for a 26" Rear Wheel with a 20" Front Wheel. So, starting with those plans and a lot of serious modifications (always with an eye on SWB4), SWB5 was born. SWB5, like SWB4, has a 20" Rear Wheel with a 16" Front Wheel. Really low and a wheel base of only 44"! One can see the similarieties in Design to the "Atomic Zombie Tomahawk", but it took a lot of work to get from the "Tomahawk" to "SWB5"!SWB4 had a Mid-Drive system. Since the Rear Wheel was only 20", it needed something else to get the right gearing, so I used a Mid-Drive system. The Mid-Drive system worked very well. It gave me a 30-speed drive train. Like all conventional Derailer systems, it has the usual overlaping gears. Also, being a Mid_Drive system, one had to be careful with the ground clearance.
SWB5 has a standard Derailer in the Back. No Mid Drive! This makes for a lower seating position and not compromise the ground clearance. Seat BIN After making the seat and taking some final measurements for the BIN, I decided not to make the Seat Bin. The space it would have provided with this width of seat was much too small. I still think its a great idea, and that a wider seat would accomodate some well needed storage space.
SWB5 Building:
- Frame Welding Completed: 5 May 2014
- Adjustable BB On Boom Completed: 12 May 2014
- Rear Wheel Build Completed: 15 May 2014
- Front Wheel And Fork: 21 May 2014
- Paint Primer: 21 Jun 2014
- Paint First Coat: 23 Jun 2014
- Paint Second Coat: 24 Jun 2014
- Re-Assemble: 25 Jun 2014
- Seat Finishing: 26 Jun 2014
- Final Adjustments & Test Ride: 27 Jun 2014
About SWB5
WOW! What a Bike! It rides, corners and sits like a sports car! What a pleasure to ride and so much potential still left untapped! For example. A 5-speed or 8-speed IGH in the back and a Schlumpf in the front would really make that puppy fly!SWB5
Spring 2014
Project Index