 SLISHMAN
SPLINT TMSLISHMAN
SPLINT TM
SLISHMAN
SPLINT TMSLISHMAN
SPLINT TM
Femoral Traction
Click this image for a 1-2 minute video
demonstrating splint application:
Click here to jump straight to steps for femur-only splint application
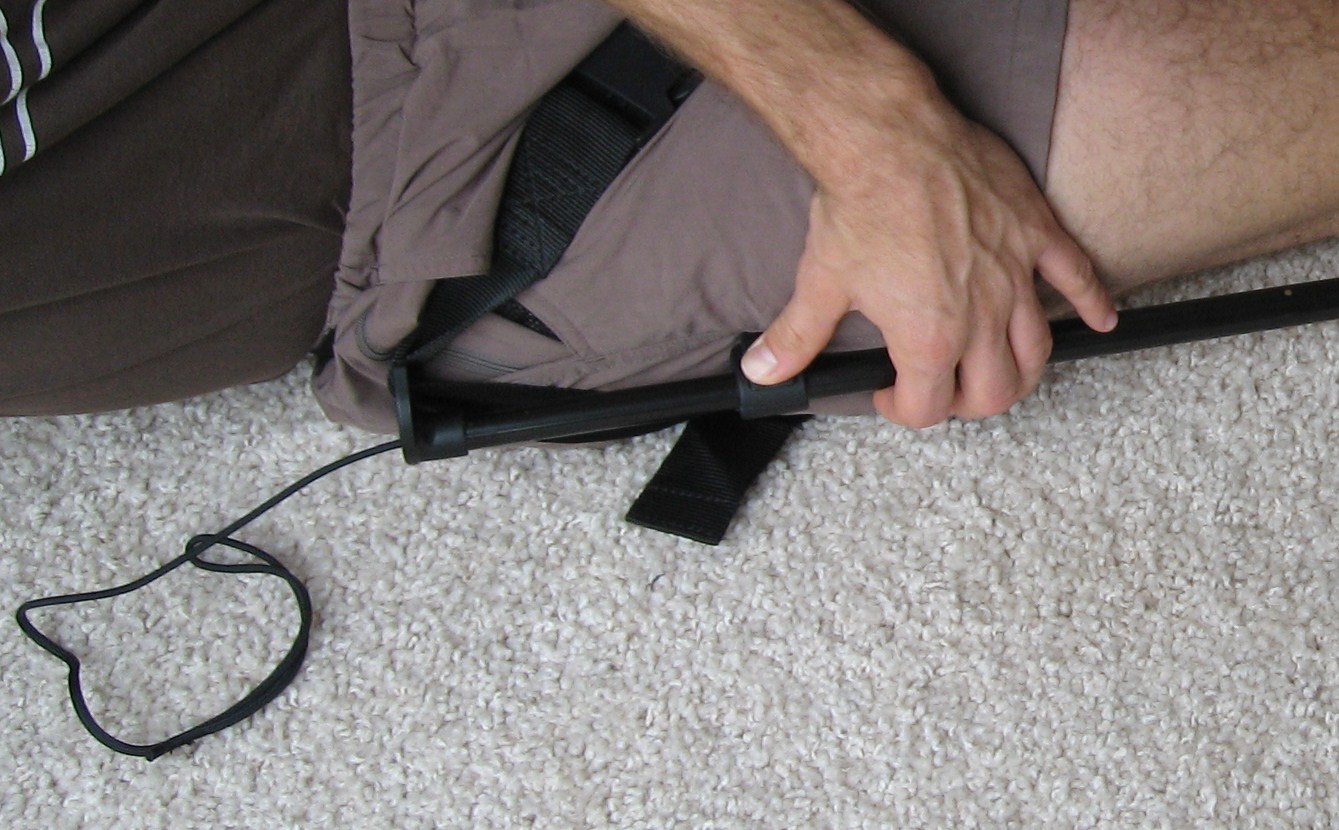
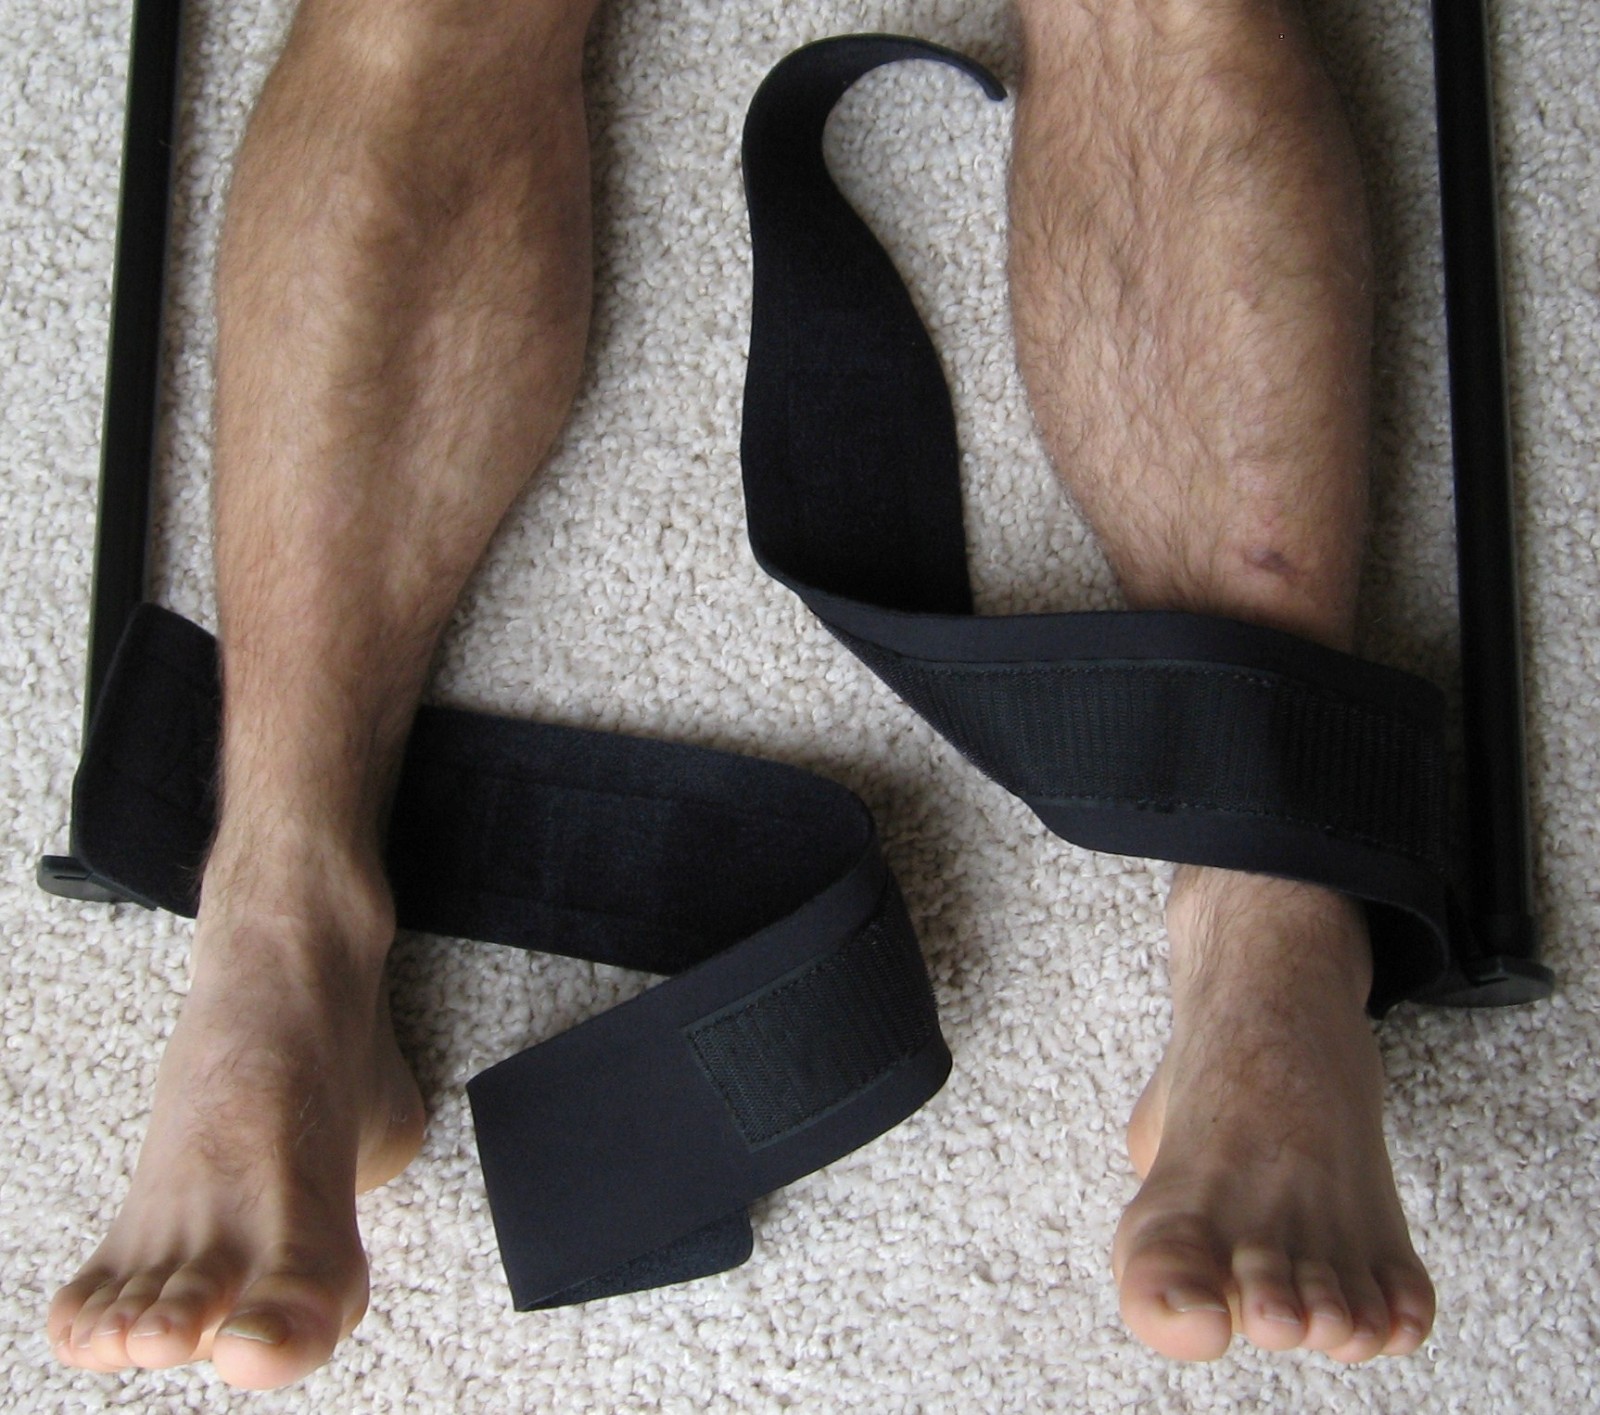
1. For proximal attachment, place handle
against hip. Align groin (or shoulder) strap with buckle resting
anterior to thigh, and attach to free end of handle strap.

2. Attach free end of groin (or shoulder)
strap to buckle of handle strap. Align padding for maximal comfort,
and consider covering in gauze or fabric to keep straps clean.

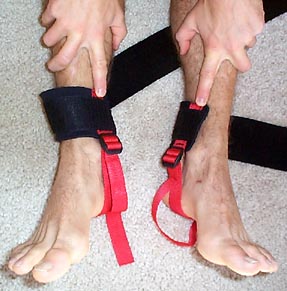
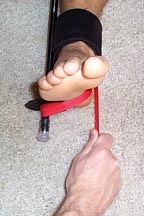
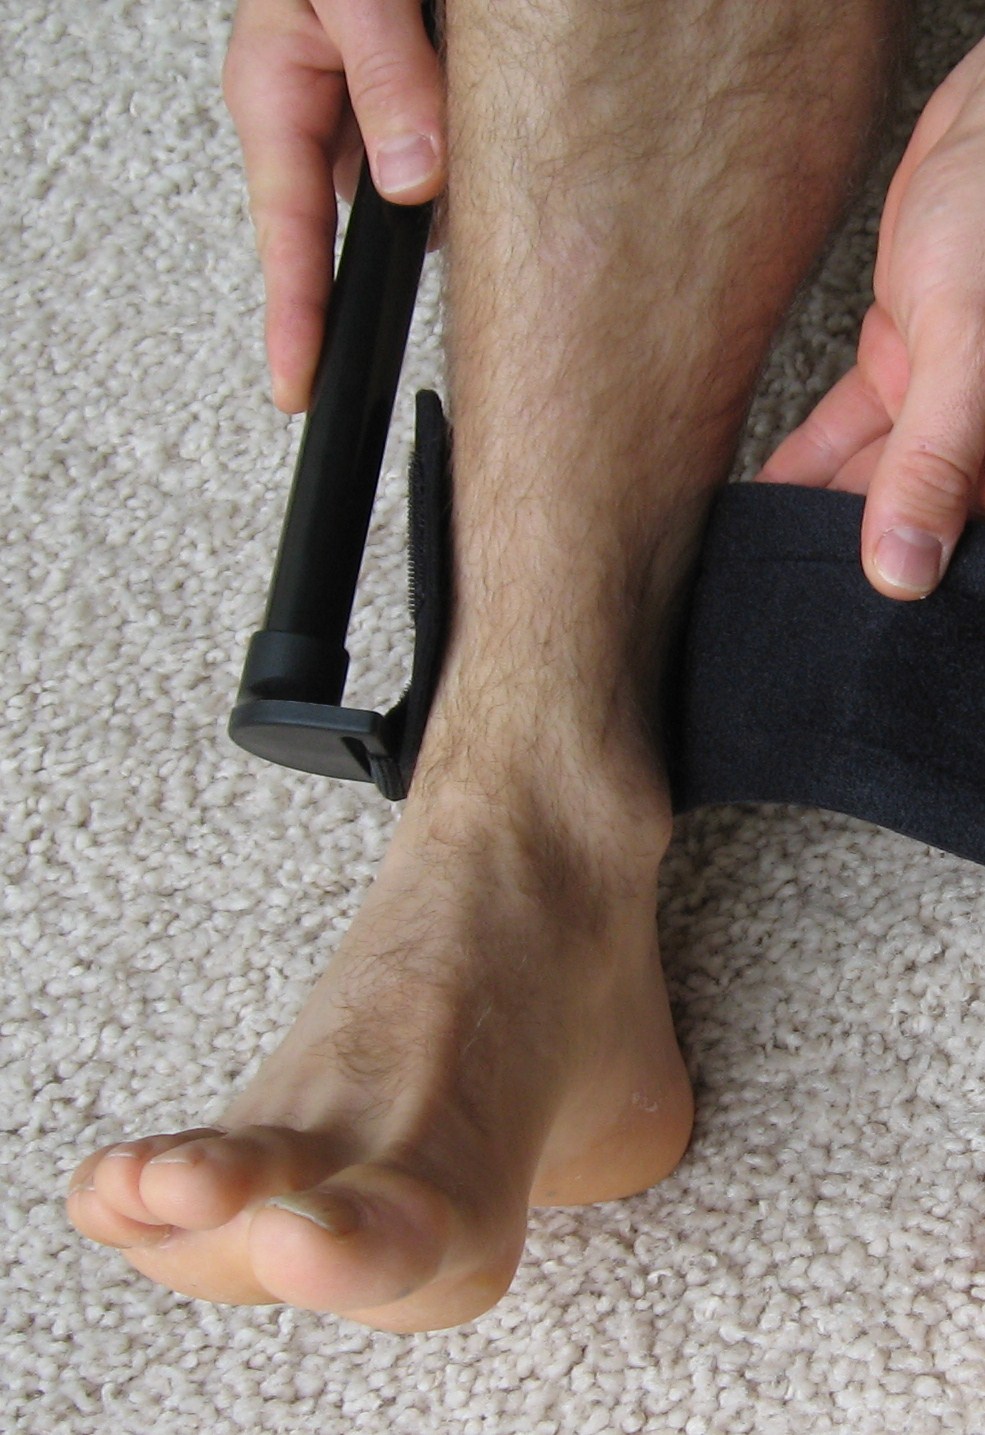
3. Attach ankle (or wrist) strap starting
with buckle placed against inner ankle. Note the difference in orientation
when attaching to right or left ankle.
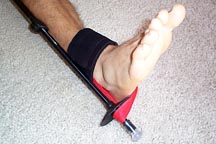
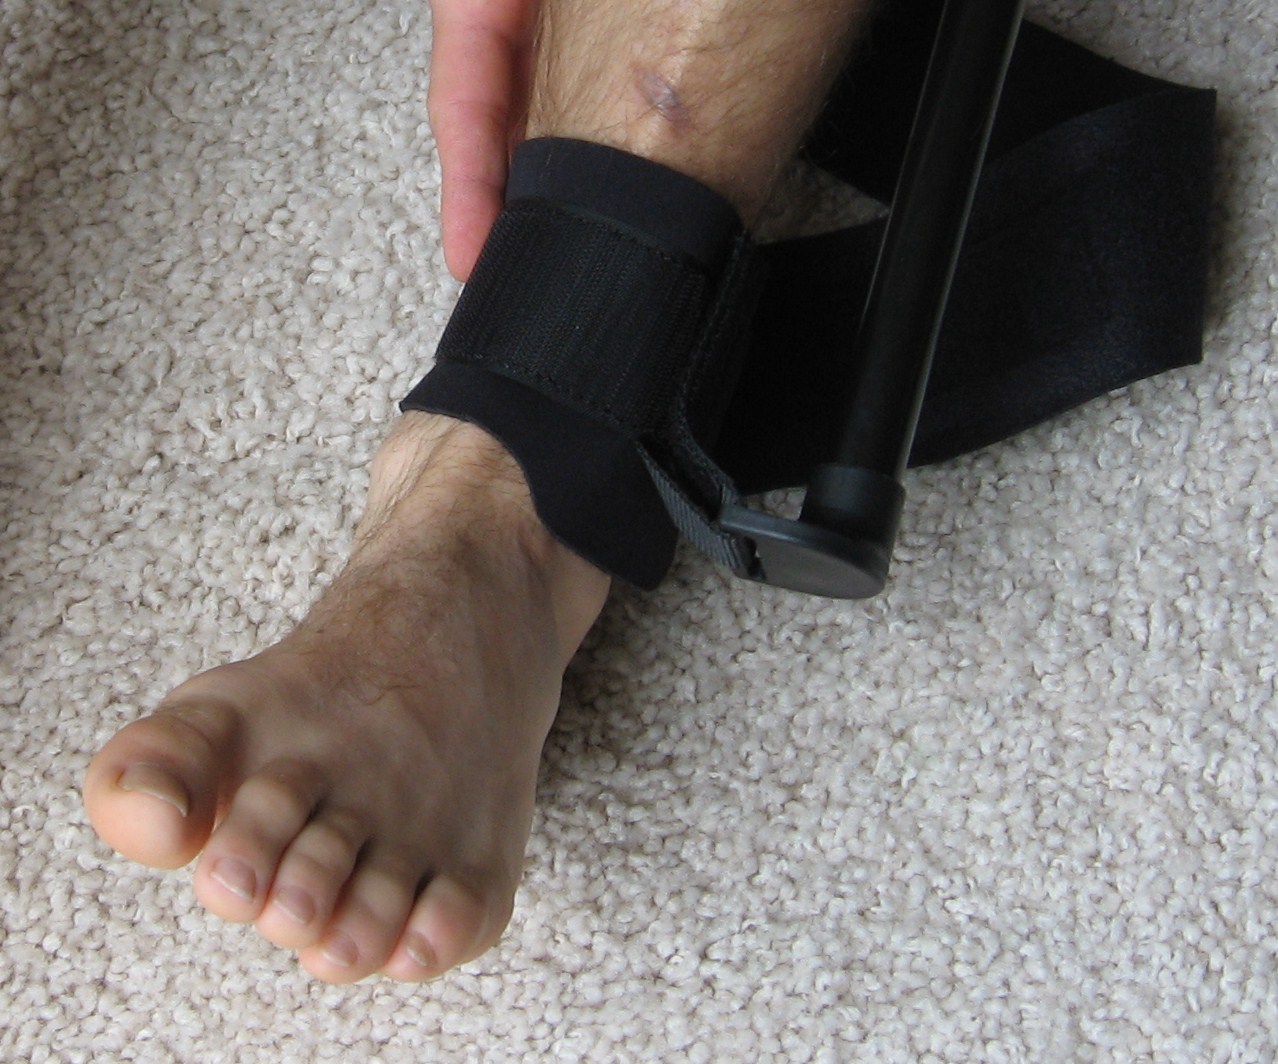
4. Wind strap over splint tip and lock
in basket slot.


5. Extend inner pole for coarse length
adjustment. Then close Flicklock 1. Make sure before use that Flicklock
screw is tight enough to prevent slippage.
6. Pull cord within handle for fine length
adjustment and for traction application. Give patient the opportunity to
adjust traction to maximize comfort. Once extended to desired length, close
Flicklock 2. Again, make sure Flicklock screw is sufficiently tight.

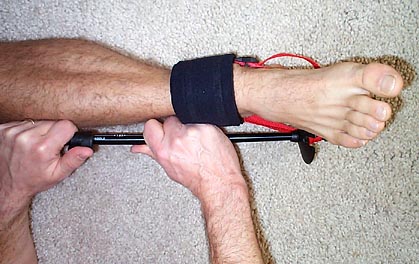
7. Once traction is applied cinch
buckle along inner ankle to help balance torque on ankle.
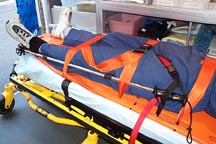
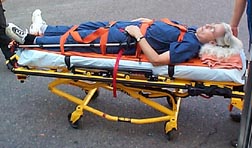
8. Splint to other leg or backboard to
stabilize, and monitor neurovascular status closely.
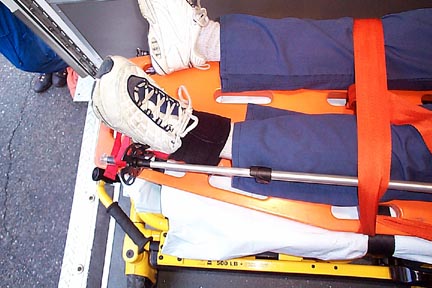
The Slishman Splint works particularly
well with the Evac-U-Splint or the box splint.


1. Apply ankle strap.

2. Apply groin strap.


3. Extend the middle pole from outer and lock in place for coarse adjustment.


4. Pull cord to apply traction and lock in place.