 |
 |
Through personal experience, I have found that although some knots work on some types and strength of lines very well, they may slip with other lines and breaking strains, and eventually you will find a favourite that works for you and your choice of line.
The most common ones are shown below.
One very important thing about tying knots on monofilament line
(and other types) is to ensure that you wet the line and knot area, with
either water or spit, to help the line slide when you pull it tight.
(Small note. When you wet the line in your
mouth, take it out of your mouth before you pull it tight, so you don't
catch your tongue in the knot. This can be most embarrassing when you have
to ask someone else to cut the line off your tongue)
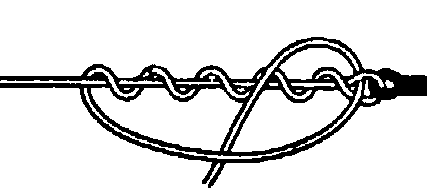
Improved Clinch Knot
This Clinch Knot was an age old knot and has been very successful,
but nfortunately with some lines I have found that it slips and thus the
Improved Clinch Knot is shown below.
 |
 |
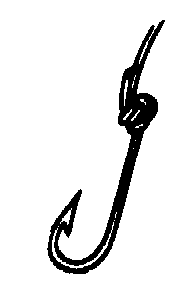
Palomar Knot
They say that this is the easiest knot to tie consistently and supposedly
is the strongest known to hold terminal tackle.
 |
 |
 |
 |
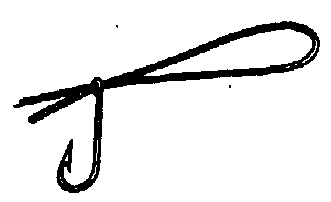
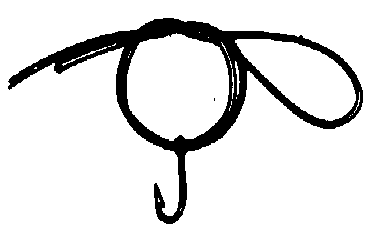
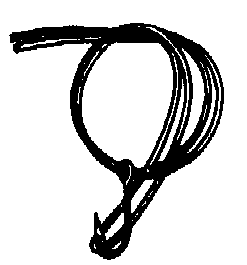
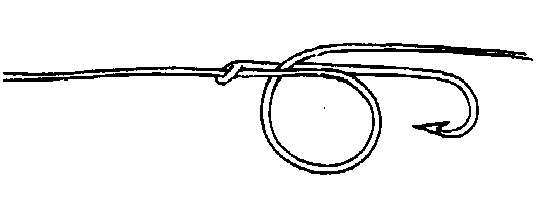
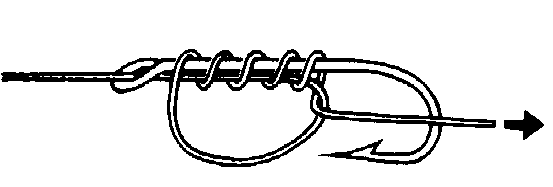
Snelling
a Hook
This is when you would like the line wrapped around the shank of
the hook, and is mainly used for setting up "leaders" on hooks for attaching
to existing lines. You can have the leader strength what you want and get
the length you require.
 |
 |
 |
Knots for Joining Lines
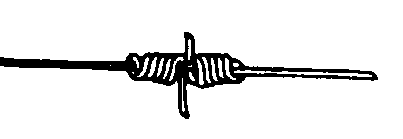
There are two main knots used for joining lines. The Blood knot
for joining lines of approximately the same diameter and the Surgeons knot
for different sizes. These are shown below.
The cutting of the tails is debatable depending on how far into
the spool the join is, and what type of reel you are using.
Where possible, the join should be quite a bit more than your
longest cast from the end, so that the join is generally not exposed when
normally fishing, especially if you cut the tails off fairly close.
If they are cut close, then the tails are very stiff, and if exposed
on a spinning reel then sometimes they catch the line as it is peeling
off the spool when casting and it stops or decreases your cast.
As was said earlier this is a personal choice and very debateable
if you join near the casting distance of the line replaced.
Blood Knot

Stage 1 (Do both sides) |

Stage 2 |

Stage 3 |
Stage 4 (Wet and pull tight) |
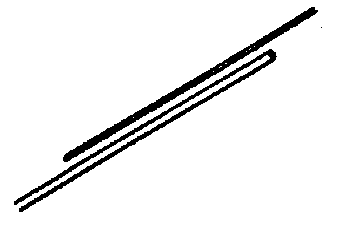
Stage 1 |
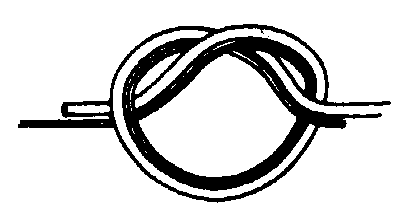
Stage 2 (First Time through) |
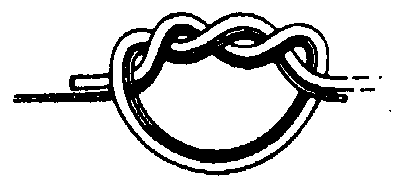
Stage 3 (Second time through) |

Stage 4 (Wet and pull tight) |