| Fiberglass Kickpanel |
| Do It Yourself . . . |
| Do It Yourself . . . |
| Custom Fiberglass Enclosure |
| Custom Fiberglass Enclosure |

|
 |
|
|
| Please Read First: Any practices carried out by using the information provided within these webpages should be done with extreme care. Fiberglass resin fumes are harmful, MDF particle dust is harmful, and working with power tools can be dangerous. Always use extreme caution and the proper safety equipment. (i.e. respirator, safety goggles, etc...) It is recommended that fiberglass and resin is used outside or in a well veltilated area, and all other manufacturer's recommendations are followed. |
| Fiberglass Kickpanel |
| First things first . . . Be aware that this stuff is MESSY! Protect yourself by wearing long sleeves and gloves. Getting resin stuck in your arm hair is not fun. Protect your vehicle with old sheets or other drop-cloths. When working out of the car, protect the work area. A little preparation will make clean-up so much easier. |
| In this tutorial we will go over how to fiberglass smaller speakers - namely mids and tweeters used in a kickpanel. Both mids and tweeters can be installed a variety of ways, but since kickpanels are a popular request, and we are here to please, that's the project we will do. Kickpanels are very popular in vehicles today and there is a lot of information out there on how to achieve proper stage height, imaging, alignment etc. We will not cover any of that here. Again, we are amateurs here also, I recommend finding an online car audio forum and read up before starting a project like this. As usual, you will want to remove all the debris in the area and clean it up as much as possible. This includes smoothing out and vacuuming the carpeting and removing any plastic panels that will be in the way. Also prepare the surrounding area. You will make the glass larger than it has to be, and trim away the extra later. |
 |
| Next, place your speakers roughly where you think they will sit. This will give you a basic idea of how much glass you will need to lay down. You can see here that this speaker will almost reach the edge of the 'dead' pedal. We will lay glass about 3" beyond that, and trim it up later on. Then cover the entire work area with masking tape. (and foil just to be extra cautious) If you have a bunch of wires do not tape tightly to them, rather make a loose flowing structure. It will be easier to glass, and much easier to fit it in correctly once you put the kickpanel in place. |
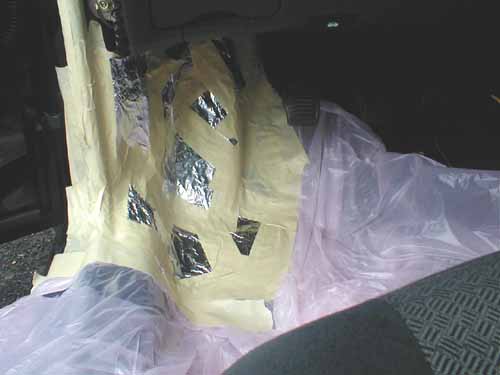 |
| Any surrounding areas should be covered with some kind of plastic or tarp. Here we used garbage bags. Use caution here, you will not want resin sticking to your carpet! |
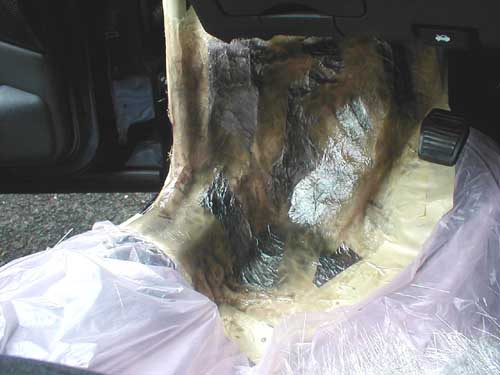 |
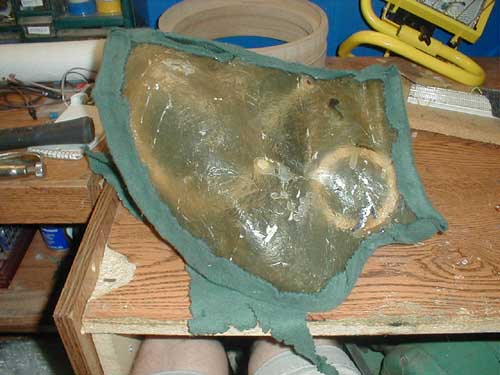
| The picture on the right shows the project with the first 2 layers of fiberglass and resin down. The glass was applied the same way as described in the earlier projects. Now just let it dry. Remember patience is vital! |
 |
| After the first layers have completely dried, remove them along with the tape and foil. Add extra layers of glass if this base layer is not strong enough or spongy. Then put the piece back in and trace the edges where you will need to cut. While the glass is drying, you should have ample time to make sure all of your mounting rings are made and ready to go. 1/2" MDF was used for this project. |
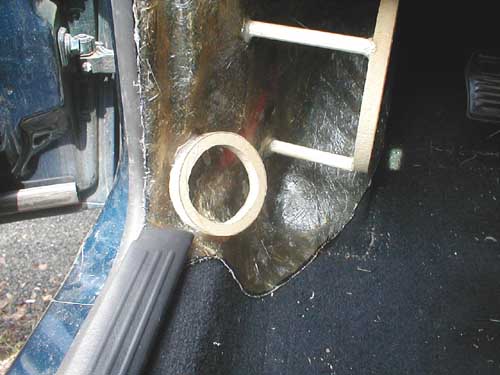 |
| Next you will need to hot glue the rings into the position of your choice. Make sure the rings are sturdy enough for you to be able to stretch the fabric across them without them collapsing. Once the glue has dried, double check the clearance of the speakers and make sure they will actually fit. |
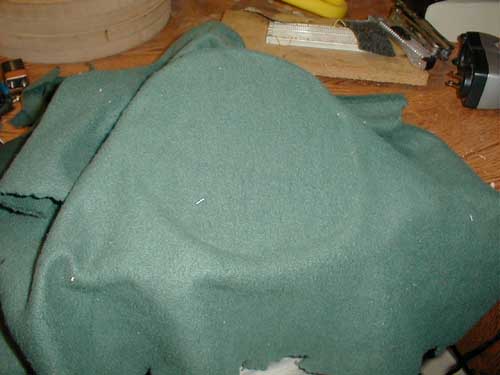 |
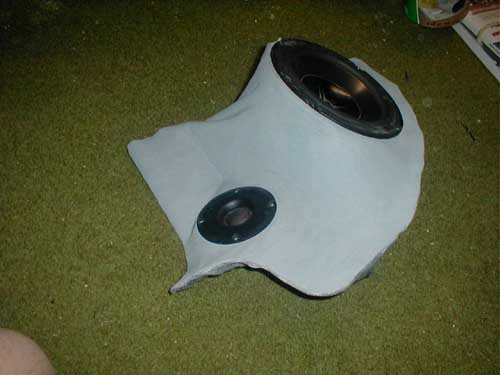
| Now it's time to wrap the kickpanel in fabric. In previous examples, the fleece was simply wrapped around the enclosure. Kickpanels are different because the rings may be indented in reference to the edge of the glassed mold - meaning if you wrapped the fleece around the whole thing, the tweeter hole and possibly the speaker hole would not been seen. Using hot glue, apply glue in sections of the ring, and place the fleece on it. Wait until it dries, stretch it, and apply more. keep working until the entire ring is |
| stretched and glued. You can do either ring first, but it might be easier if you do the smaller one first. After the fleece is attached to the mounting rings, then stretch and glue it around the edges of the mold. |
| Once the fleece is wrapped and glued around the backside of the enclosure, excess fleece is trimmed away. |
 |
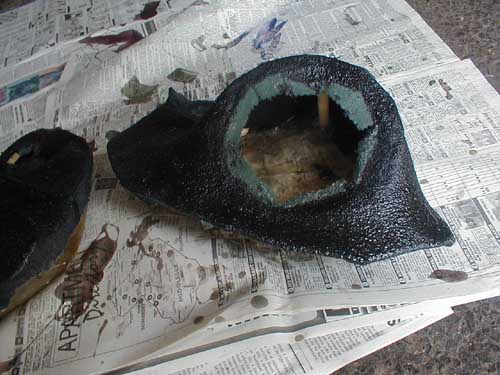 |
| Apply loads of resin over the entire kickpanel. Make sure the mounting ring is coated well. After the fleece has dried, apply fiberglass layers. (2-3 layers should be ample for a kickpanel) Once it's completely dried, you can trim out the mounting ring edges. A flat router bit works well. Use coarse grit sandpaper and sand down the enclosure to a reletively smooth finish. (No large bumps or edges) |
 |
| Any curves, creases, or imperfections can be filled using body filler. Let it dry then sand, this time with 120-200 grit sandpaper. If you are carpeting, this may be your last step. If you are covering it with vinyl or paint, you will need to fill and sand the enclosure several more times. Small imperfections can be covered with vinyl. It will need to be perfectly smooth for paint. Remember, take your time and do it right. |
| Remember to protect yourself during sanding. Fiberglass dust will irritate your lungs and eyes, and if it contacts your skin, you will be itching for days! |
 |
| Here is the enclosure after priming. The primer will help you find imperfections that may not have been visible before. Additional filler and sanding will be needed before final paint. This is where this project ended. It was hooked up in the vehicle and sounded awful. Remember earlier when I said do some reading on proper angles ... this is why. Kickpanels aren't just suppose to look good, they need to sound good also. Better luck next time. |